Browsing Tag

DIY

DIY Projects, Furniture Makeover, House Progress

Plans for the Backyard + An Outdoor Chair Makeover

Hi friends! I wanted to share with y’all what we’ve been working on this week, even though we aren’t finished. Just about everything is a work in progress around here, but I figured I’d share some of the progress and our plans in real time.

So, on Monday morning I happened to stumble upon a neighbor’s trash pile with a stack of outdoor Adirondack chairs. I don’t normally go garbage picker, but if the shoe fits… I grabbed the chairs, brought them home, and then started dreaming about what our backyard could look like with a little bit of work.

So, these chairs were in great condition, but….the brown was just not gonna work. Thankfully there was an easy solution to that. With a quick couple of coats of outdoor spray paint, they were looking better already. I used Krylon outdoor spray paint in a high gloss finish.

You wouldn’t think such a subtle change would make all that much of a difference, but it makes them look brand new! But then I had these great chairs, and all of a sudden, I was inspired to start some projects in the backyard. So….we started digging. But first, let me show you what our yard looked like before.

Yikes, right? This space had some old rosebushes in them before we moved in, but they were terrible and awkwardly located, so we tore them out a while back. Then my brother built this in-ground fire pit while he was staying with us for a few weeks using some rocks from around our property. But other than that, it was just looking super sad.

So I thought, man, wouldn’t it be great to have an area covered in pea gravel surrounding the firepit, to put these chairs on and round out the space? So, Ethan and I got to work. We rounded up some bricks from behind the garage and under the porch (old house problems or old house perks?) and dug a trench perimeter for the area we were thinking about.

We buried the bricks halfway into the ground, just kind of winging it, and then we started digging. And digging, and digging, and digging. We wanted an area about two inches below the surface. Which, two inches doesn’t seem like a lot, but when it’s a large surface area, it freaking suuuuucks. Ethan did most of the work, but I did enough to make my body hate me, don’t worry.

And that leads us to where we are now. We’ve finished digging, and the next step is laying down a barrier and then pea gravel!

As for the swing, I think we’re going to take it down, build a solid cover on top, and then put our grill there. I’d like to paint it as well, but I’m not sure what color. I want to do something that goes along with what the house will be eventually, which is white with black trim. But we aren’t sure what exact white, and what exact black, so I don’t want to do something that will eventually clash with the house. So I’m currently undecided.

It’s not finished, but I can see the end result in my head and I can’t wait!

So, in the spirit of celebrating progress instead of just completed projects, that’s where we are. Aching backs, and spruced up old chairs. And if you think that I’m not going to enjoy some summer s’mores just because we aren’t done yet, you’d be wrong. 🙂

That’s all for today, friends. Have a fabulous day!

DIY Projects, House Progress

House Progress – Our Front Stairs

Hi guys! Today I wanted to share a quick update on a section of our house that isn’t finished yet, but looks waaaaayyyyyy better than it did before, and I’m happy to live with it as-is for a while.

Our front staircase is one of the original features from 1895. It is tight, narrow, and has a very abrupt turn which makes moving furniture upstairs quite tricky. Just as a reminder, this is what it looked like when we moved in:

Looking at that photo is absolutely crazy to me because it looks nothing like this anymore! Within the first few days, we pulled out the carpet, and a few weeks later while we were working daily, we painted the walls. But for a couple months, we hadn’t done anything with the stairs themselves. And then our son was born, and we were a little slow to getting things done, so it took a while before I got around to painting.

I decided to paint the stairs, back in December, I believe, but I never really shared the full details. 

And now they’re black and white and I’m totally in love! They make the space feel so much bigger and brighter, even though it really is a tiny staircase.

Pardon the glaringly bright sun, I was just too excited to wait to take these pictures!

The color is Behr’s Totally Black, with Ultra Pure White (the color you get without any mixing – straight from the can) trim, and Polar Bear on the walls. We painted the staircase with a semigloss finish, which I would not normally recommend on a high traffic area, but we do plan on adding a runner down the stairs for comfort, so they will not be getting much foot traffic at all once the runner is installed.

Here you can see an unedited look (nope, I didn’t clean up for y’all) at the stairway into the rest of the house. So aside from the runner, we do plan on doing a few other things. The light fixture will be changed, of course, but we’re also thinking about a fun statement tile to replace the parquet flooring. For now though, it’s a small makeover to tide us over until we get to the real thing!

So, if you can pardon my photography skills, that’s the latest little update. Projects are going pretty slowly around here, but as soon as we get back at it, I’ll keep y’all updated. 🙂

That’s all for today, friends. Have a fabulous day!


Home Decor, Room Tours

Our Baby Boy’s Nursery Reveal!

Hi, friends! I am so glad you’re here today! I am so excited to share this with you guys… I’ve been planning this post for months (nine months to be exact 🙂 ). I have been pretty ambiguous about nursery planning and baby stuff in general on social media. We didn’t even share the gender on social media until he was born! But now that our baby boy is finally here, I want to share the nursery details with you all!

This was a fun room for me, because it’s the first room I’ve ever designed completely before even starting. Toward the beginning of my pregnancy, we were still house hunting, so I had a mood board of what I was planning, but no idea what the room itself would actually look like! I couldn’t buy anything, because I had no idea how many windows to buy curtains for, how big of a rug to purchase, etc. I had to be incredibly patient, which was hard.

And then we bought the house at the end of July, but there was way more severe work to complete before I could even begin setting up the nursery. We basically purchased everything and set it up completely in one weekend, which was new for us. Every other room in our home has evolved over time, mostly as budget as allowed. This time, I spent months planning ahead of time, and then it all came together at once. Which was a pretty fun experience, in my opinion.

So anyway, I’m sure you want to see the nursery. I knew I wanted to use navy instead of the typical baby blue color, and I didn’t want a “theme.” The walls are the same color as the rest of our house, Polar Bear, by Behr. I wanted everything to have a neutral palette, with just touches of navy here and there.

I knew I wanted a white Jenny Lind crib long before I was ever pregnant. I just think it’s super classic, and I’ve always loved the look of them. The bedding is from Target, and the bedskirt is from IKEA. I love the crispness of all the white, I think it’s just timeless. The navy accent pillows are from Target, but don’t worry, it’s only in these photos for contrast. It doesn’t actually stay in there!

The art work was one of those moments the flea market gods are smiling down at you. I knew what I was looking for, and generally when you have something to specific in mind, you can never find it. We were shopping at my favorite flea market in Canton, TX when I spotted it. I usually will walk up to an item with a maximum budget of how much I’m willing to spend before I even inquire about the price. In my head, I knew I would be willing to spend about $50 on the piece, and when I asked the vendor how much she wanted for it, she offhandedly said, “oh, twenty bucks.” I could not get out of there fast enough! I practically grabbed the thing and ran! It had an old gaudy frame on it, which I removed and added a stained 1×2 wooded frame. It took me about fifteen minutes to make the frame, with supplies I had on hand in the garage.

The glider isn’t sold anymore, because it was a line sold at Babies’r’Us (RIP). We were able to get it for 50% off during their going-out-of-business sale.

I scored the accent table at the Canton flea market, from my favorite vendor, Canton Bill. He’s a precious elderly man with the best junk and the best prices. I snagged this table for $10, and I didn’t even have to haggle!

The dresser was mine as a child. I’ll be sharing more details about it in a later post, but the hardware is just from IKEA. The ottoman is from IKEA as well.


I made the curtain panels from fabric I found at Hobby Lobby, which is definitely the statement of the room. I always joke and say that my sewing skills are incredibly basic, the only thing I know how to make is curtains. 🙂 I only paid about $60 for the fabric to make four panels, and we have some pretty high ceilings in this 120 year old house!


This sweet rocking horse was a garage sale find. I snagged it from our old next door neighbors during a neighborhood wide garage sale. It was wooden with rainbow ribbon and beady eyes. I took everything off, sanded it down, and painted it with Miss Mustard Seed Milk Paint in the color Aviary. The rug is from Rugs USA, which I got on super sale, just how I roll.

Overall, I was going for a classic and timeless nursery, with lots of white, and touches of natural woods and navy gingham. I think nurseries can be so much more than an over simplified “zoo animal” or “nautical” theme. I didn’t want anything overly cartoon-ish, or baby-ish. I know that sounds silly because it is, after all, a baby’s room, but I also wanted a room that felt cohesive with the rest of our house, and somewhere I would enjoy spending time. I love the peaceful and relaxing feel this room has, and it is my favorite room in the house now!

So, what do you think? I’d love to hear your thoughts! That’s all for today, friends. Have a fabulous day!

House Progress

Status Update – One Month In

Hi guys! So glad you’re here! I have been so busy just about every day I haven’t had a chance to sit here and tell you all how things are going at the house. It has been just about a month since we closed on the house, and in that time, school has started back up for me, so my schedule looks something like this: go to school (work), come home and eat a quick dinner, head to the house to work on projects, and then come home late just in time to quickly shower and collapse into bed. On the weekends, Ethan’s family has been helping us, and we are putting in twelve hour work days each weekend. Oh, and I am now what one would consider…. very pregnant. So, things are pretty crazy around here. We originally planned on moving in at the end of August despite the progress we were at, but we extended our lease on our rental for another month, so if all goes according to plan, we’ll be moving at the end of this month. And we’re really hoping things do go according plan, because my due date is looming closer and closer!


So, without further ado, let me show you all the things we’ve been working on! If you didn’t see the before pictures or our first status update, you may want to see those first. And, please remember, these photos are all iPhone photos taken mid-project and therefore not staged at all! There is some serious mess happening here.

So let me show you room by room. These projects are not necessarily in any order of completion, just by room.
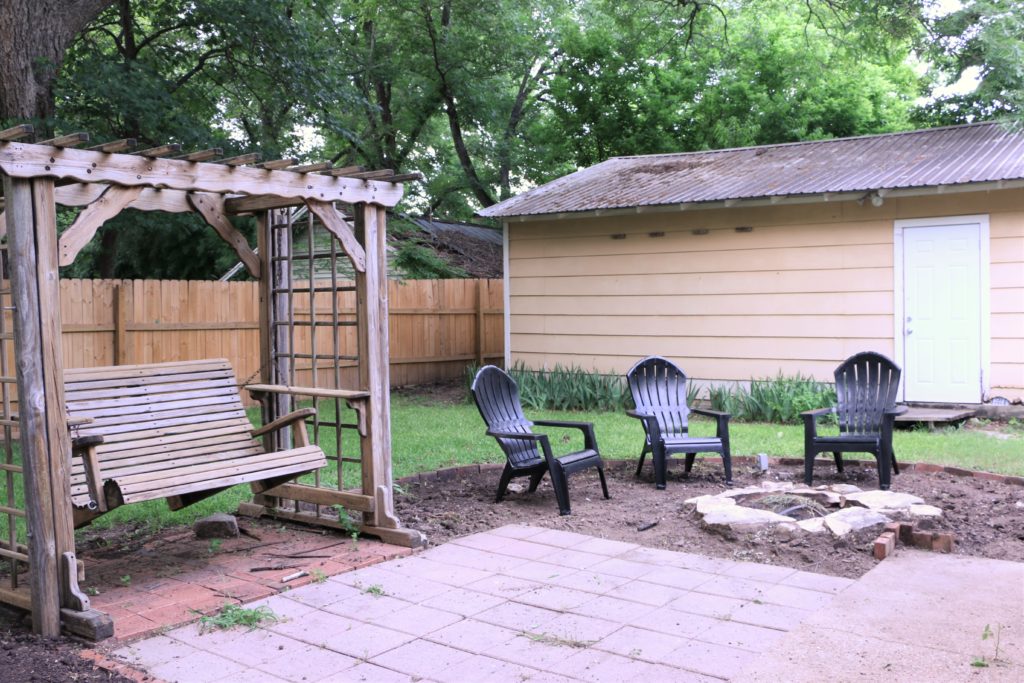
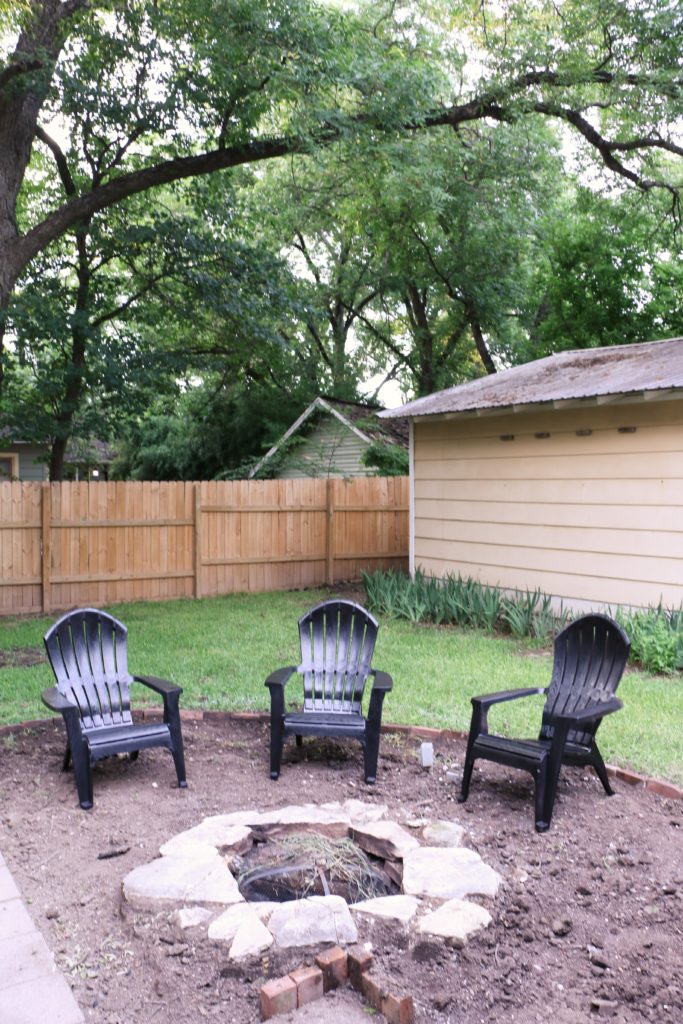
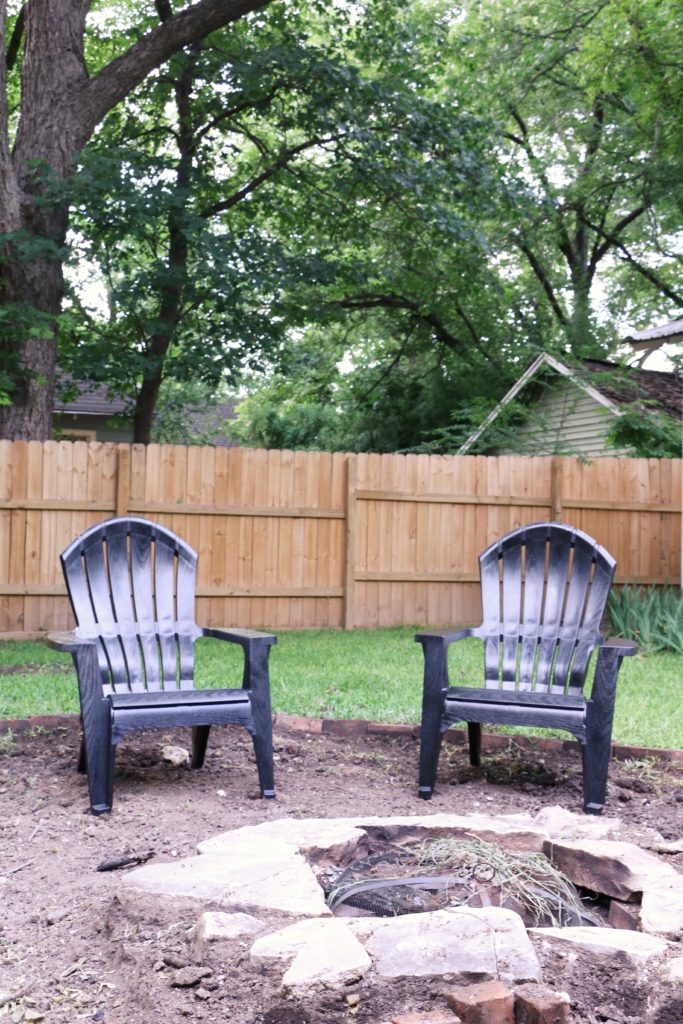
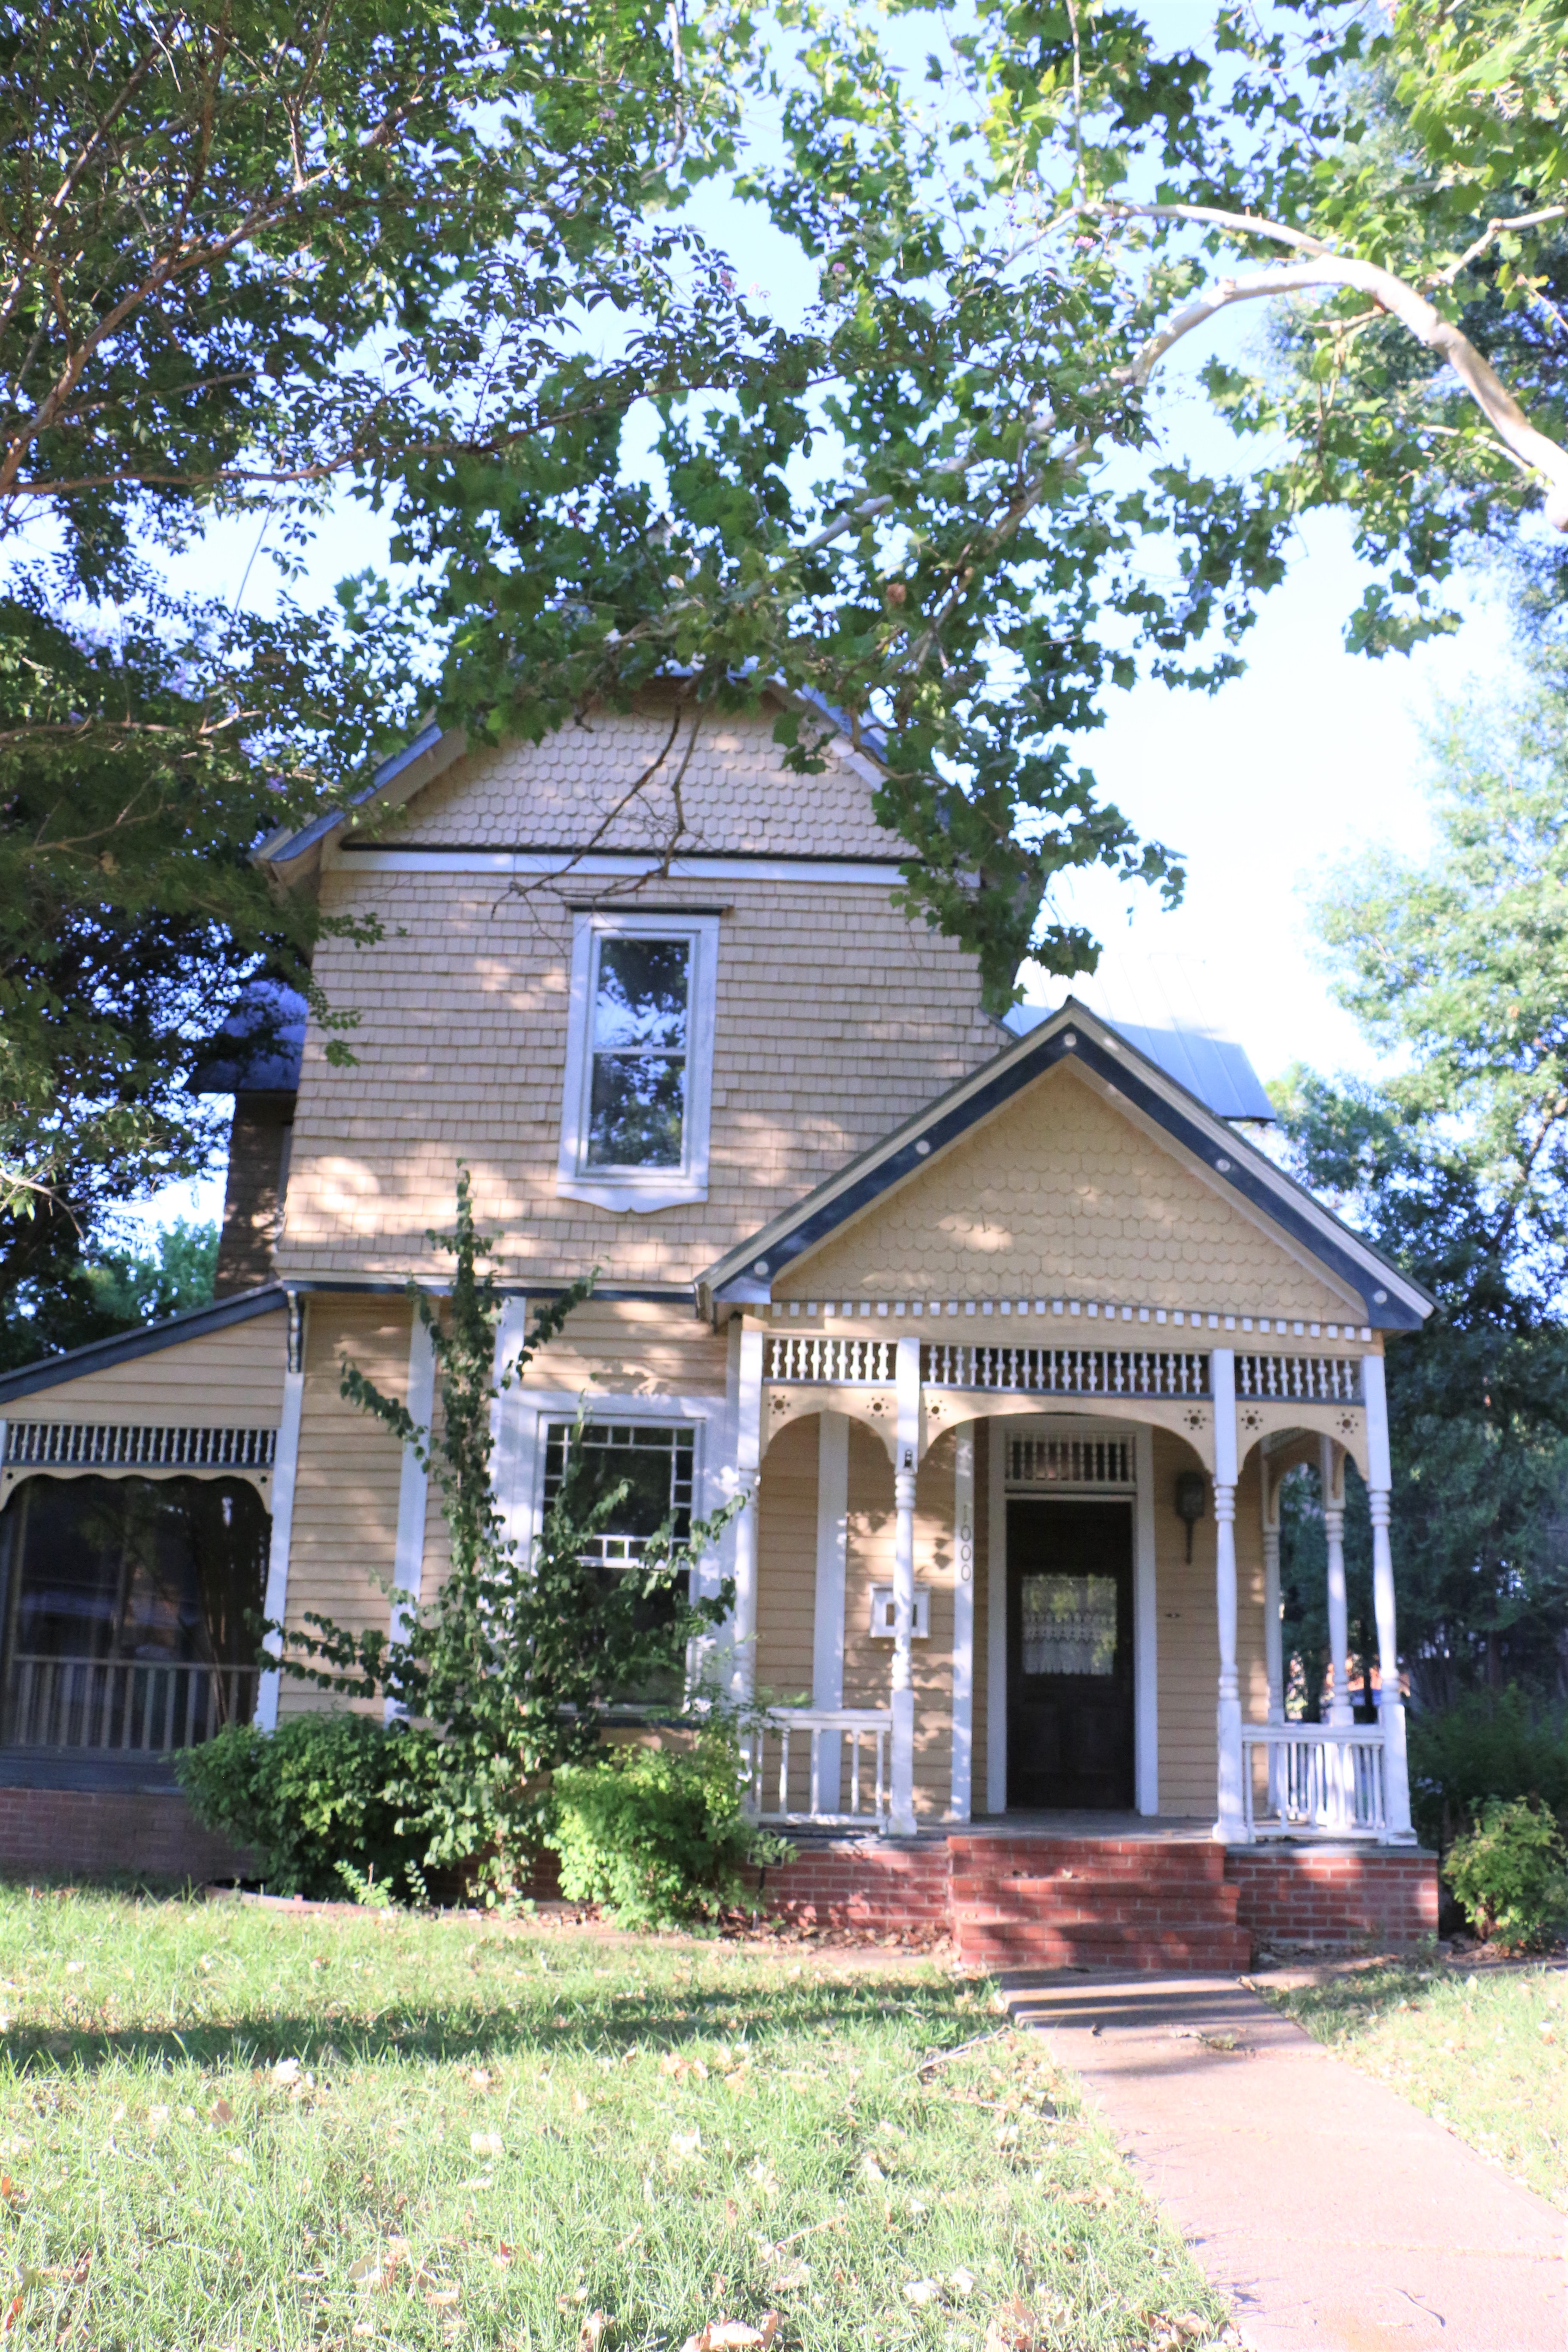
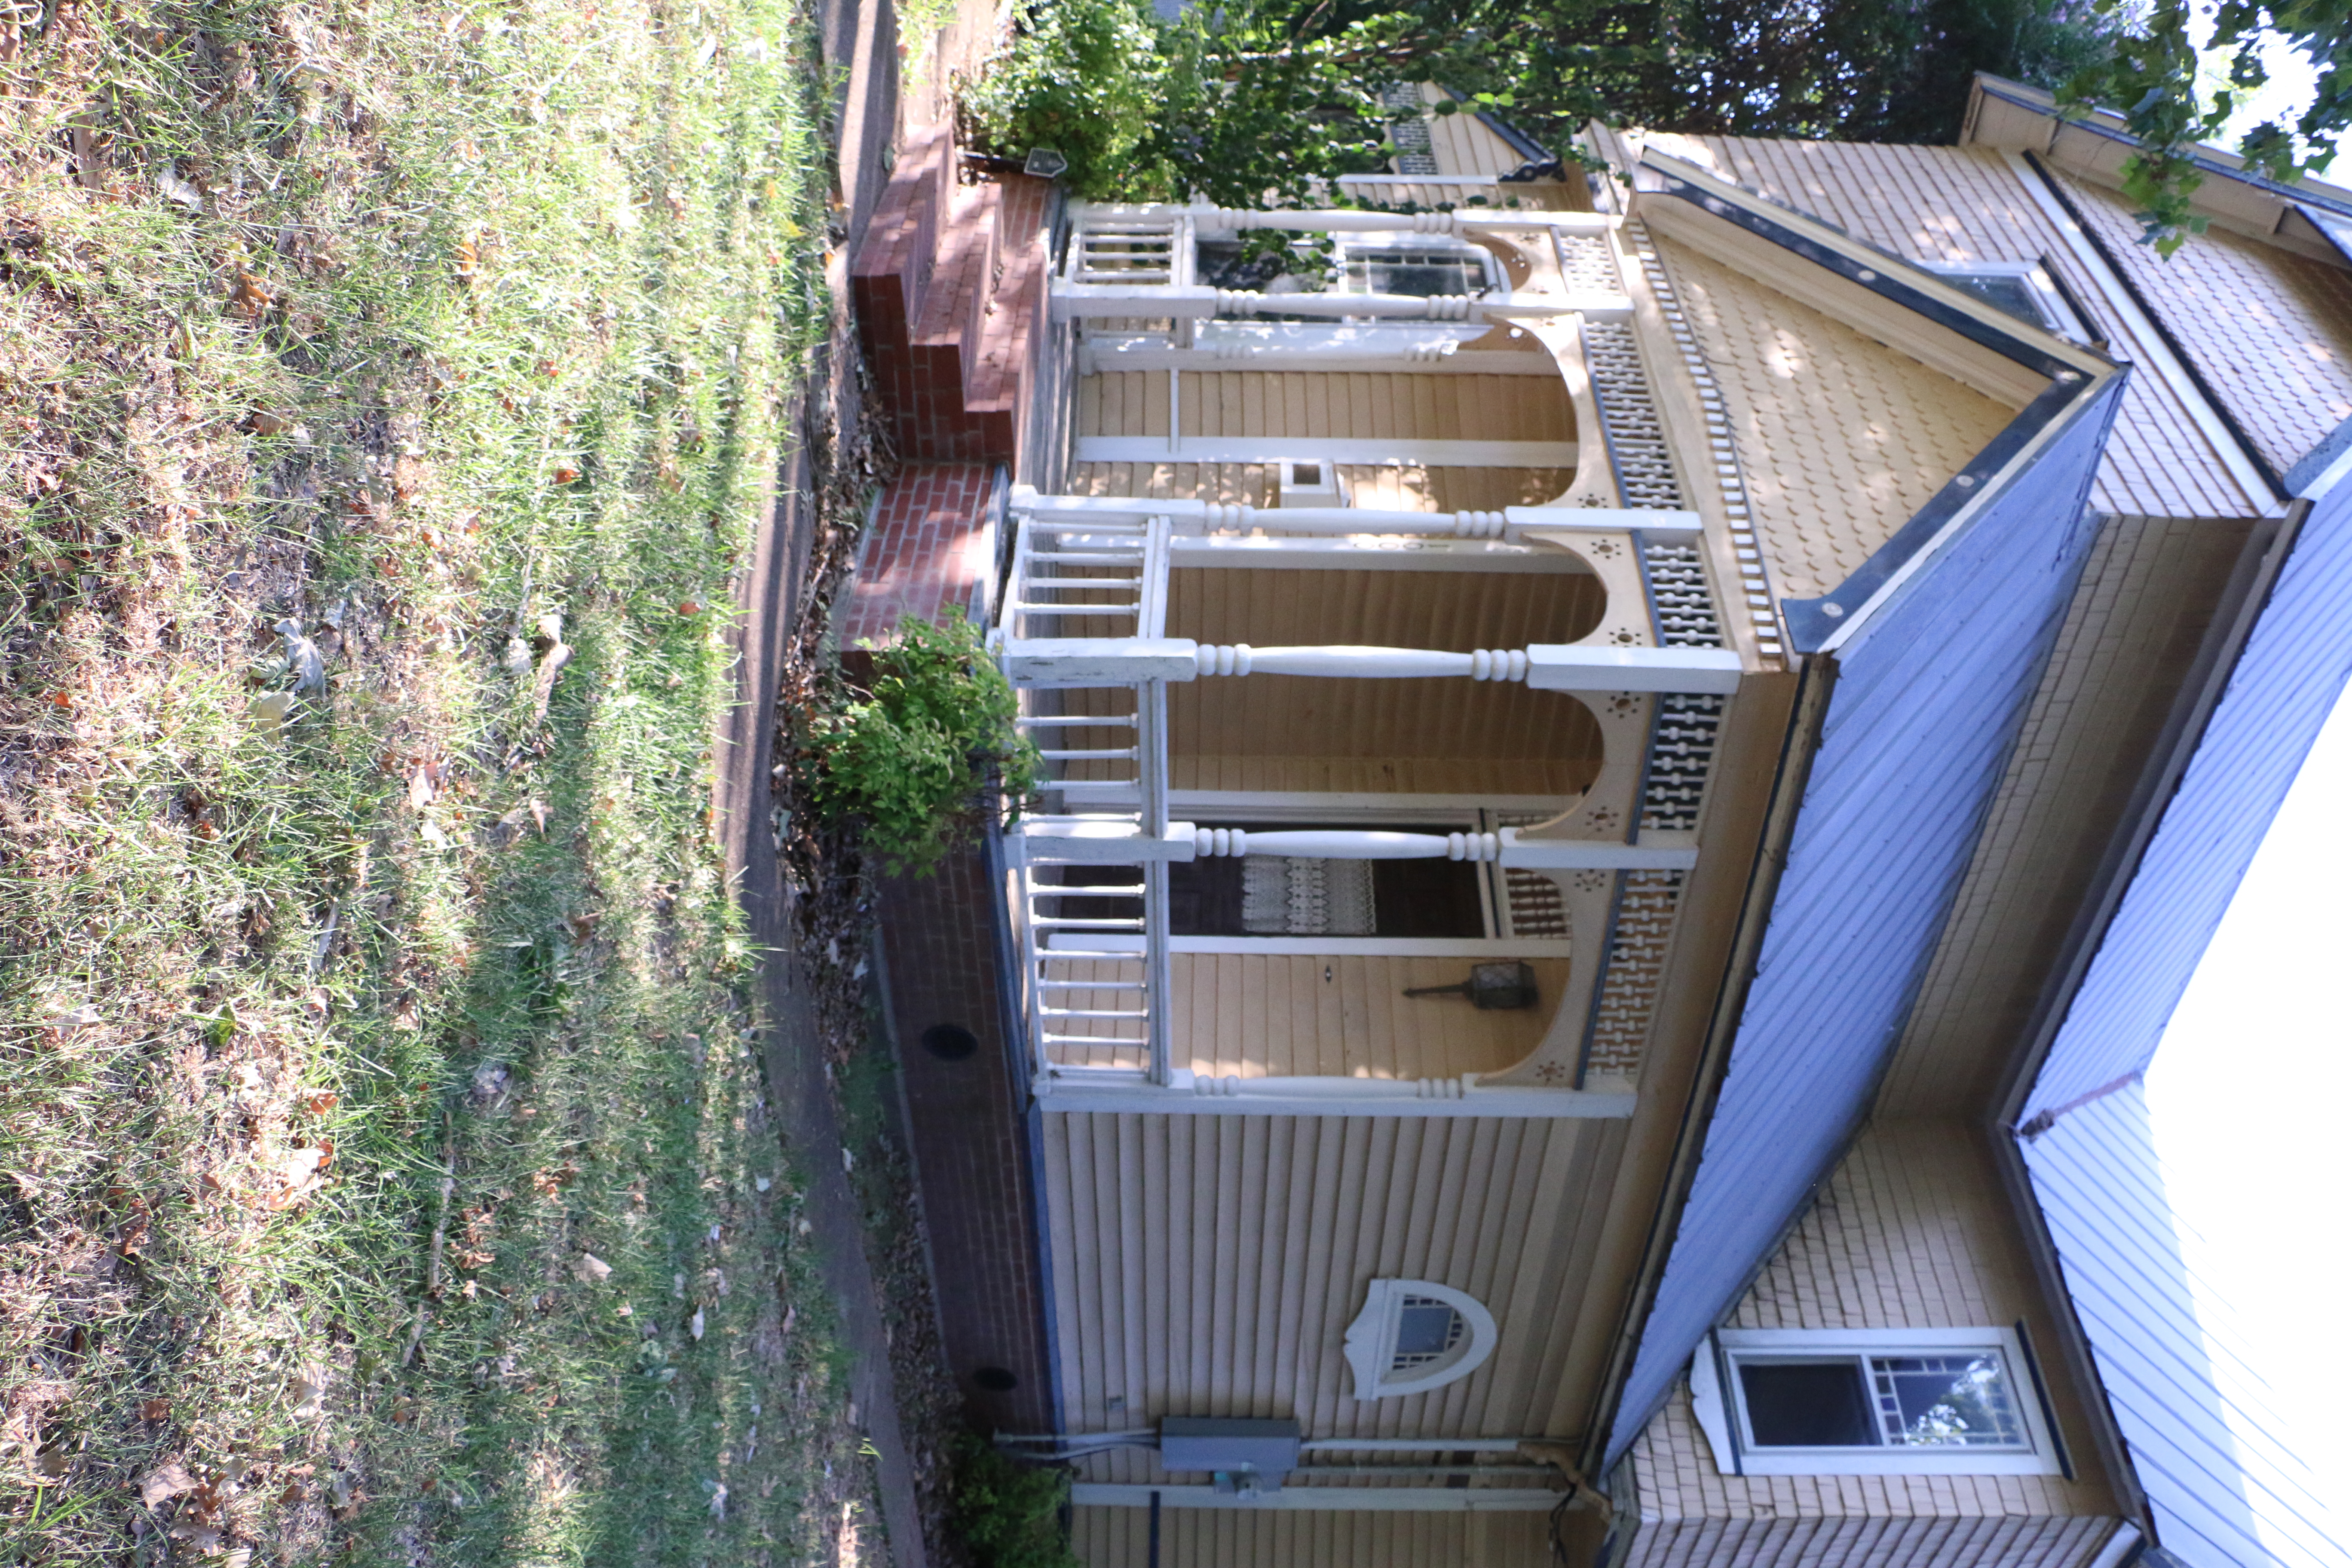
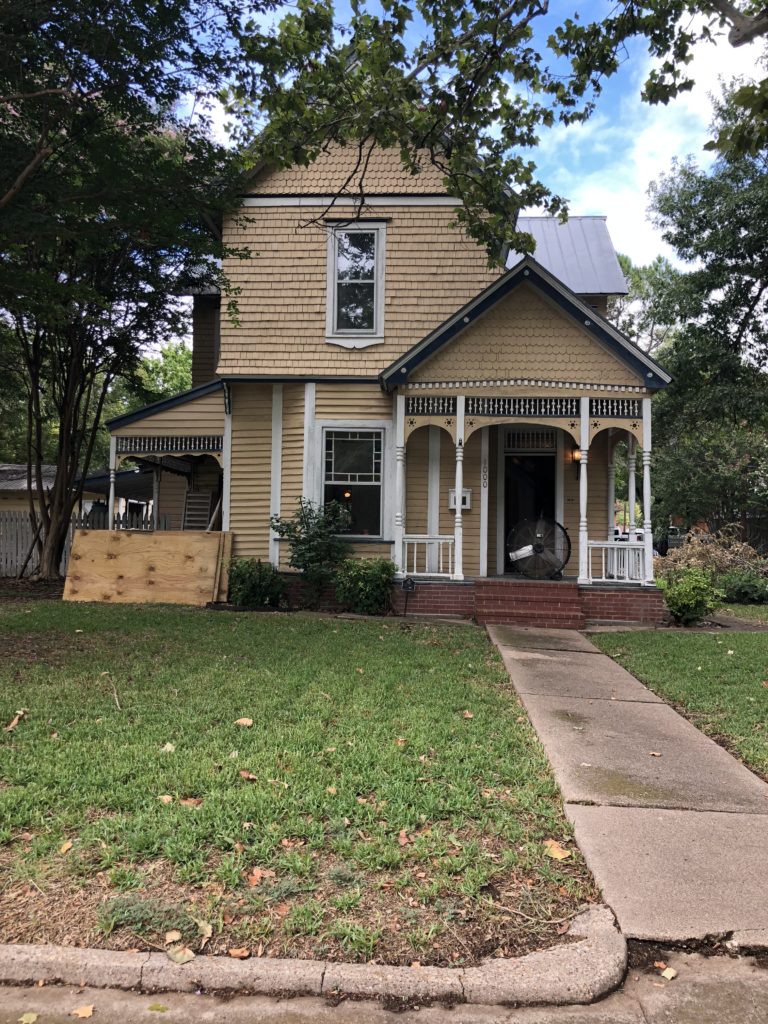
 

Exterior 

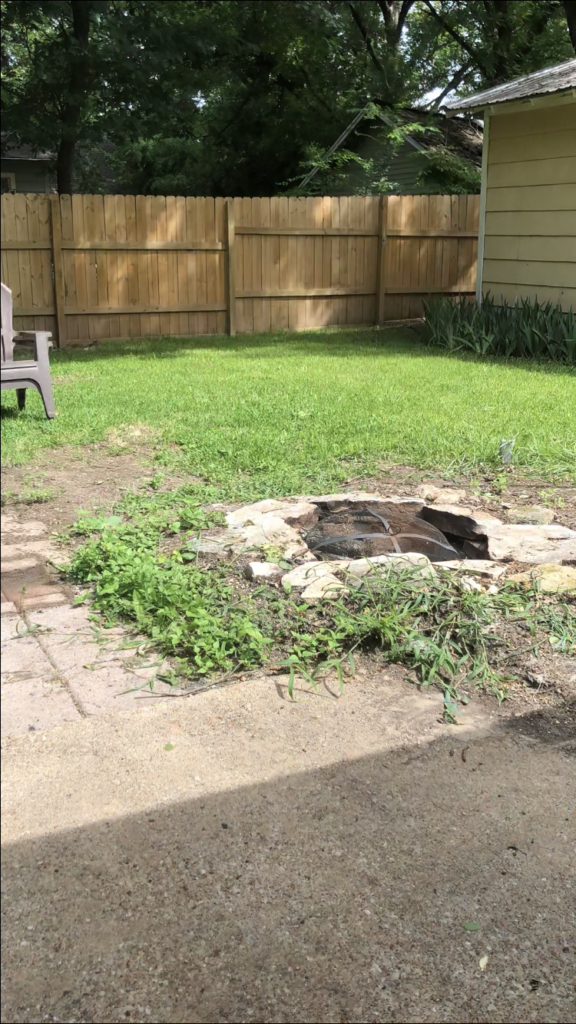
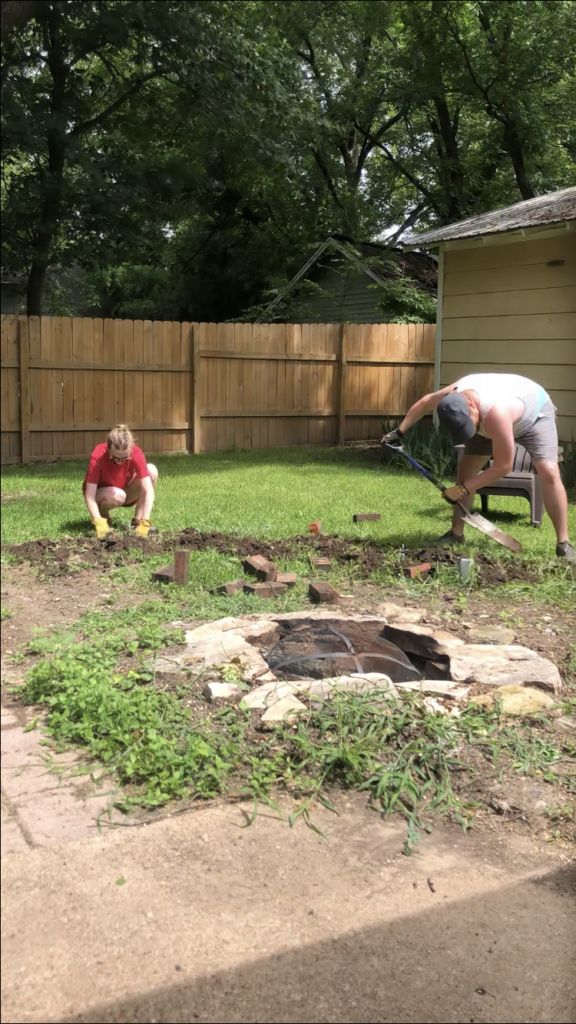
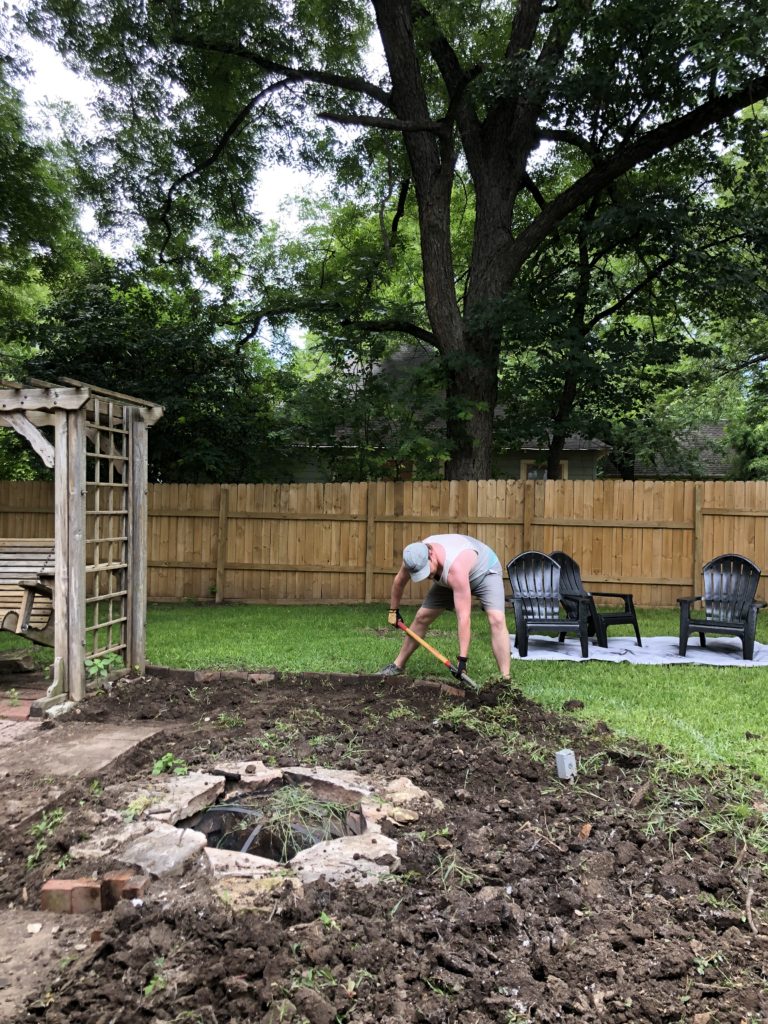
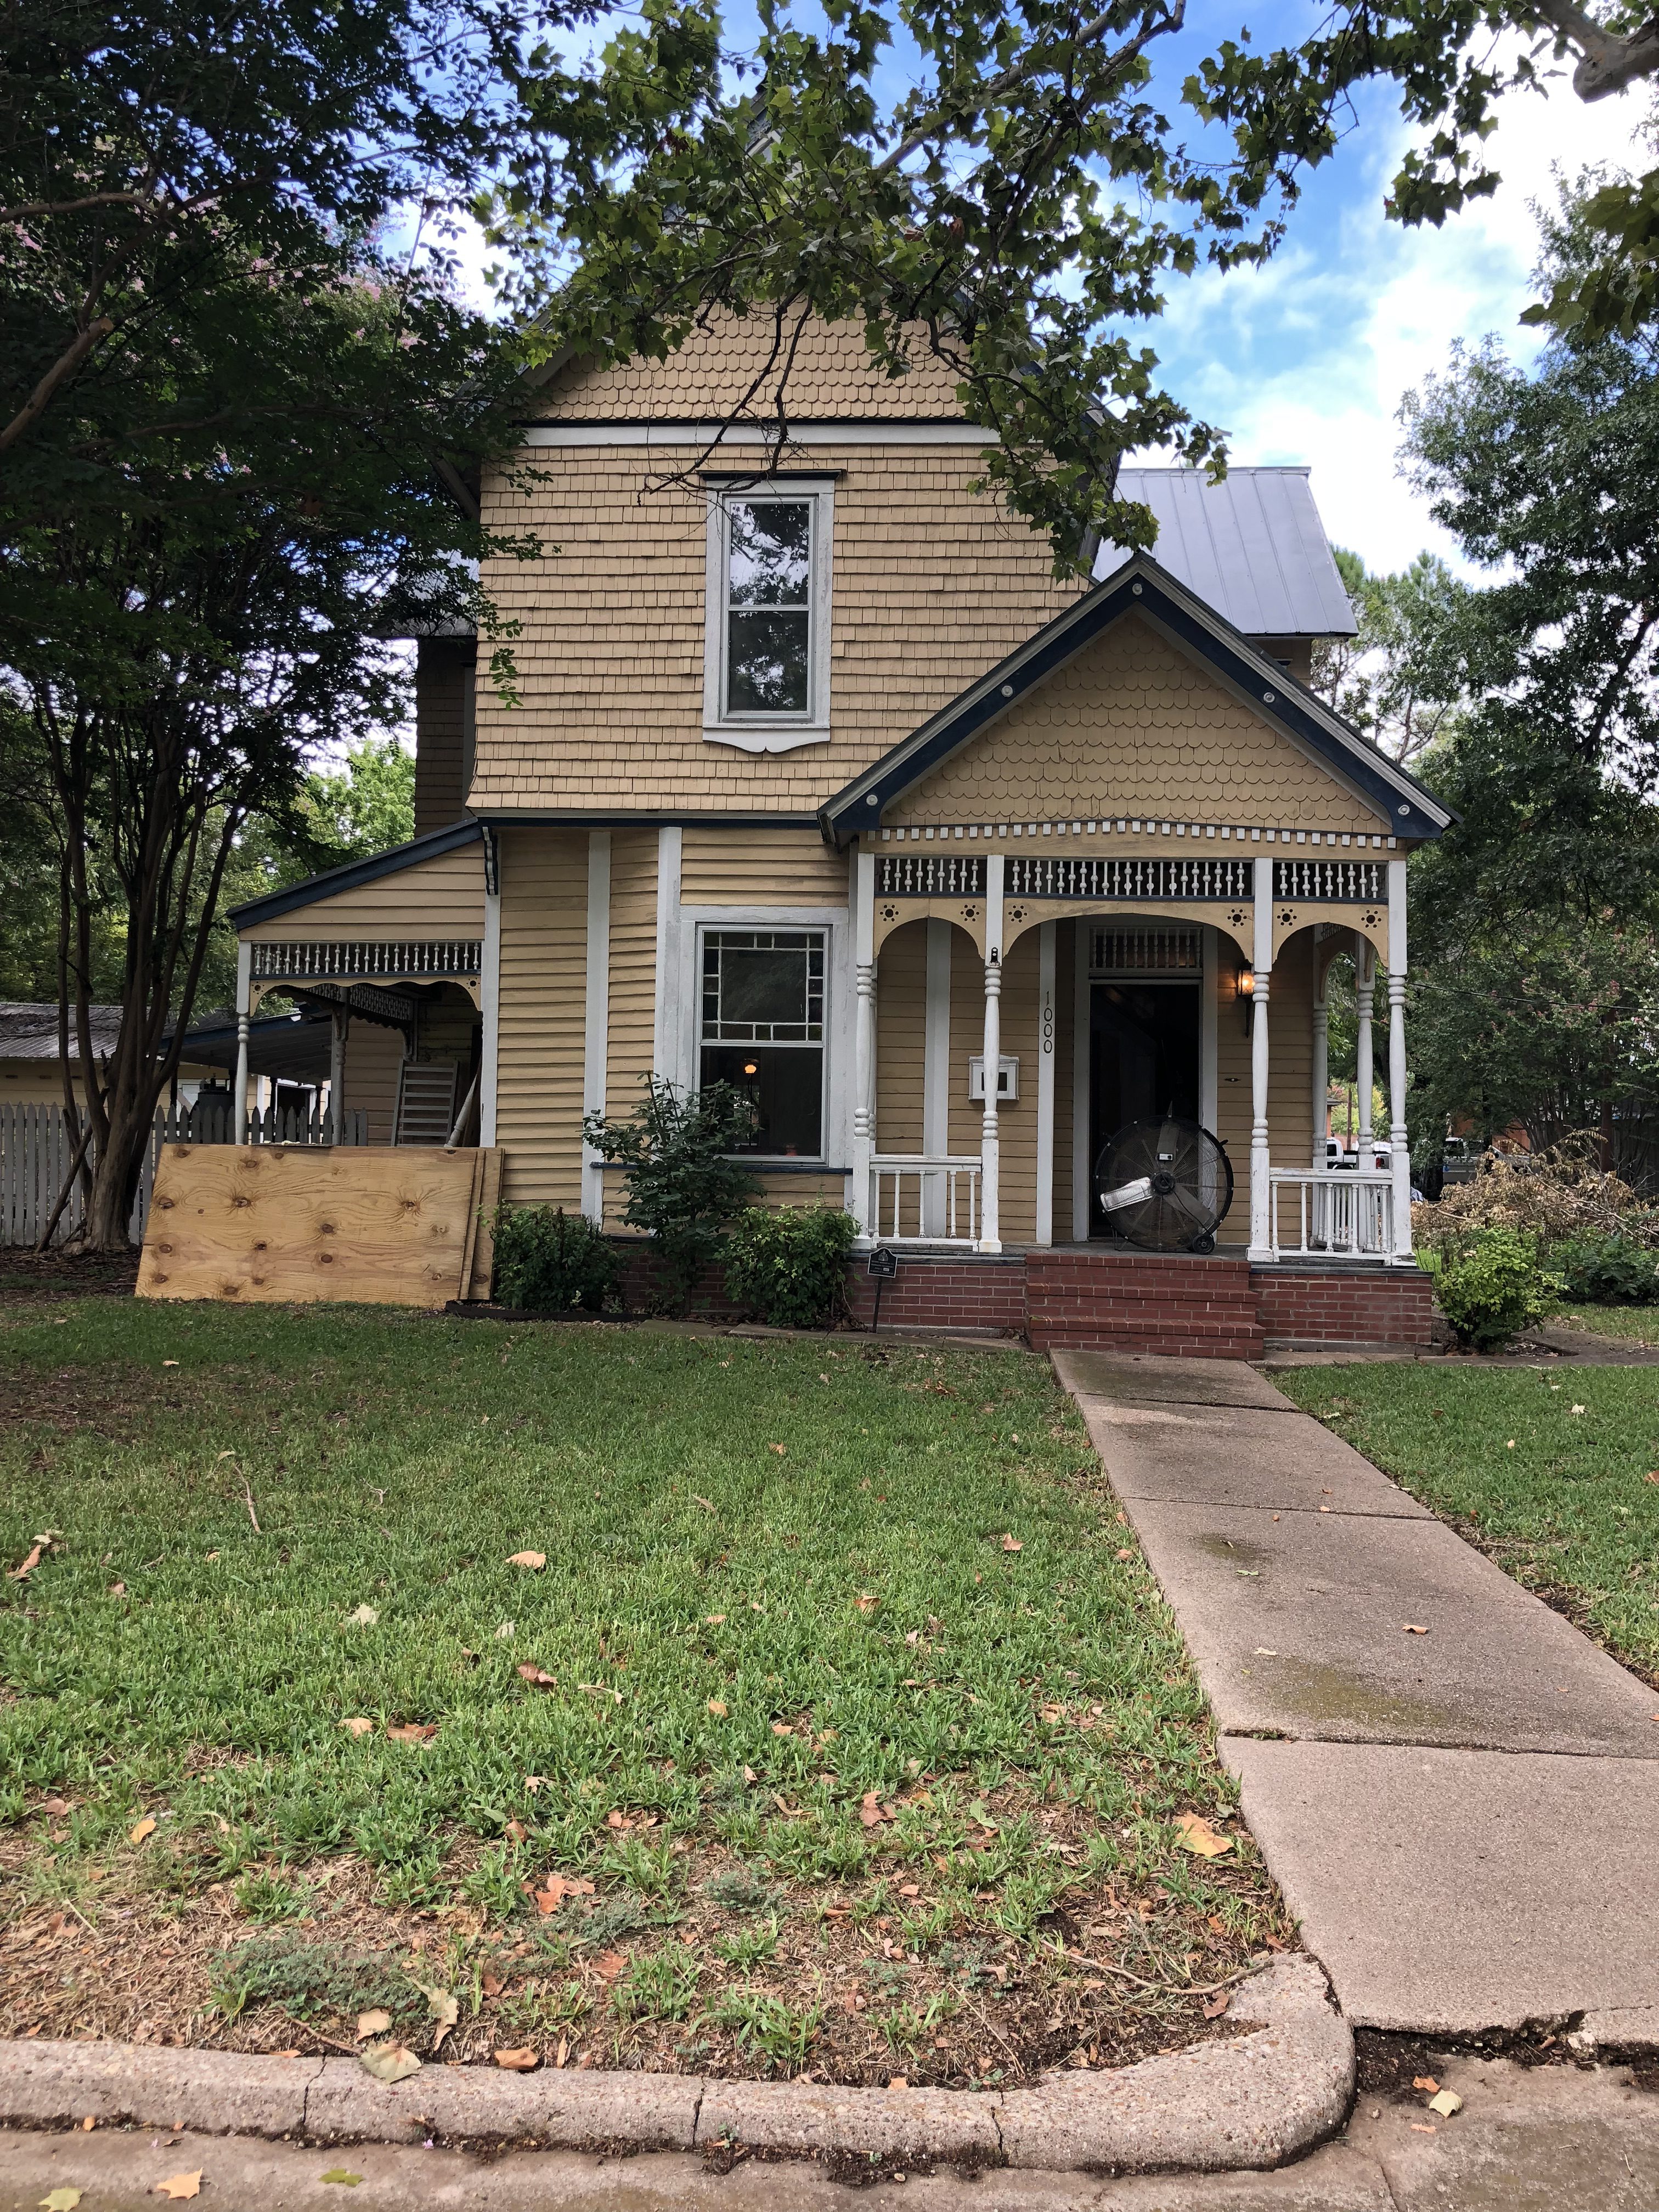
Outside, we have powerwashed the front and side (the other side is covered in paint supplies and power tools and an old water heater so we haven’t powerwashed it yet). Basically powerwashing is my new favorite thing. We also did some major tree trimming, pulling out of weeds, hedge trimming, weed eating, edging, and mowing. The lot is pretty large and has a lot of trees, so this was a lot of work.

She looks a bit better from the front, now that the grass isn’t a foot tall, and tree branches aren’t blocking the view from the street. 🙂

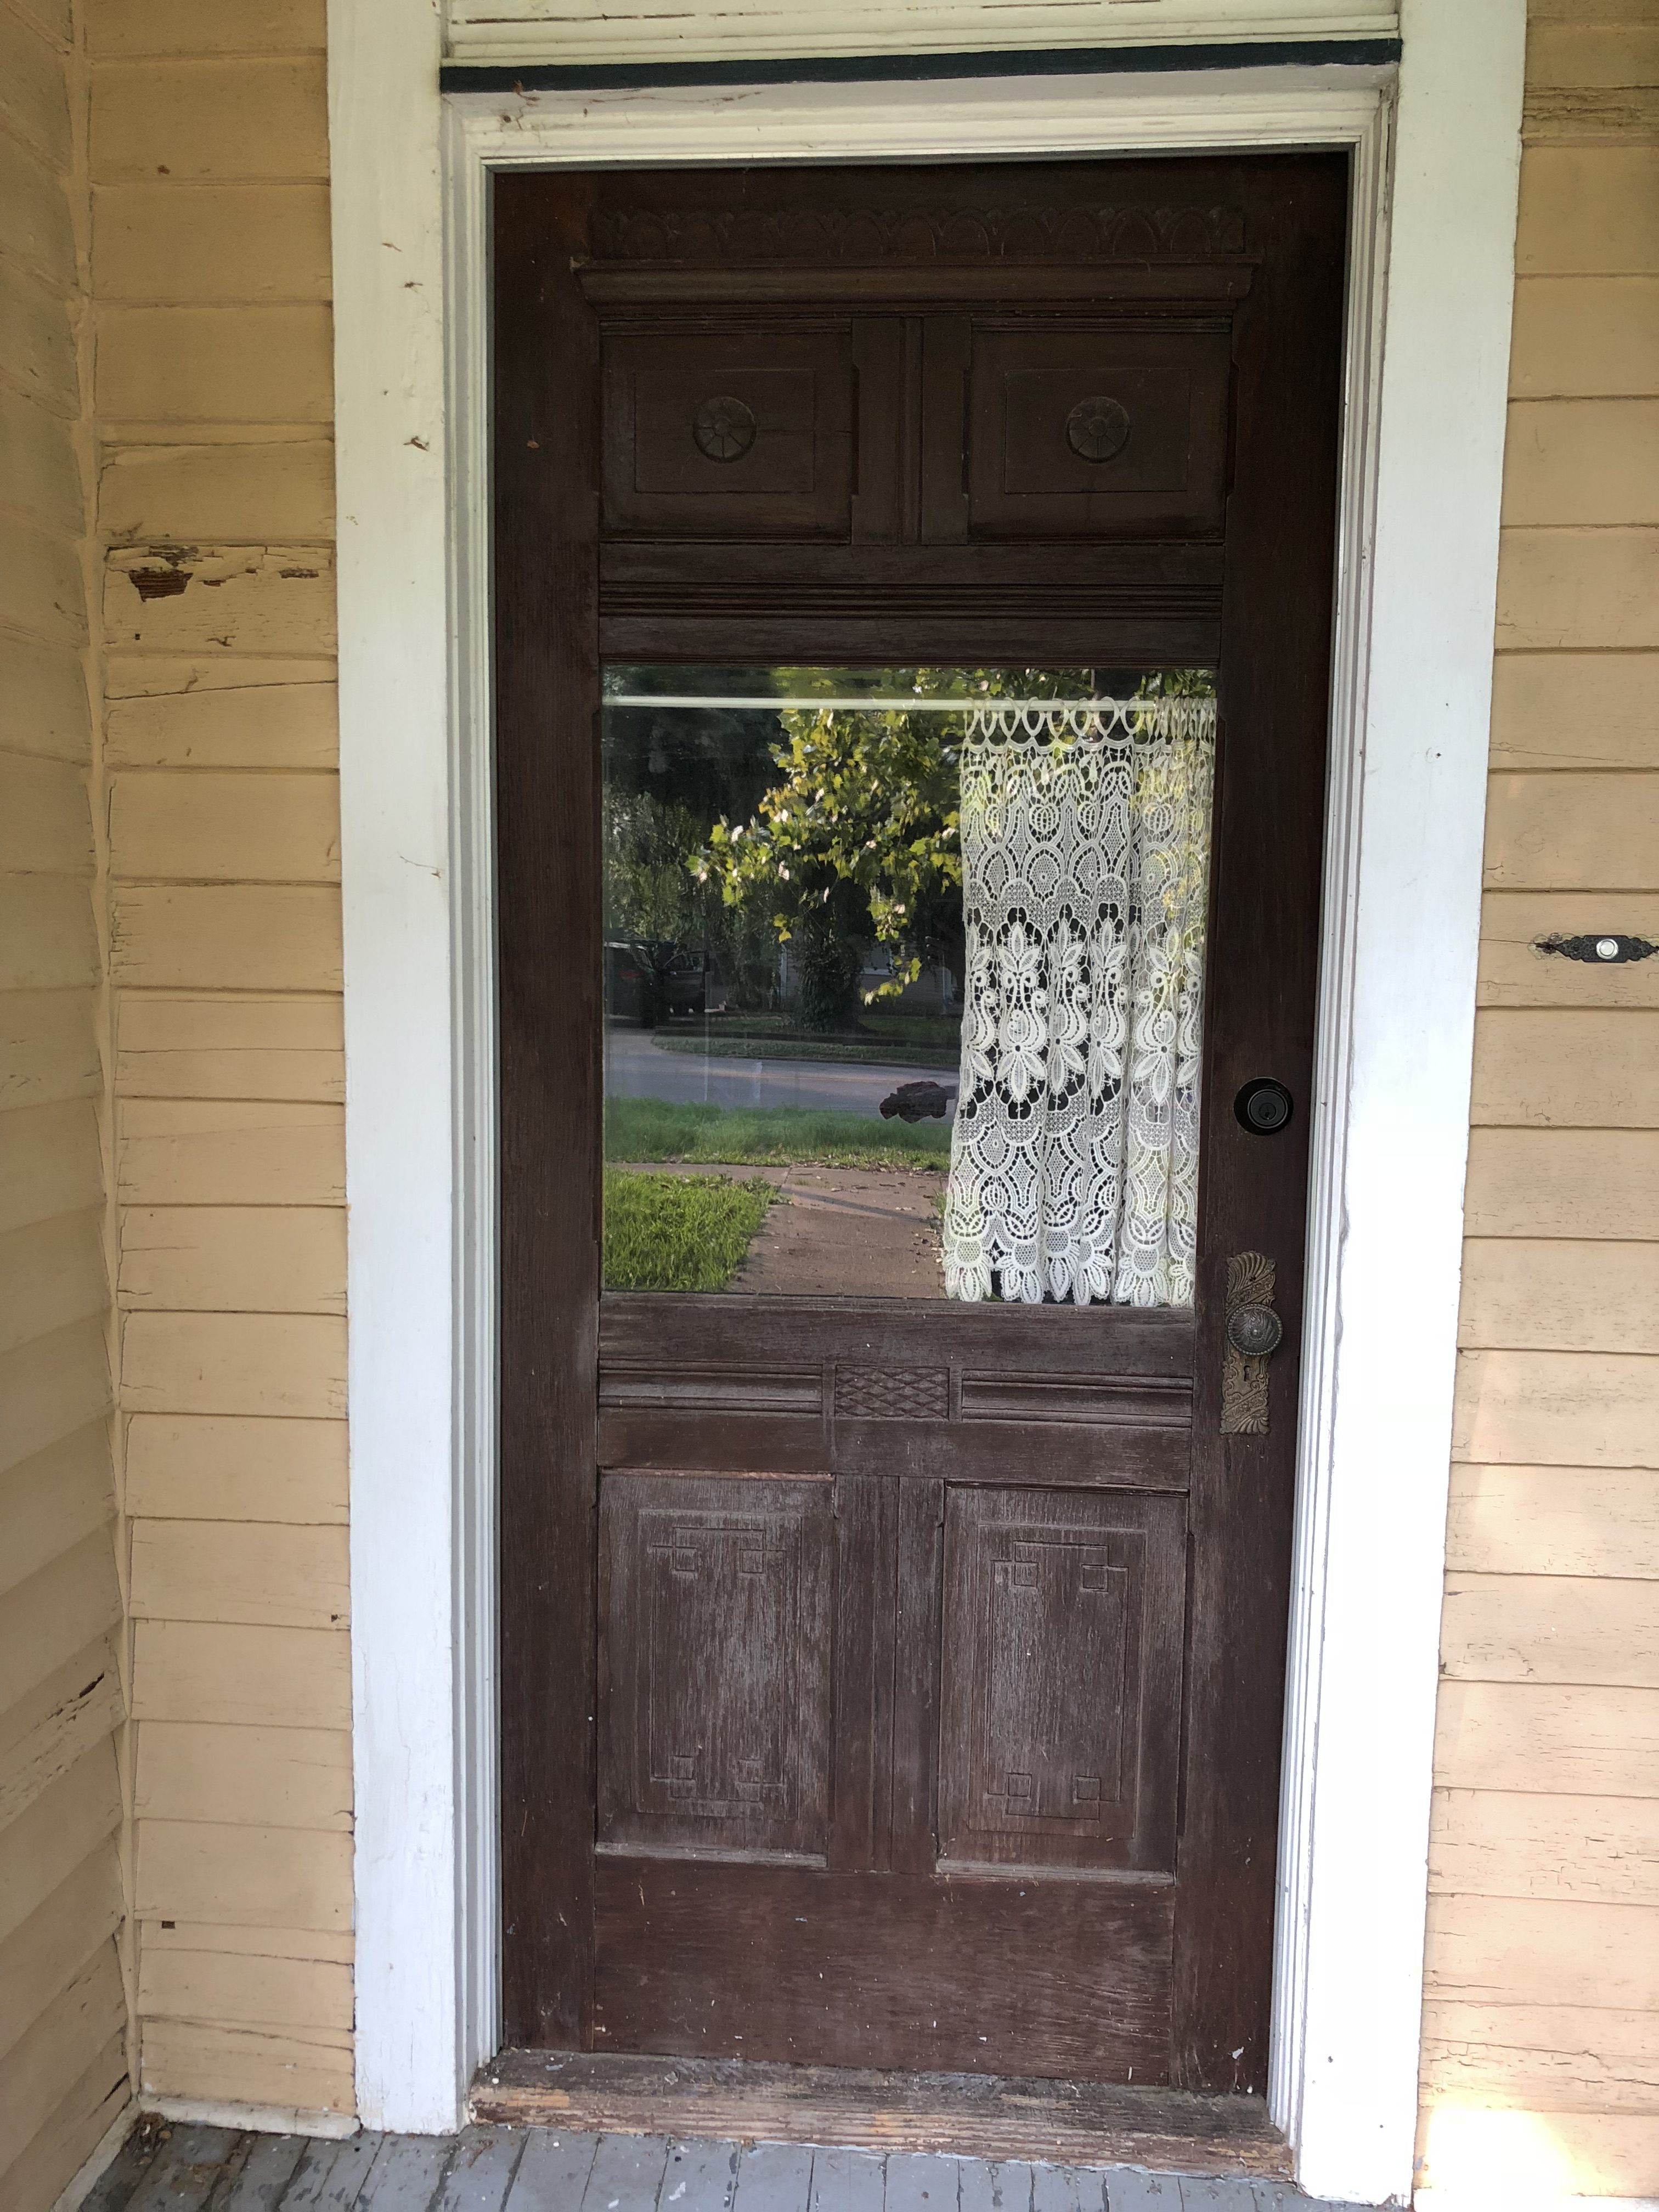
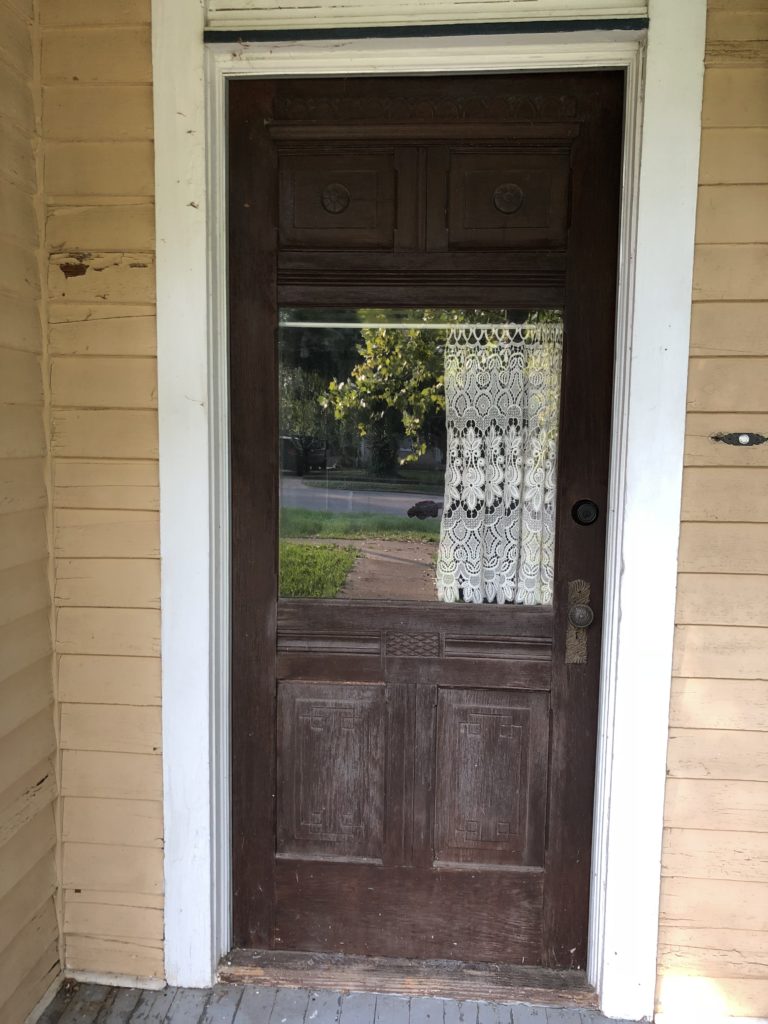
I also took some hemp oil to the front door which was super dry and tired-looking. It was a super quick project (literally 20 minutes) that made a huge difference! Here’s the before:
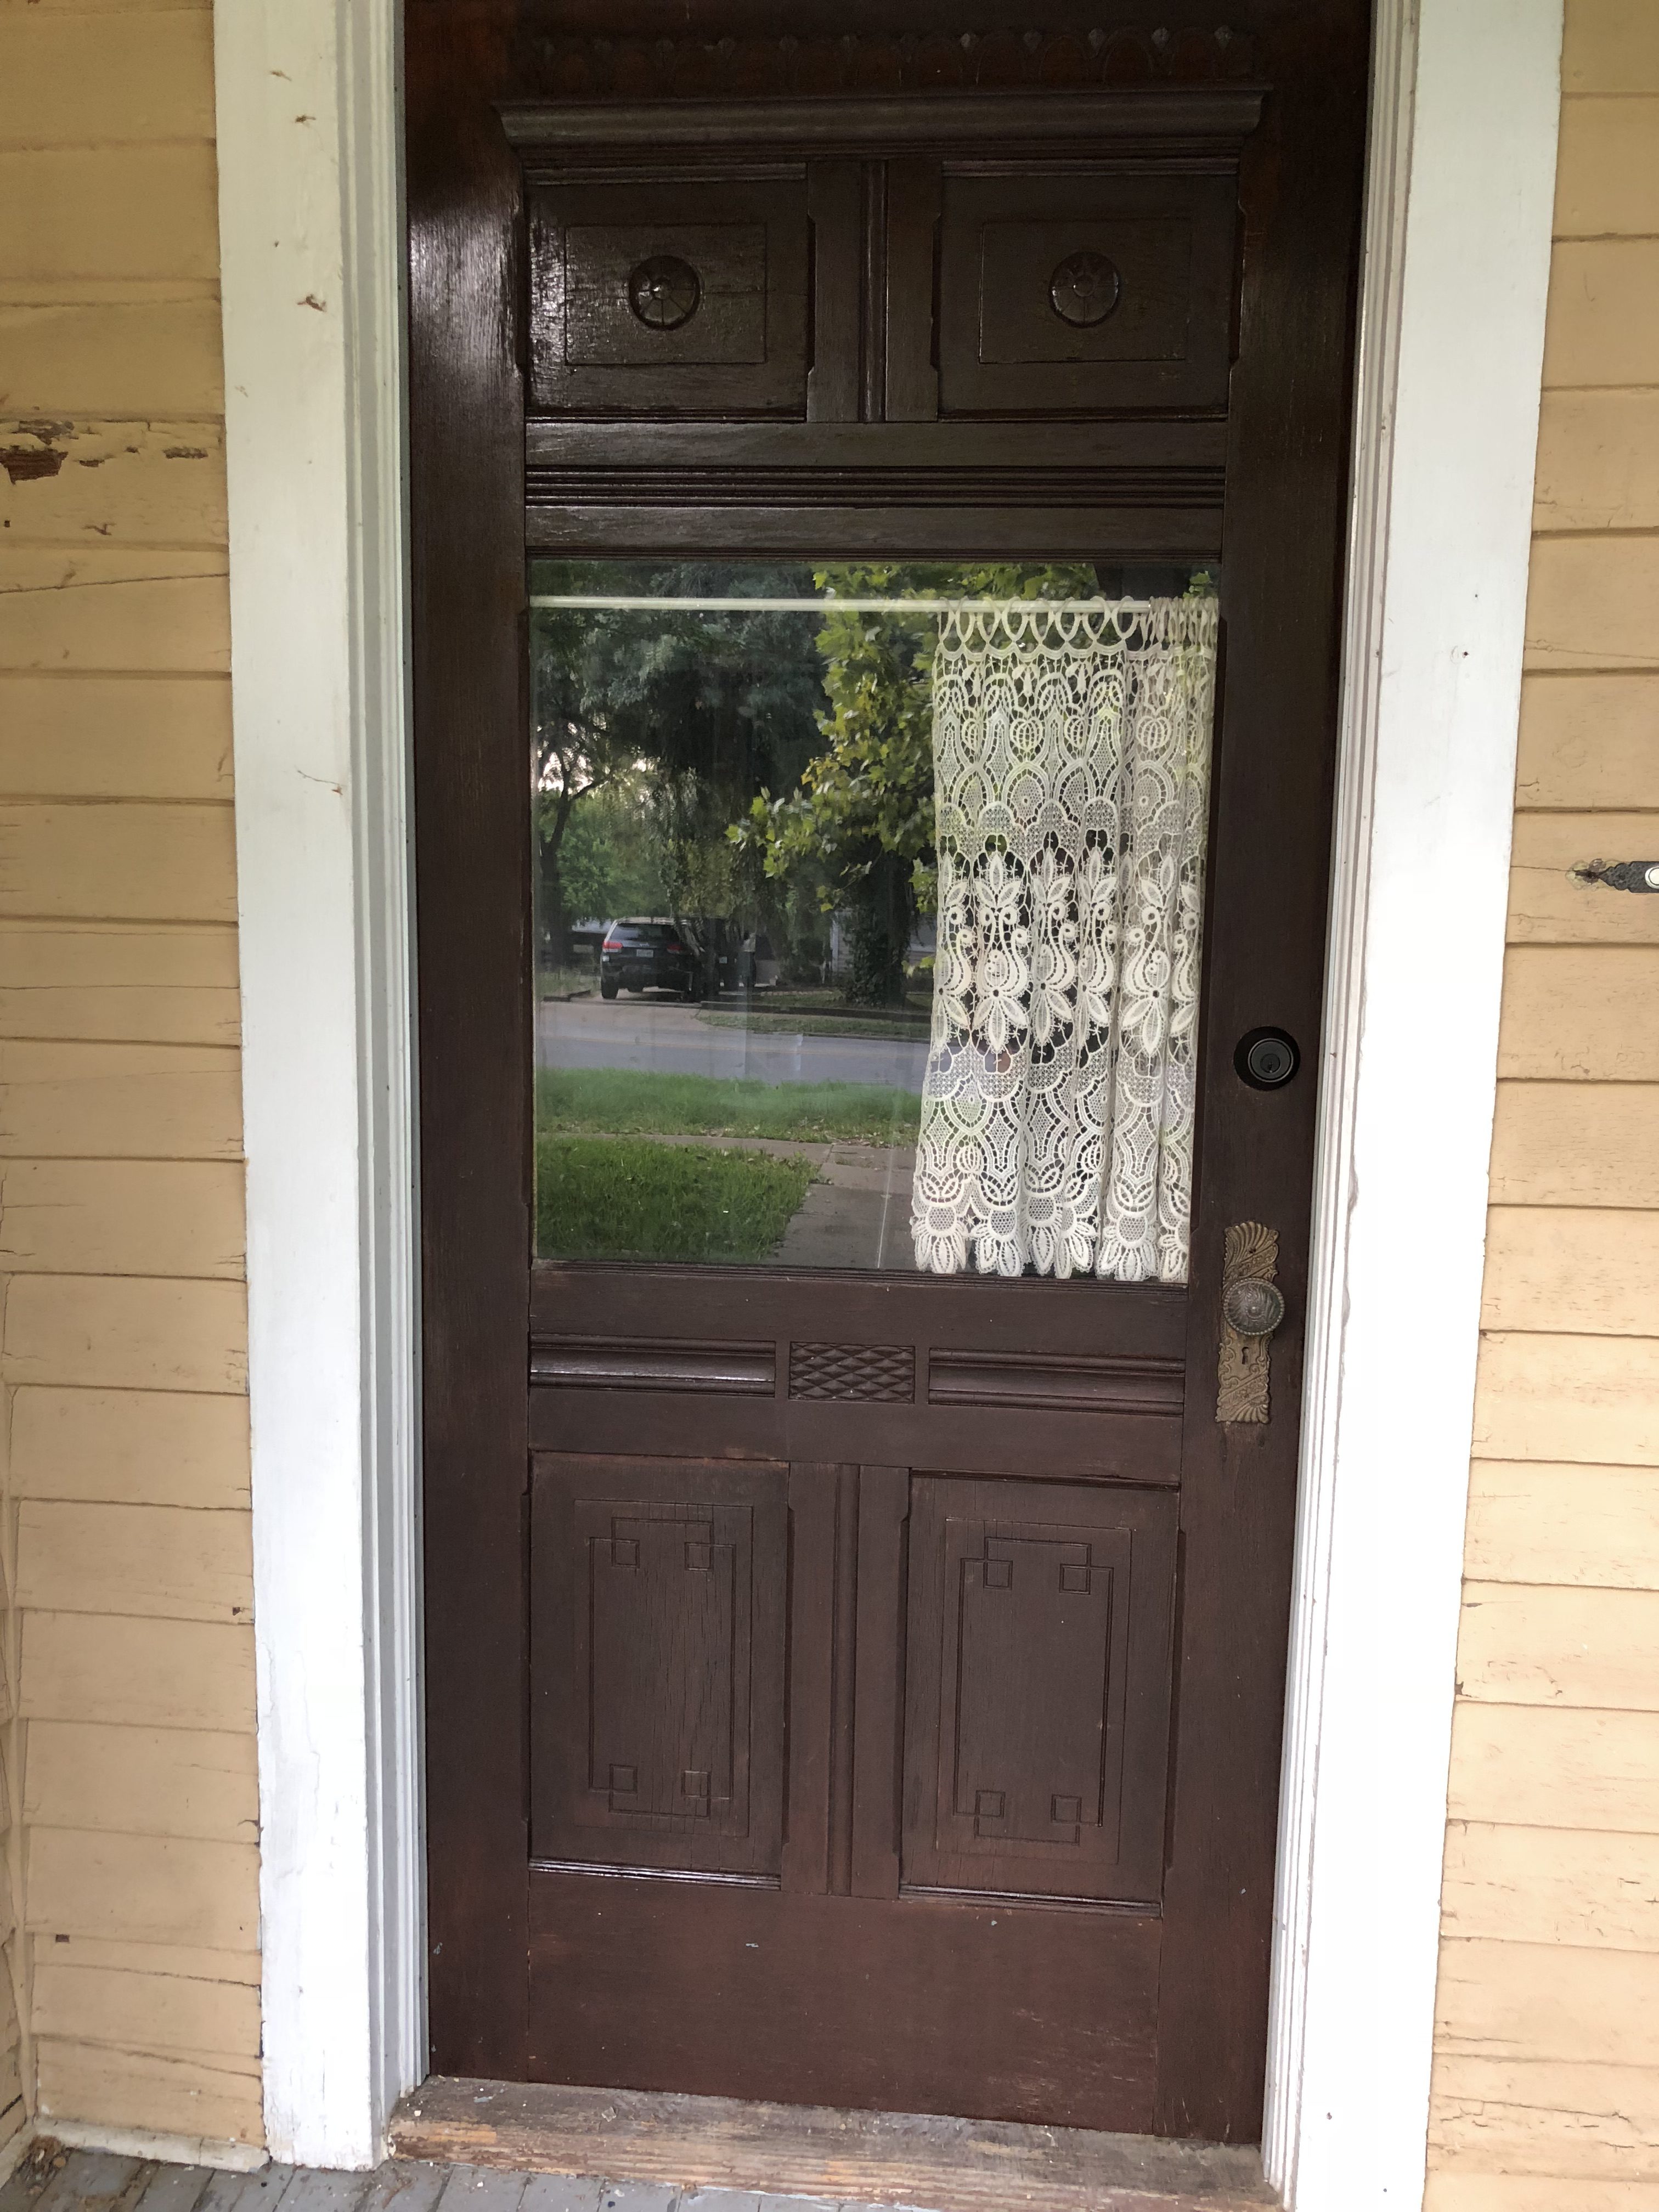
And the after!

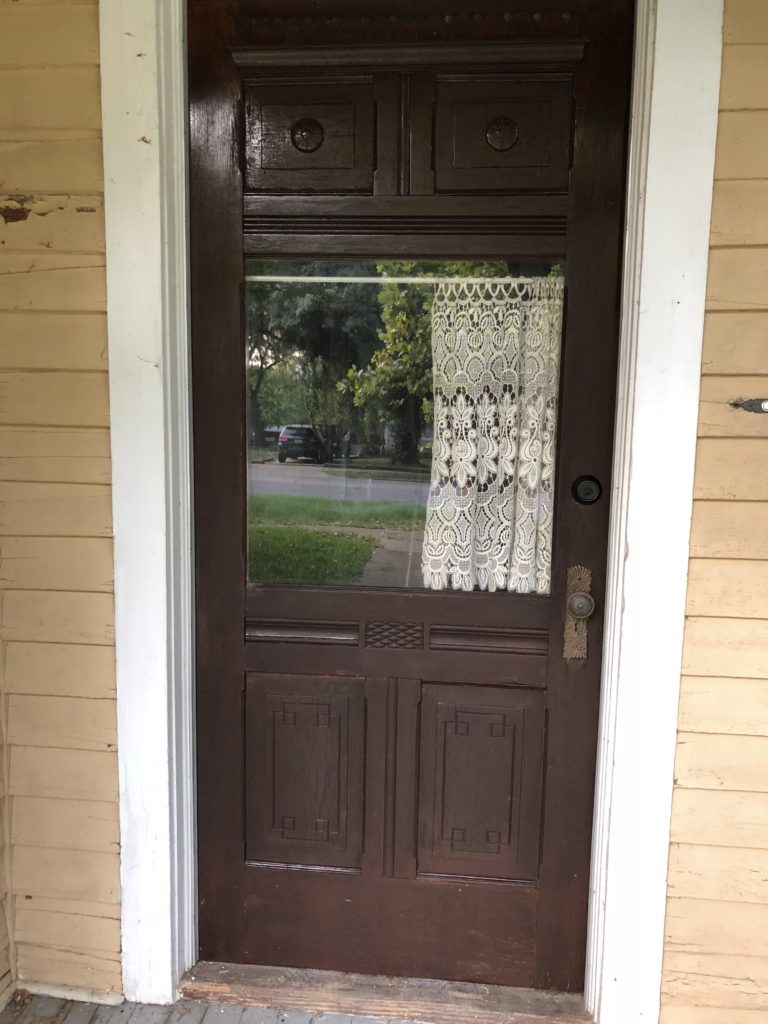
Again, no staged professional photos here. 🙂
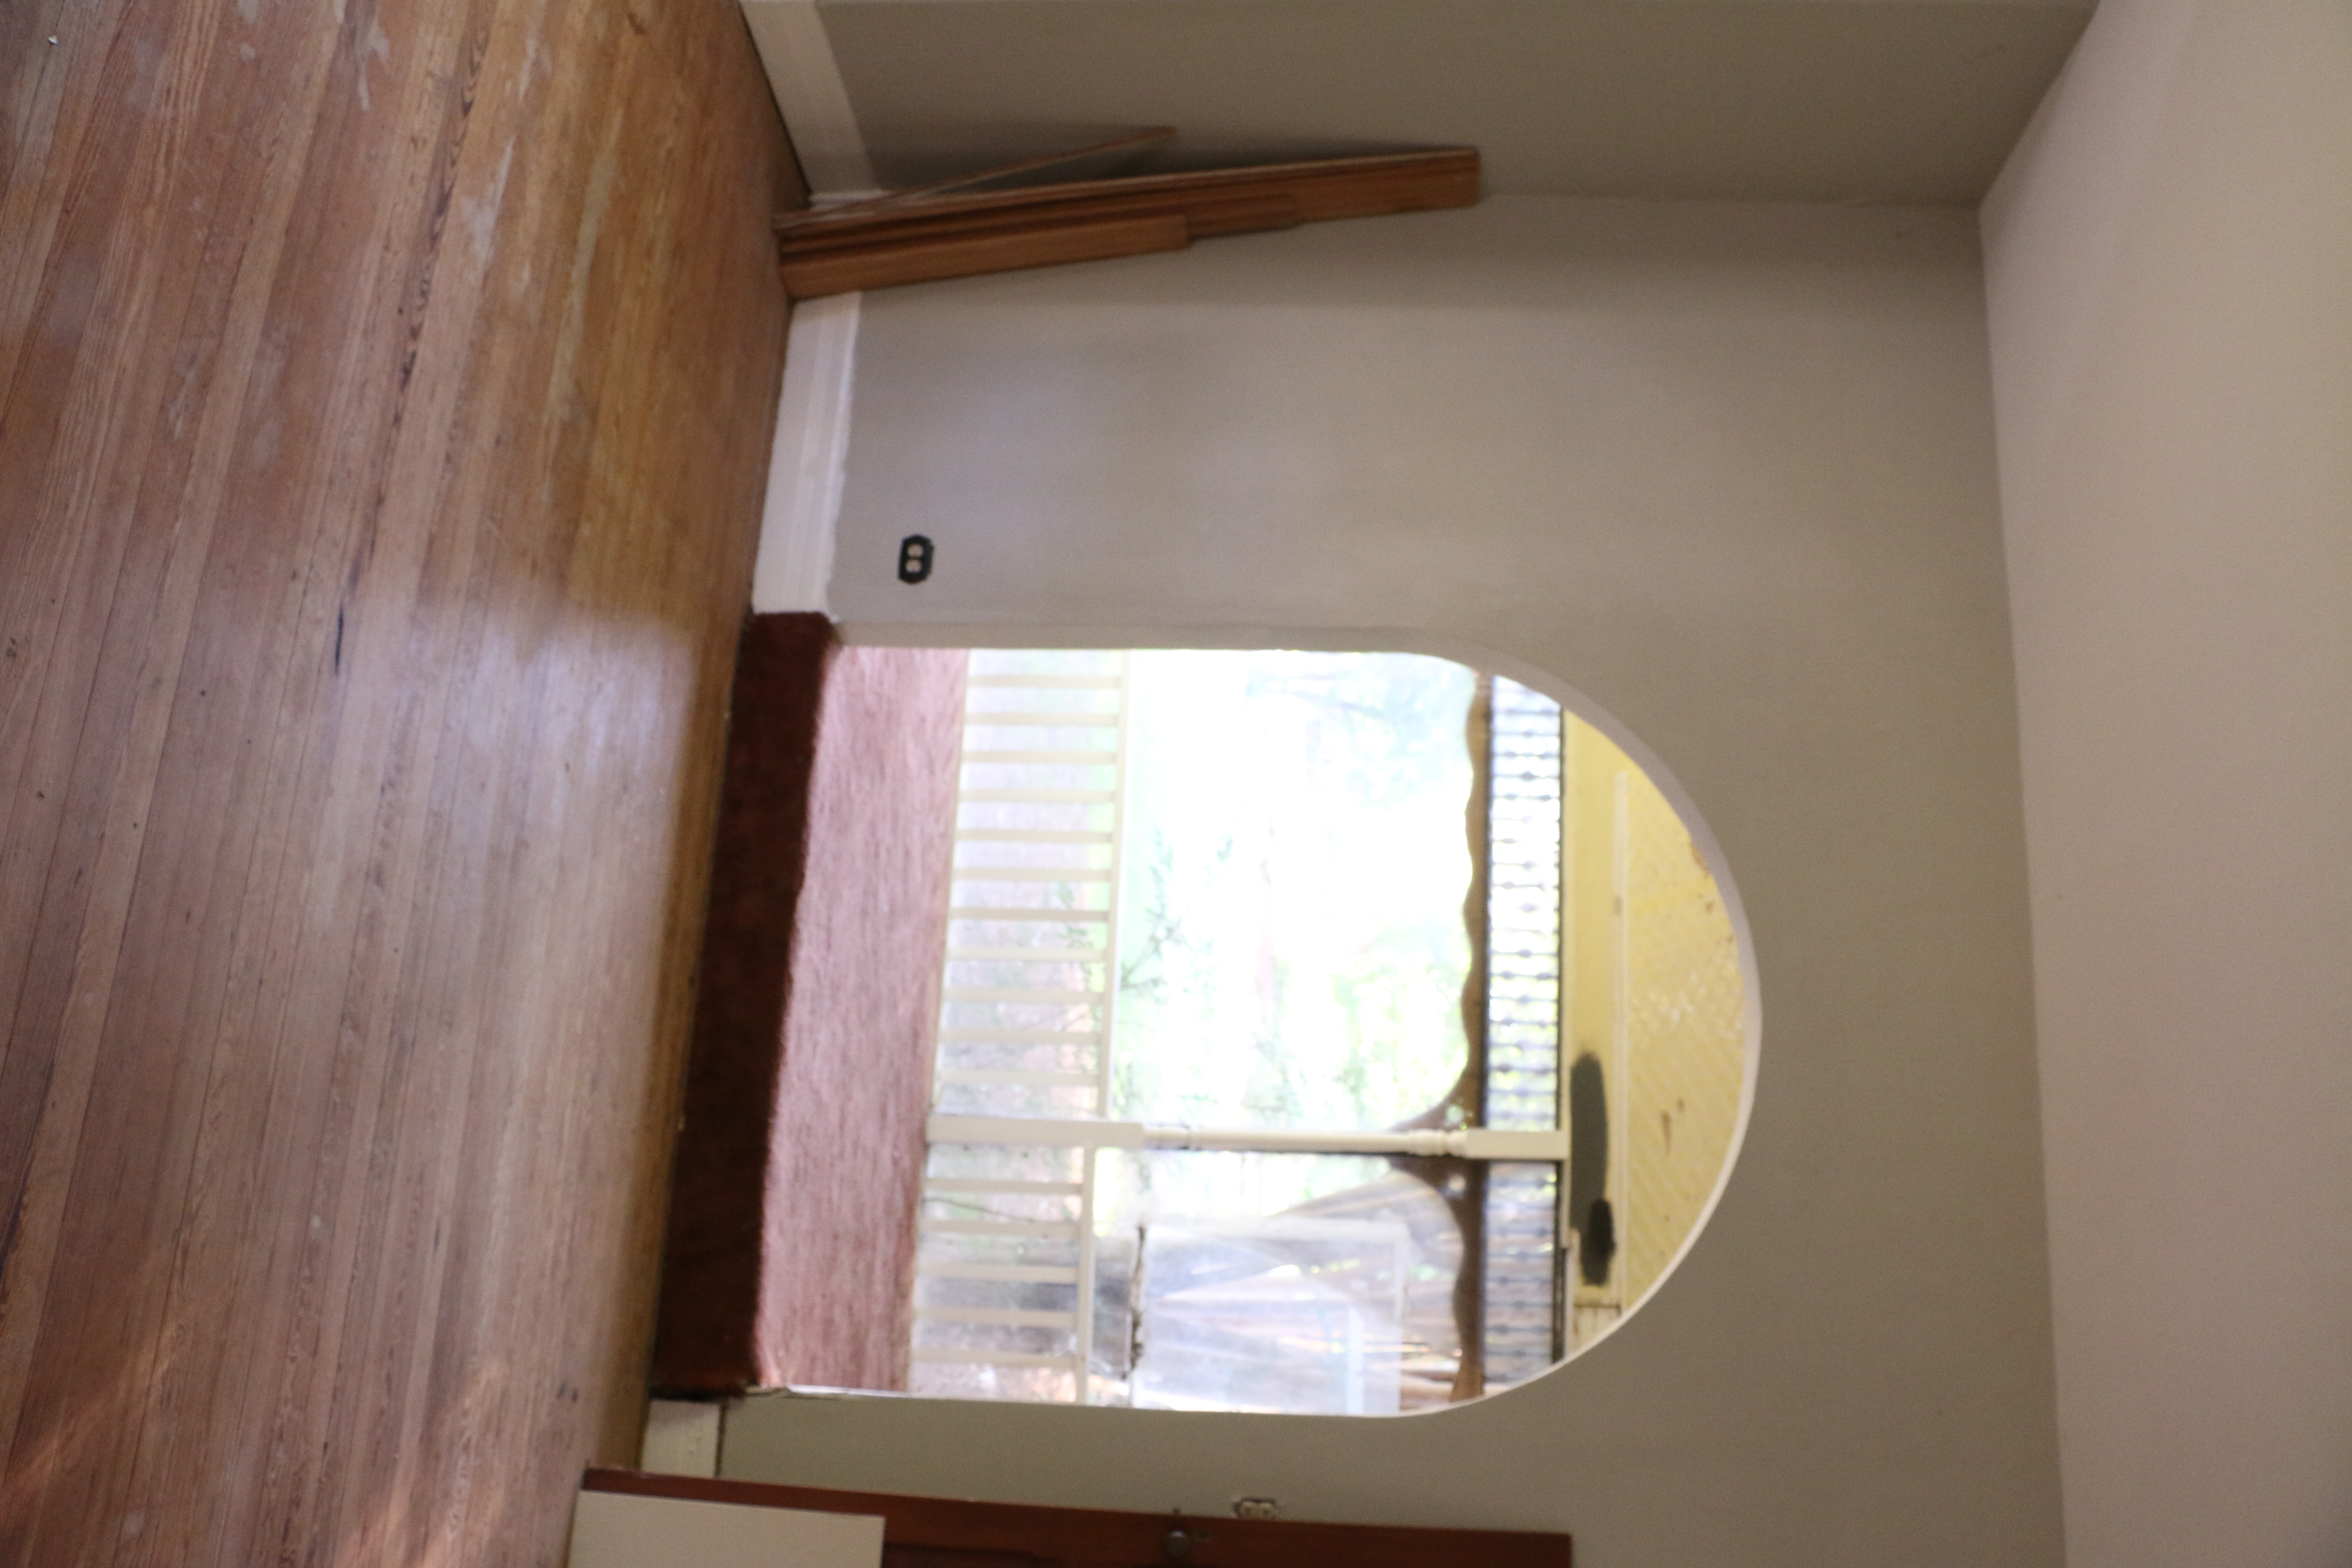
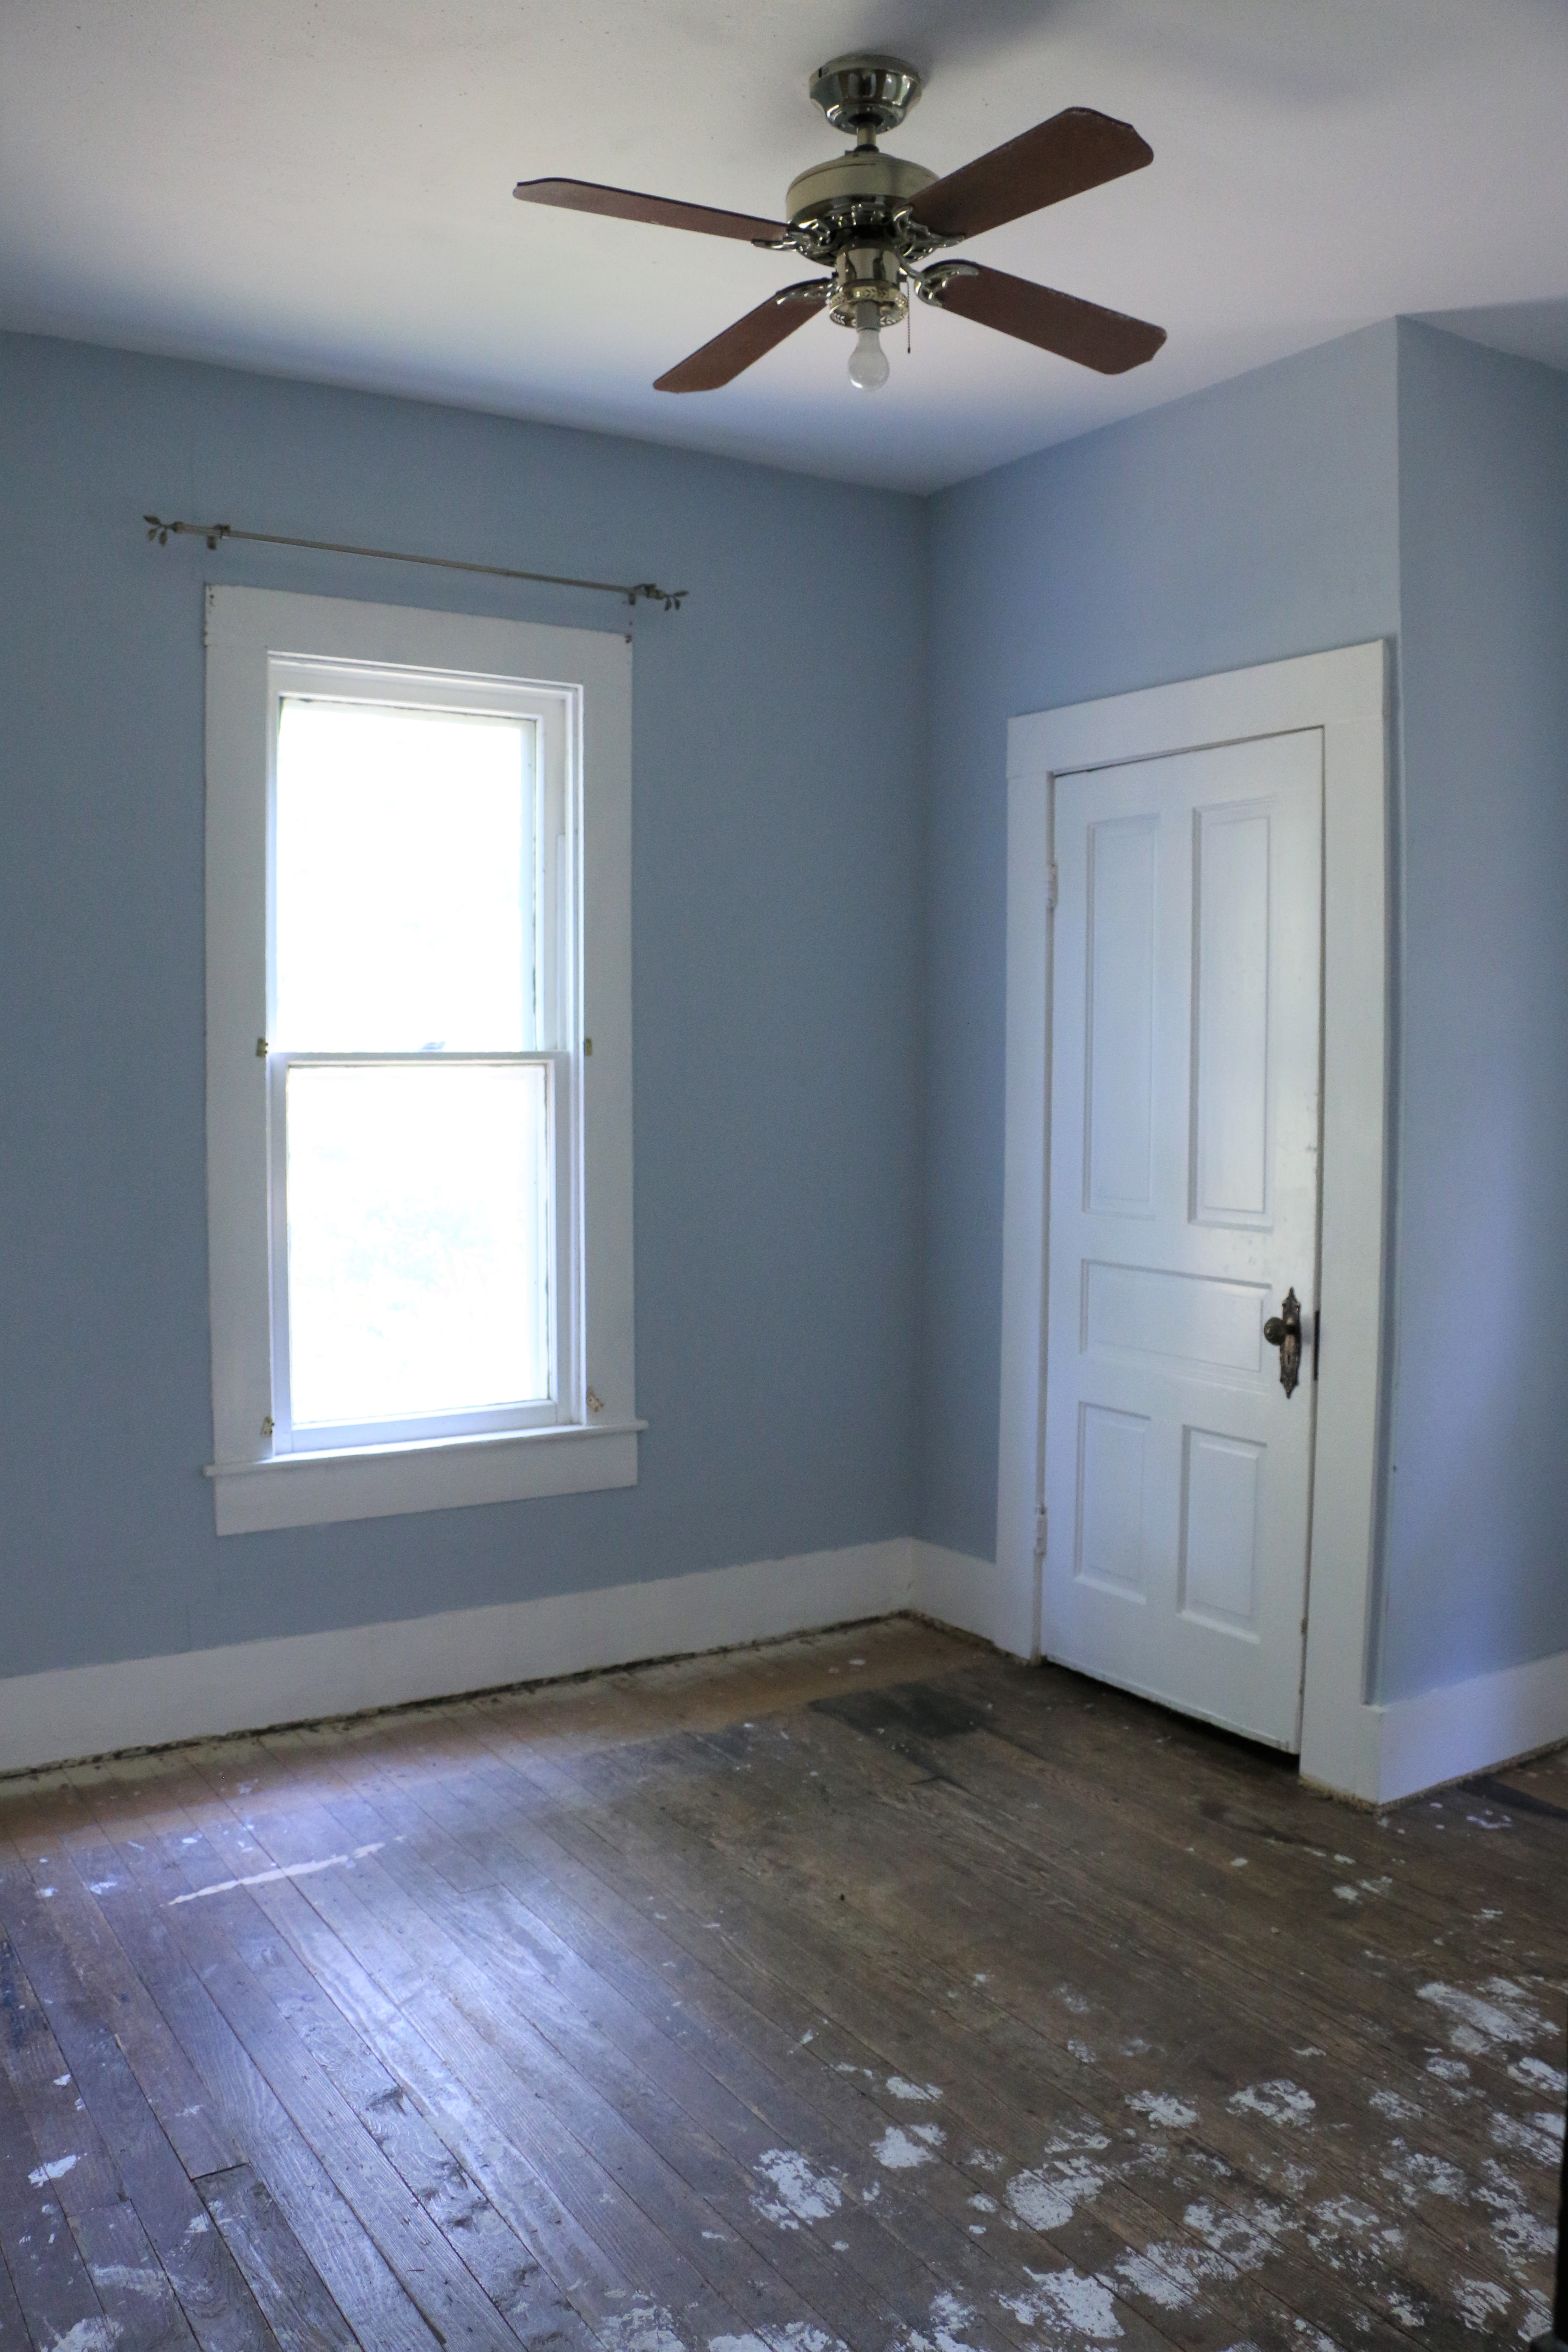
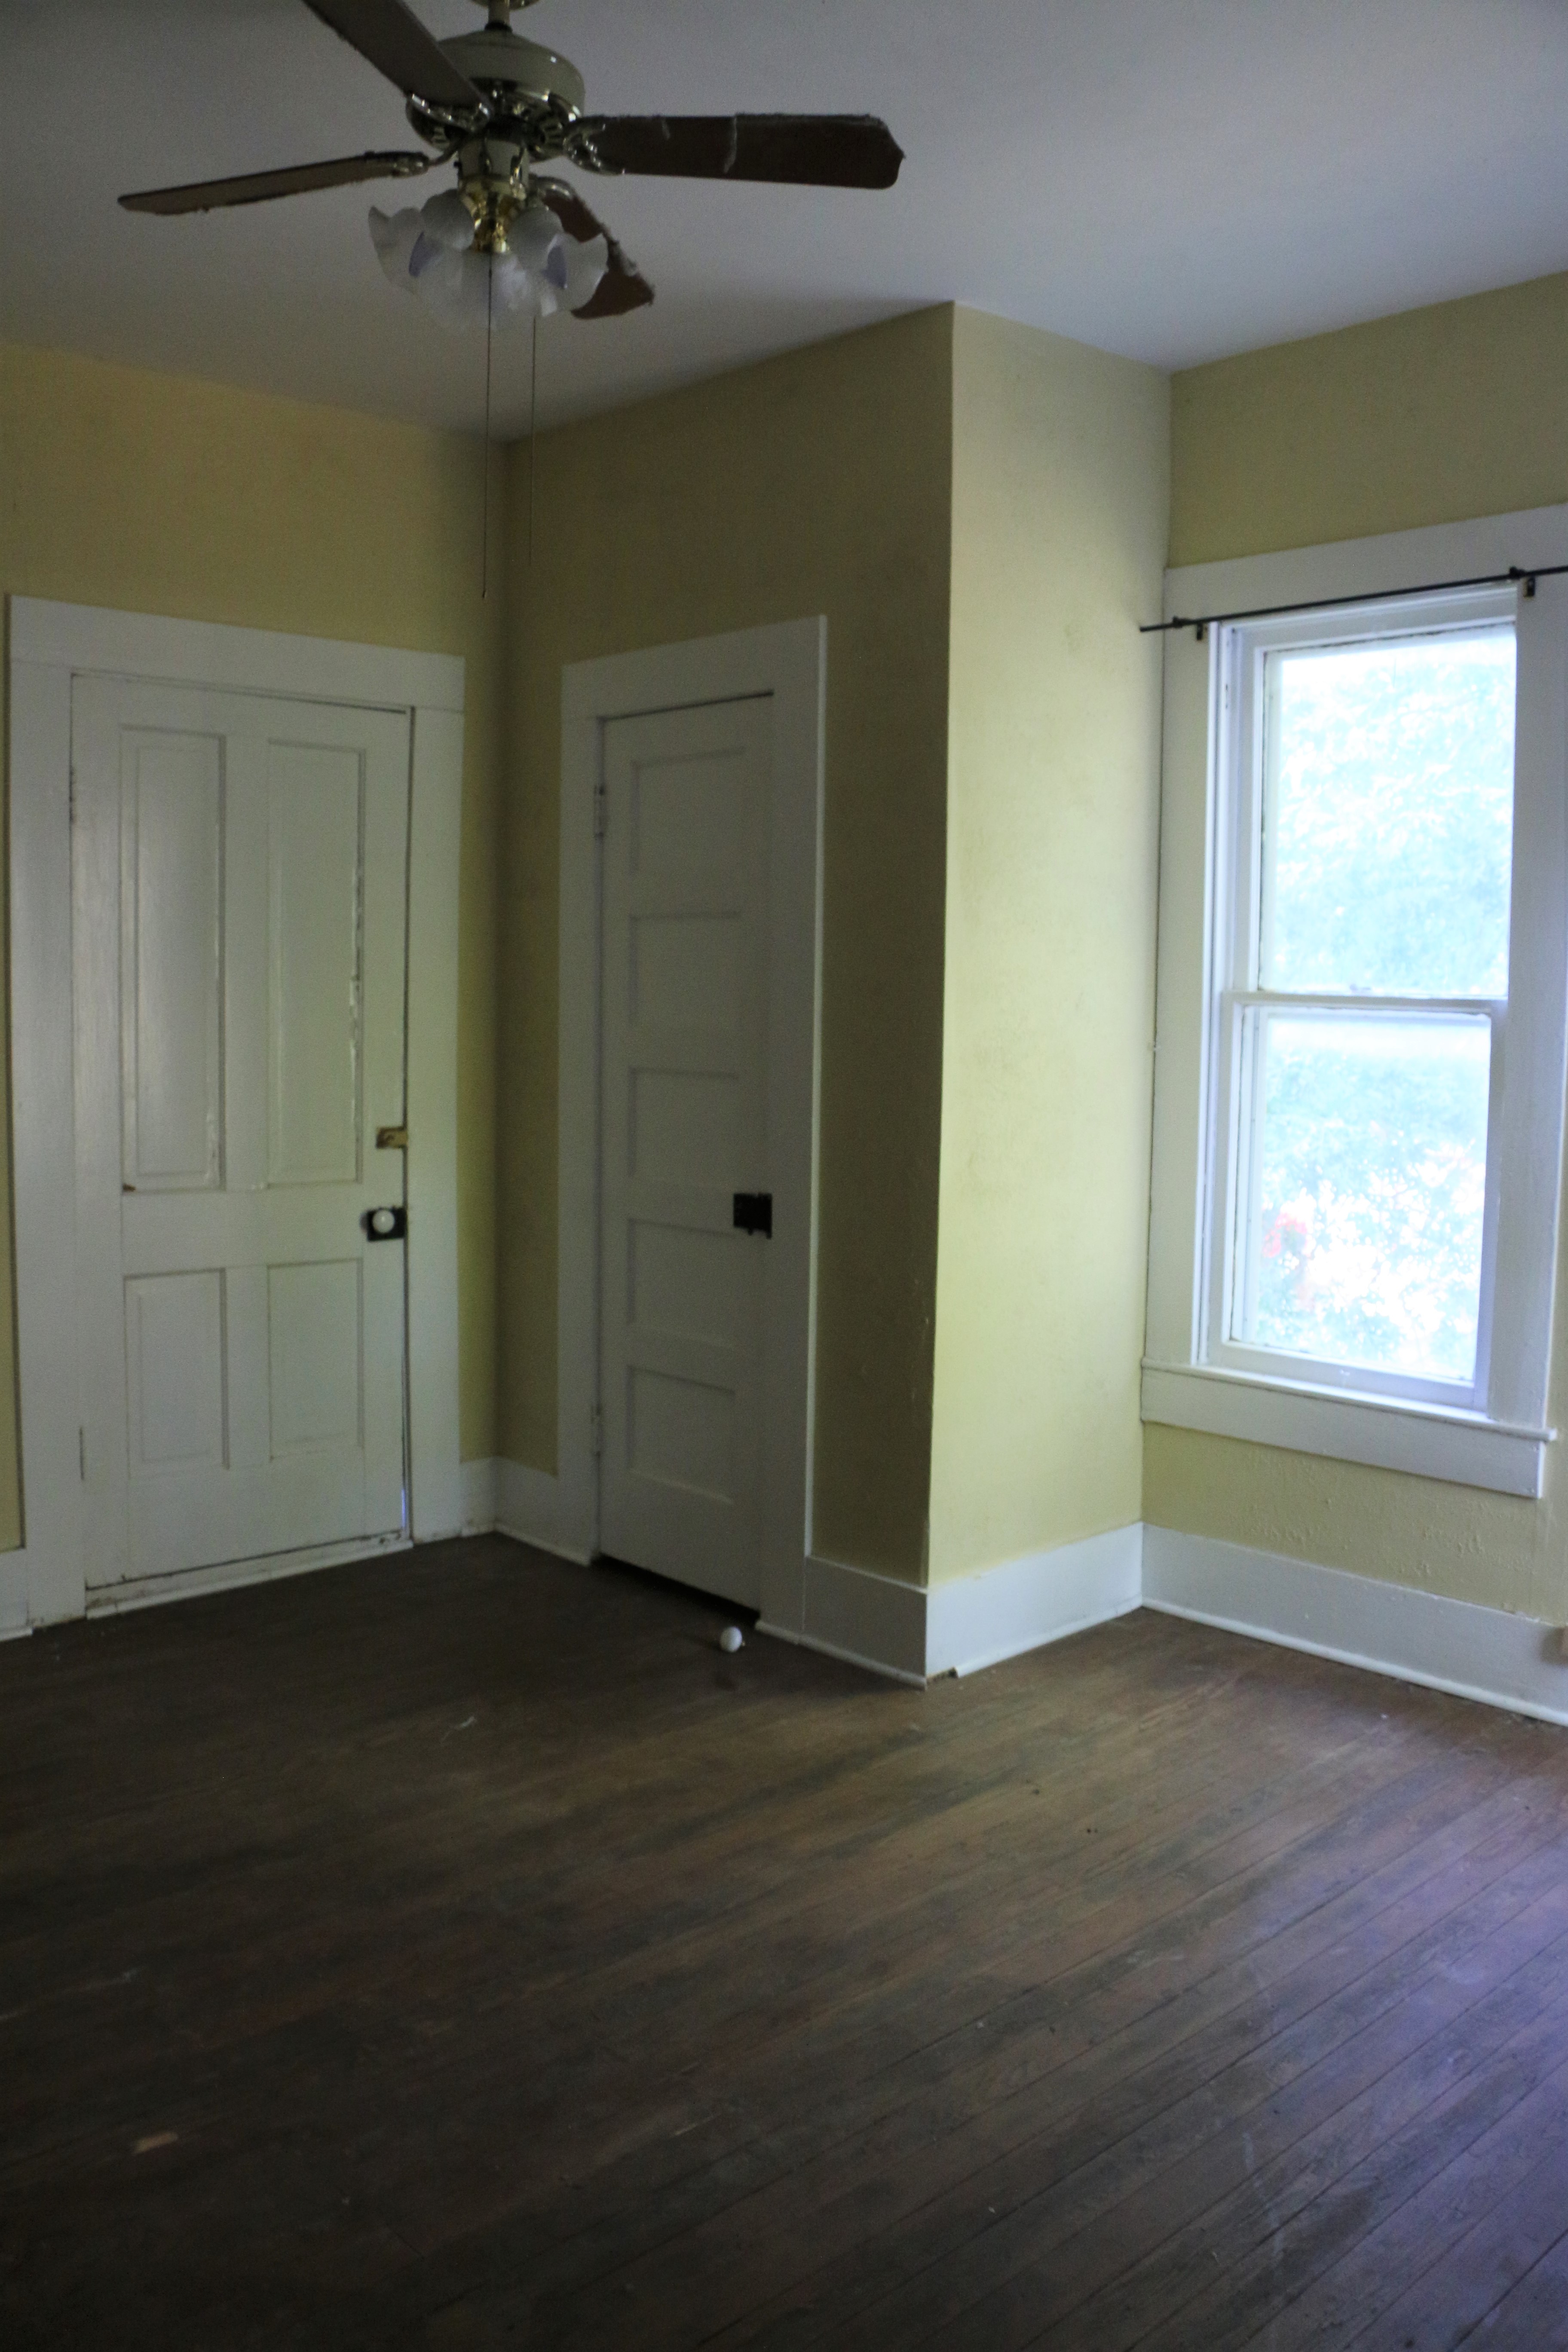
The Front Bedroom 

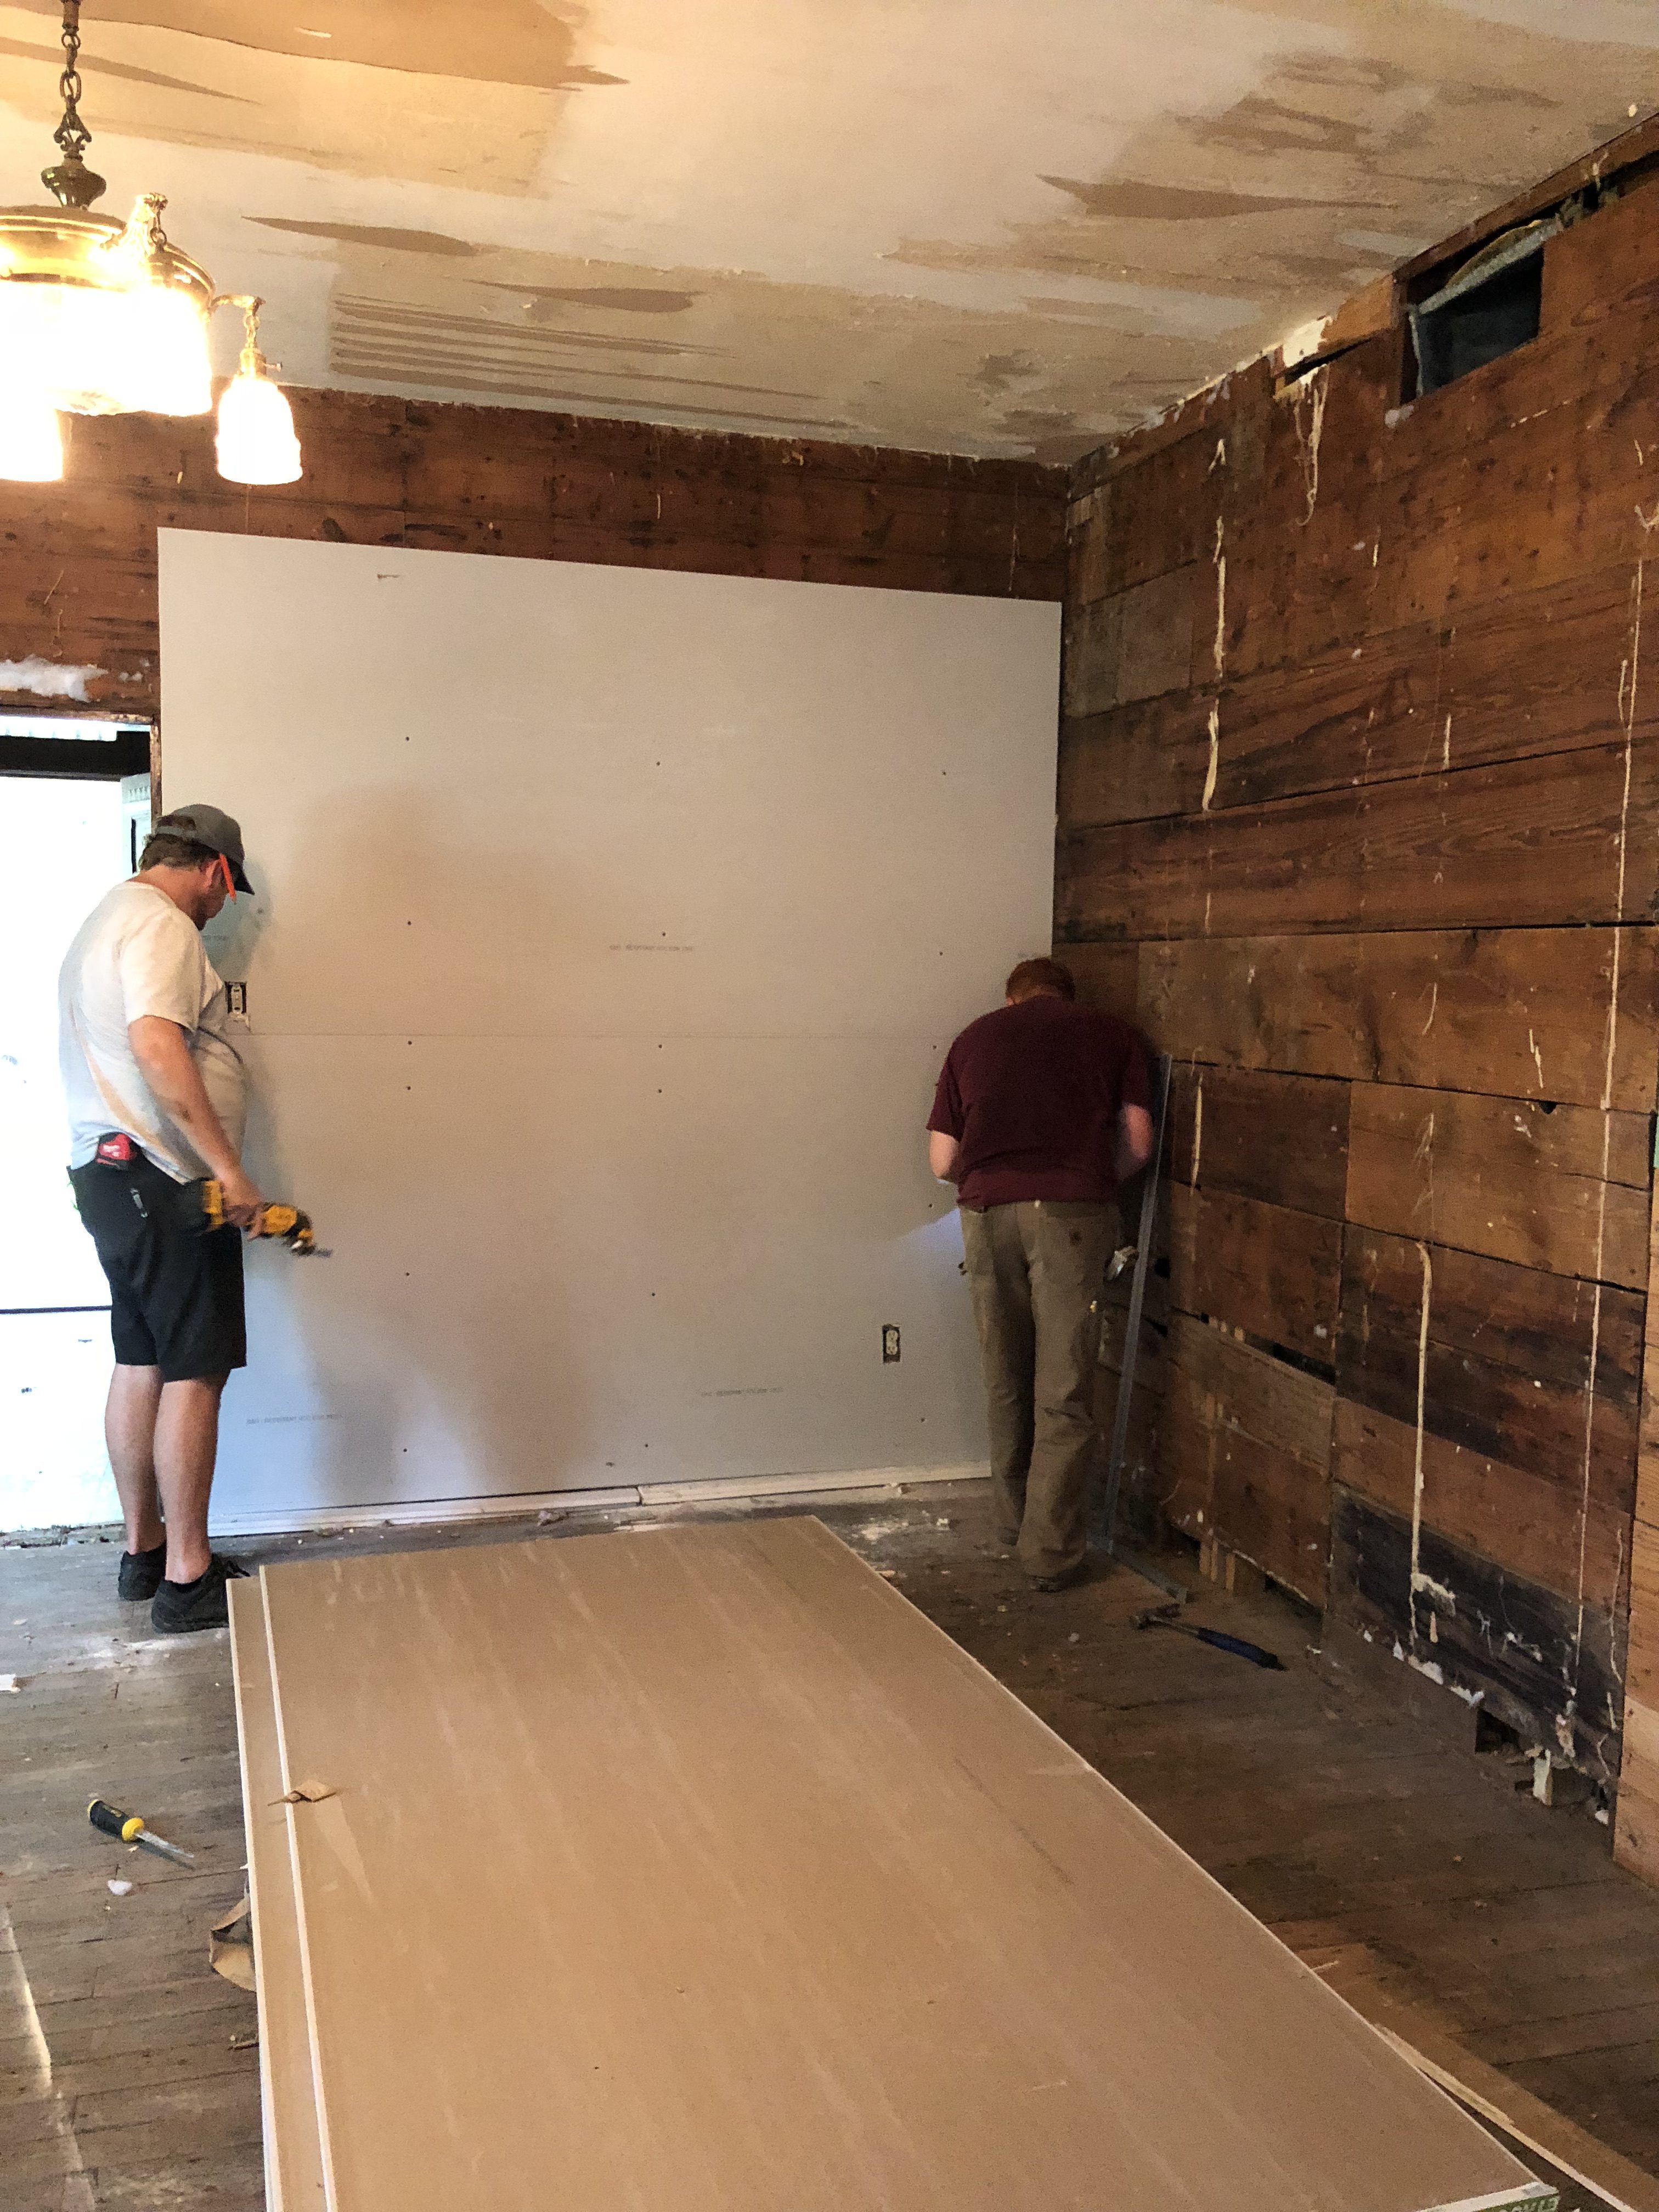
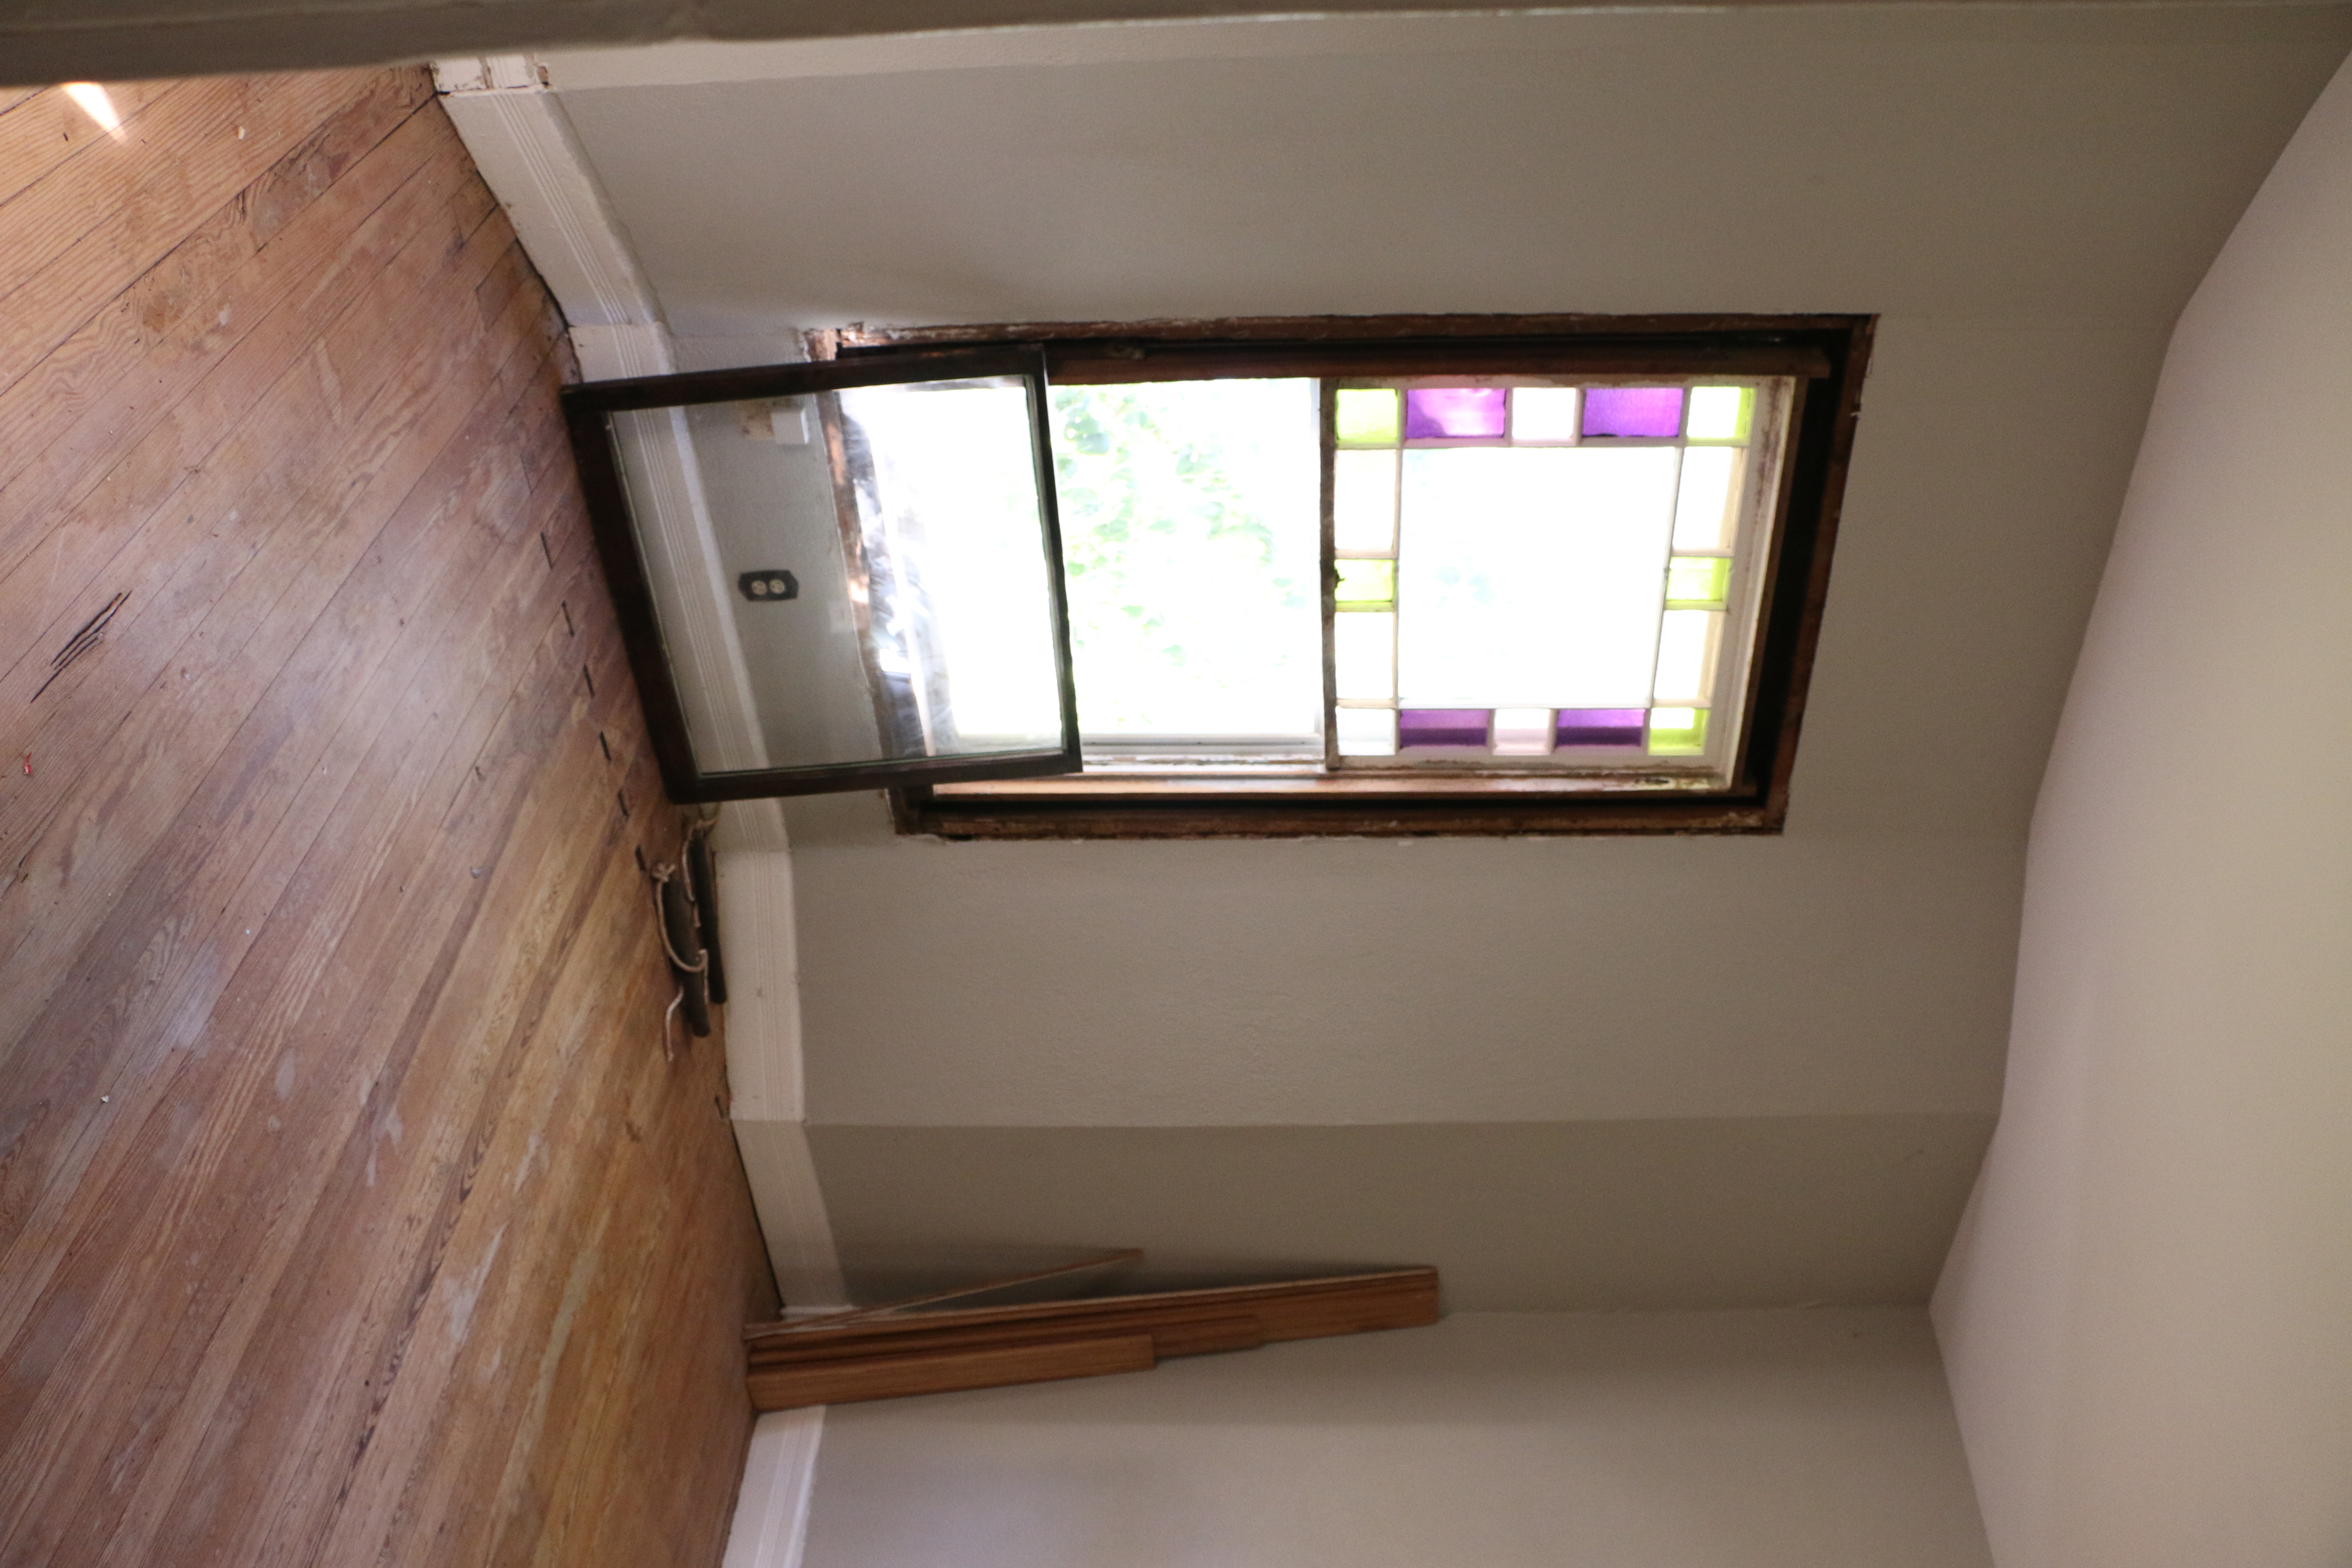
As you know, one of the main projects was closing in the archway off the bedroom onto the weird carpeted porch. We (and by we, I mean Ethan, his dad, and brother) opened the wall, straightened the archway, added french doors. This room has been primed and ready for paint as well.

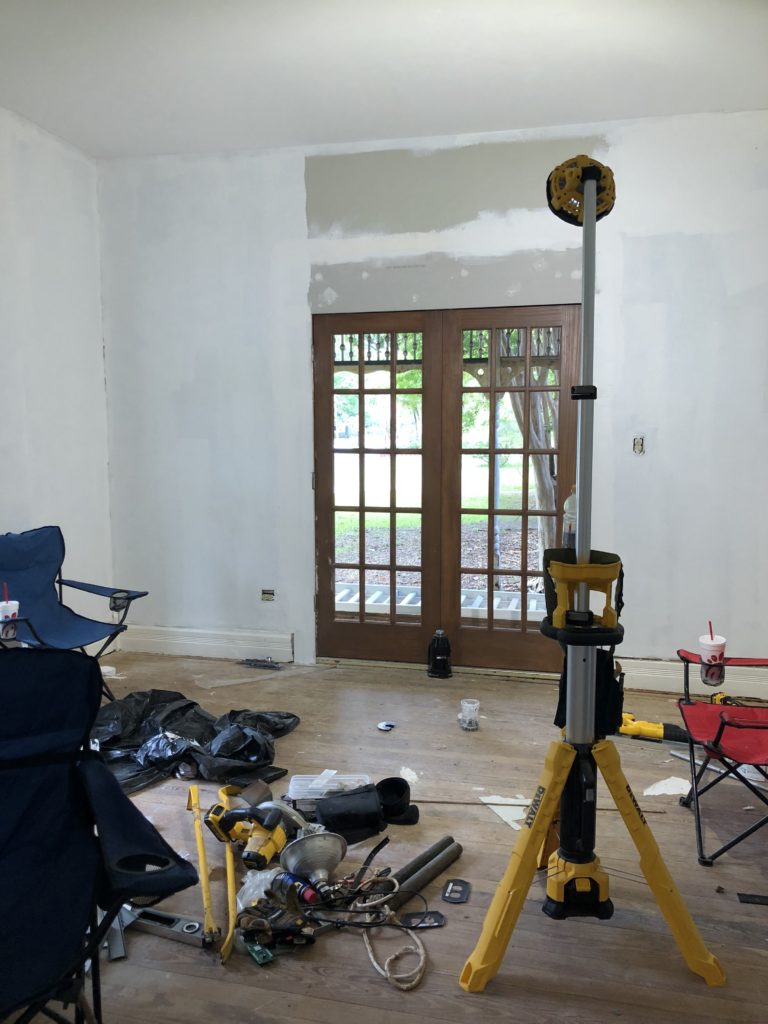
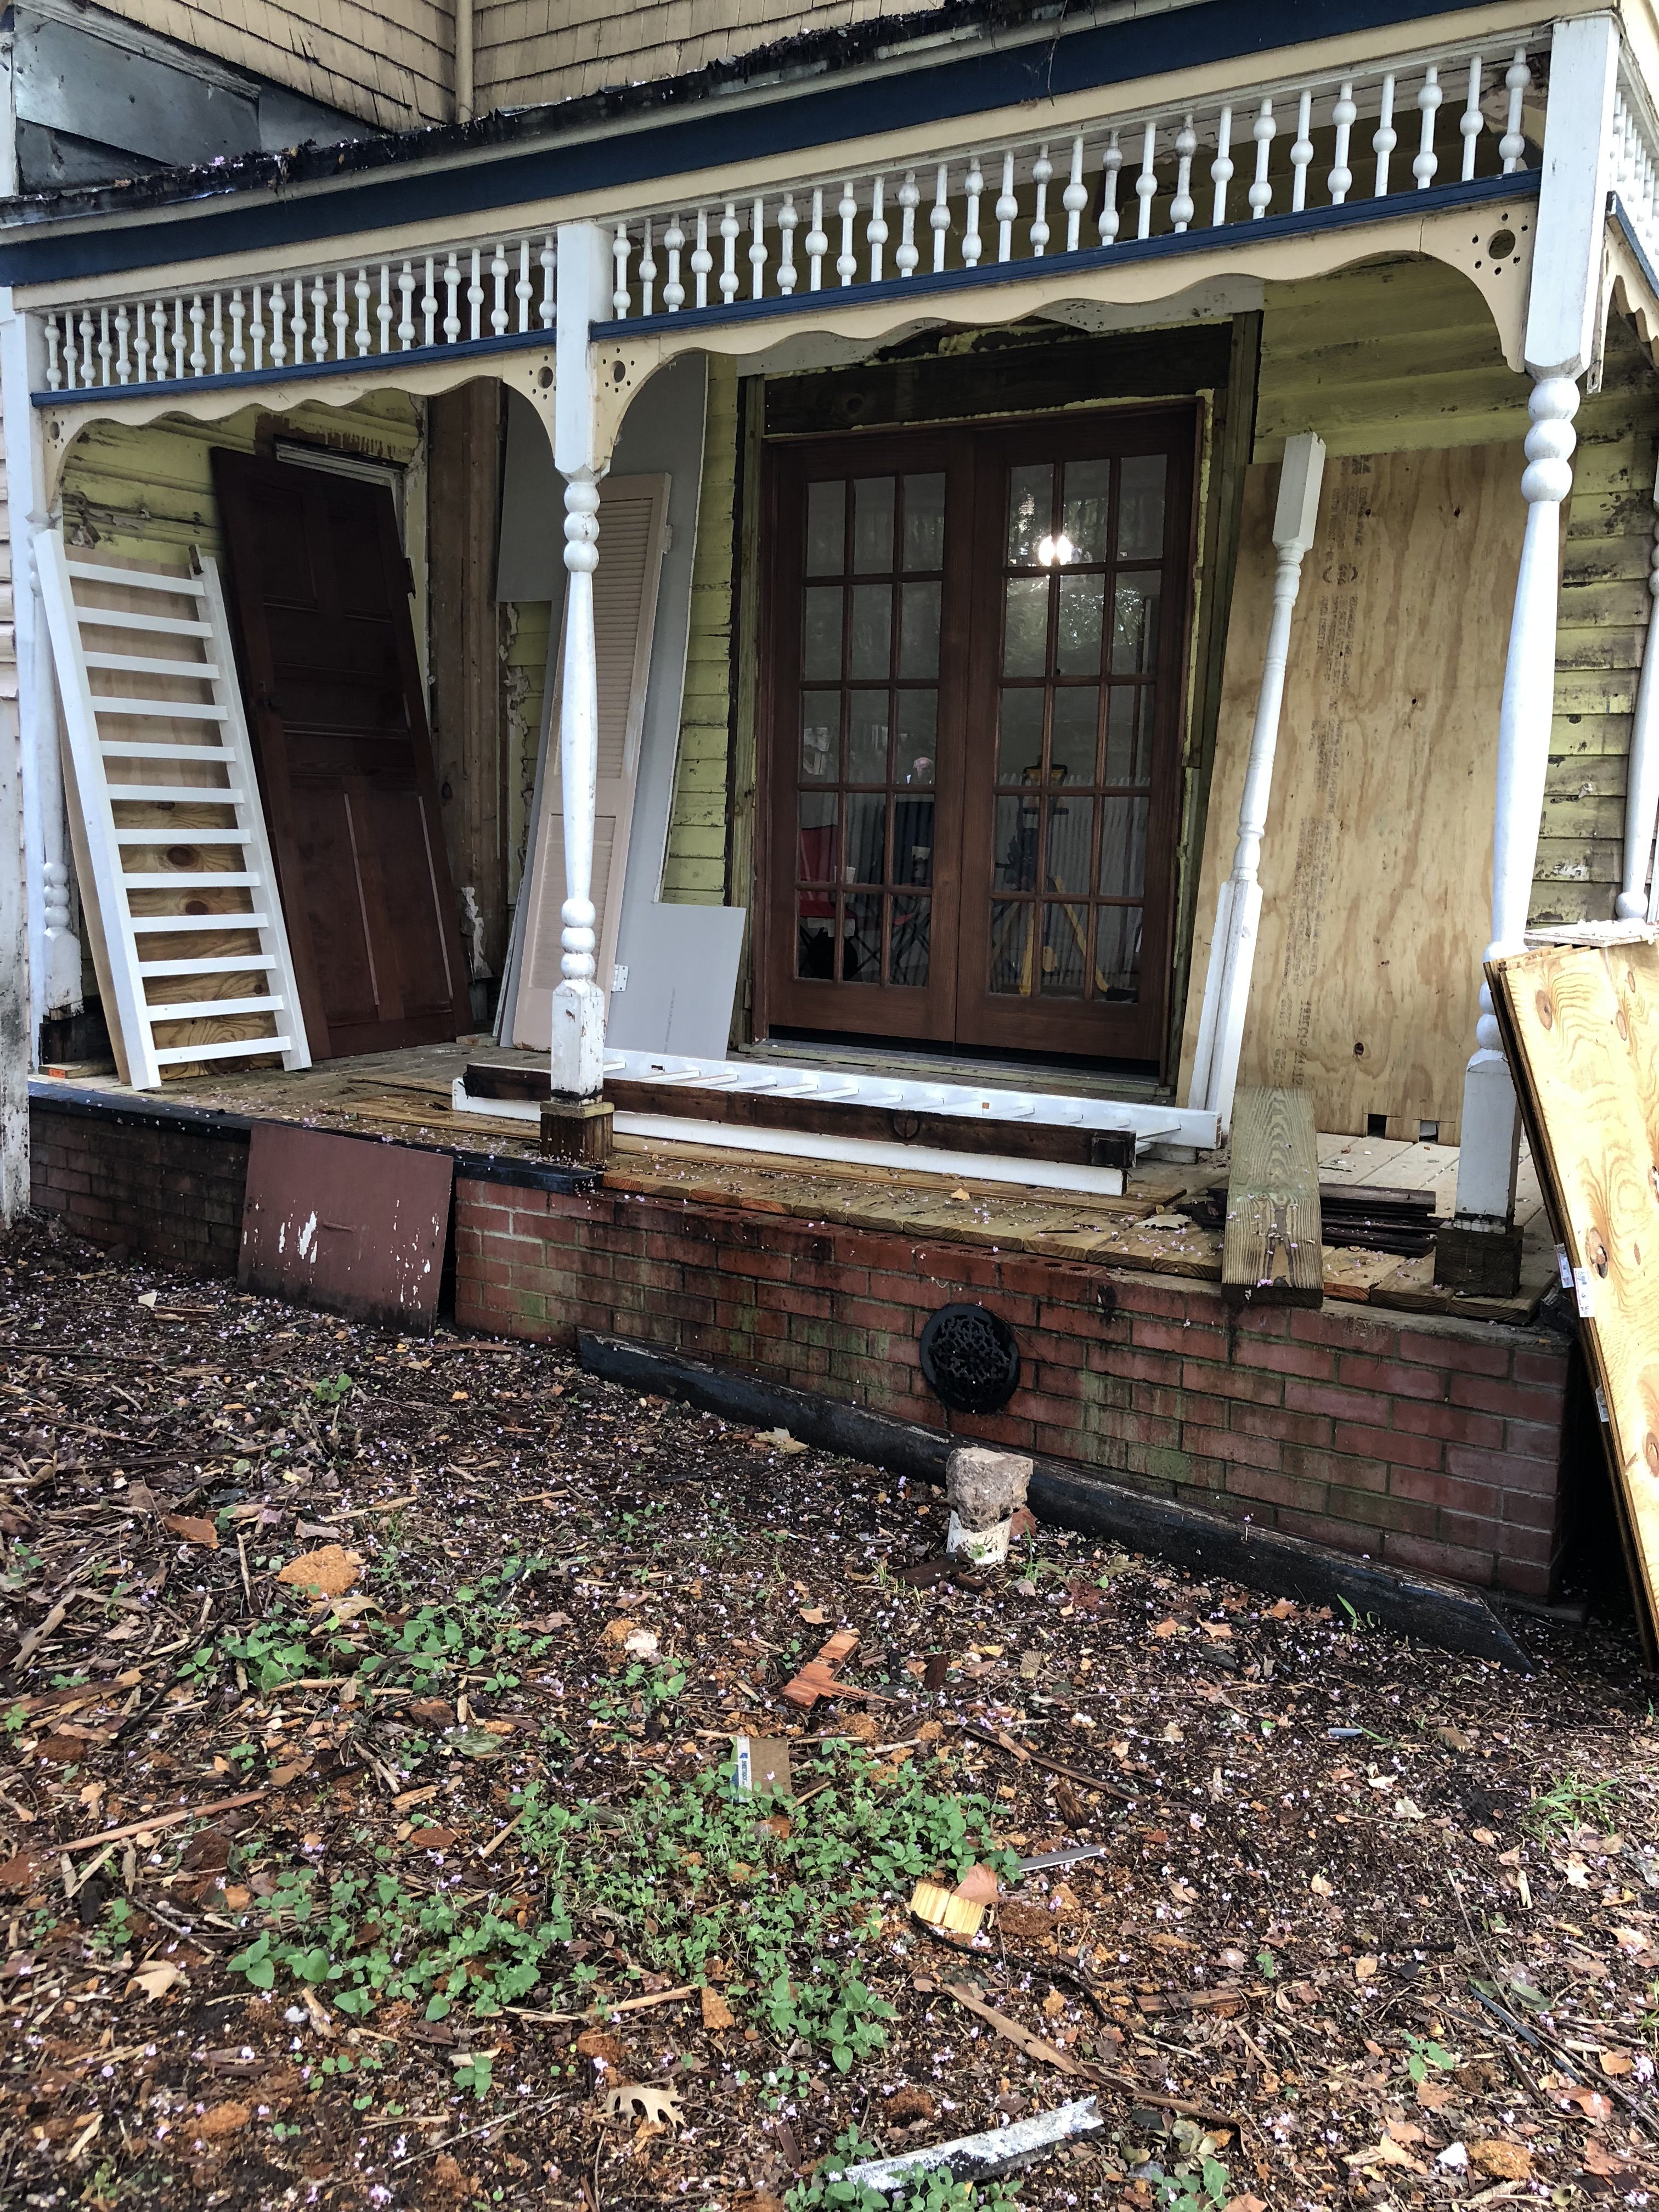
On the outside of the doors, the guys added a completely new porch. The existing sun porch was about six inches higher than the floor in the bedroom, and was just rotten plywood under the carpet. Gross, I know. The tore the entire thing out, put in new support beams on the ground, lowered the floor to the same height at the bedroom floor, and laid new deck boards.

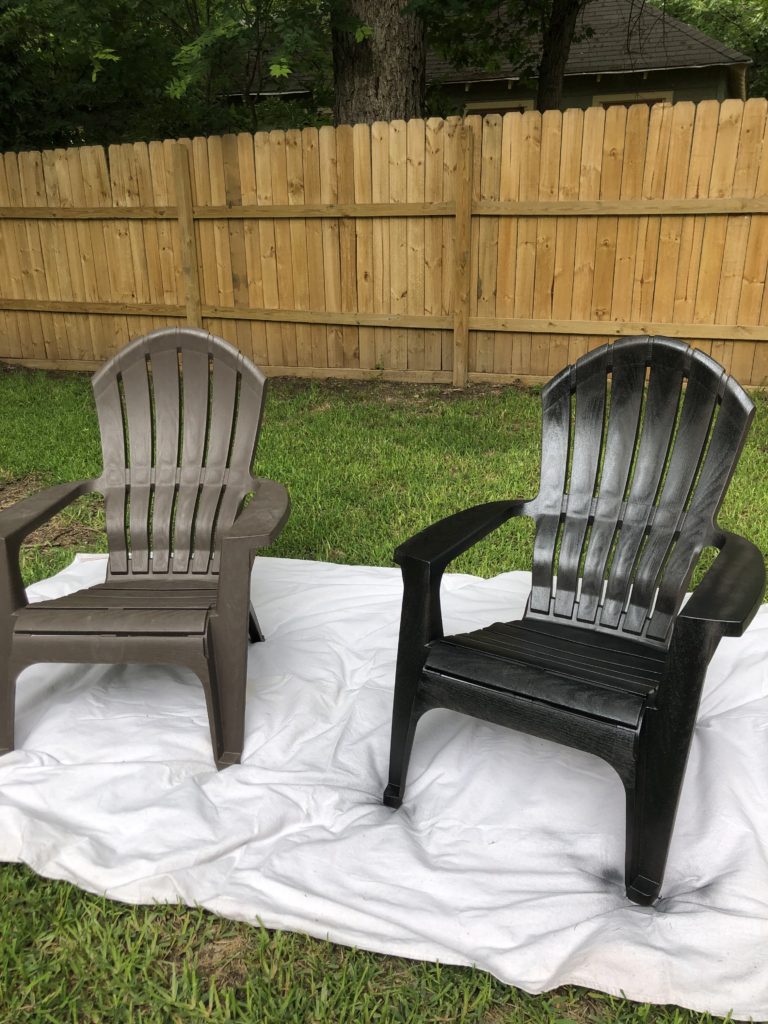
Right now, it’s covered in excess materials from in the house, but you get the idea of what it will look like once it’s all cleaned, painted, the door has hardware, and cute rocking chairs on it.

This is the side of the house, and directly off the master bedroom, so I’m super excited about this spot.
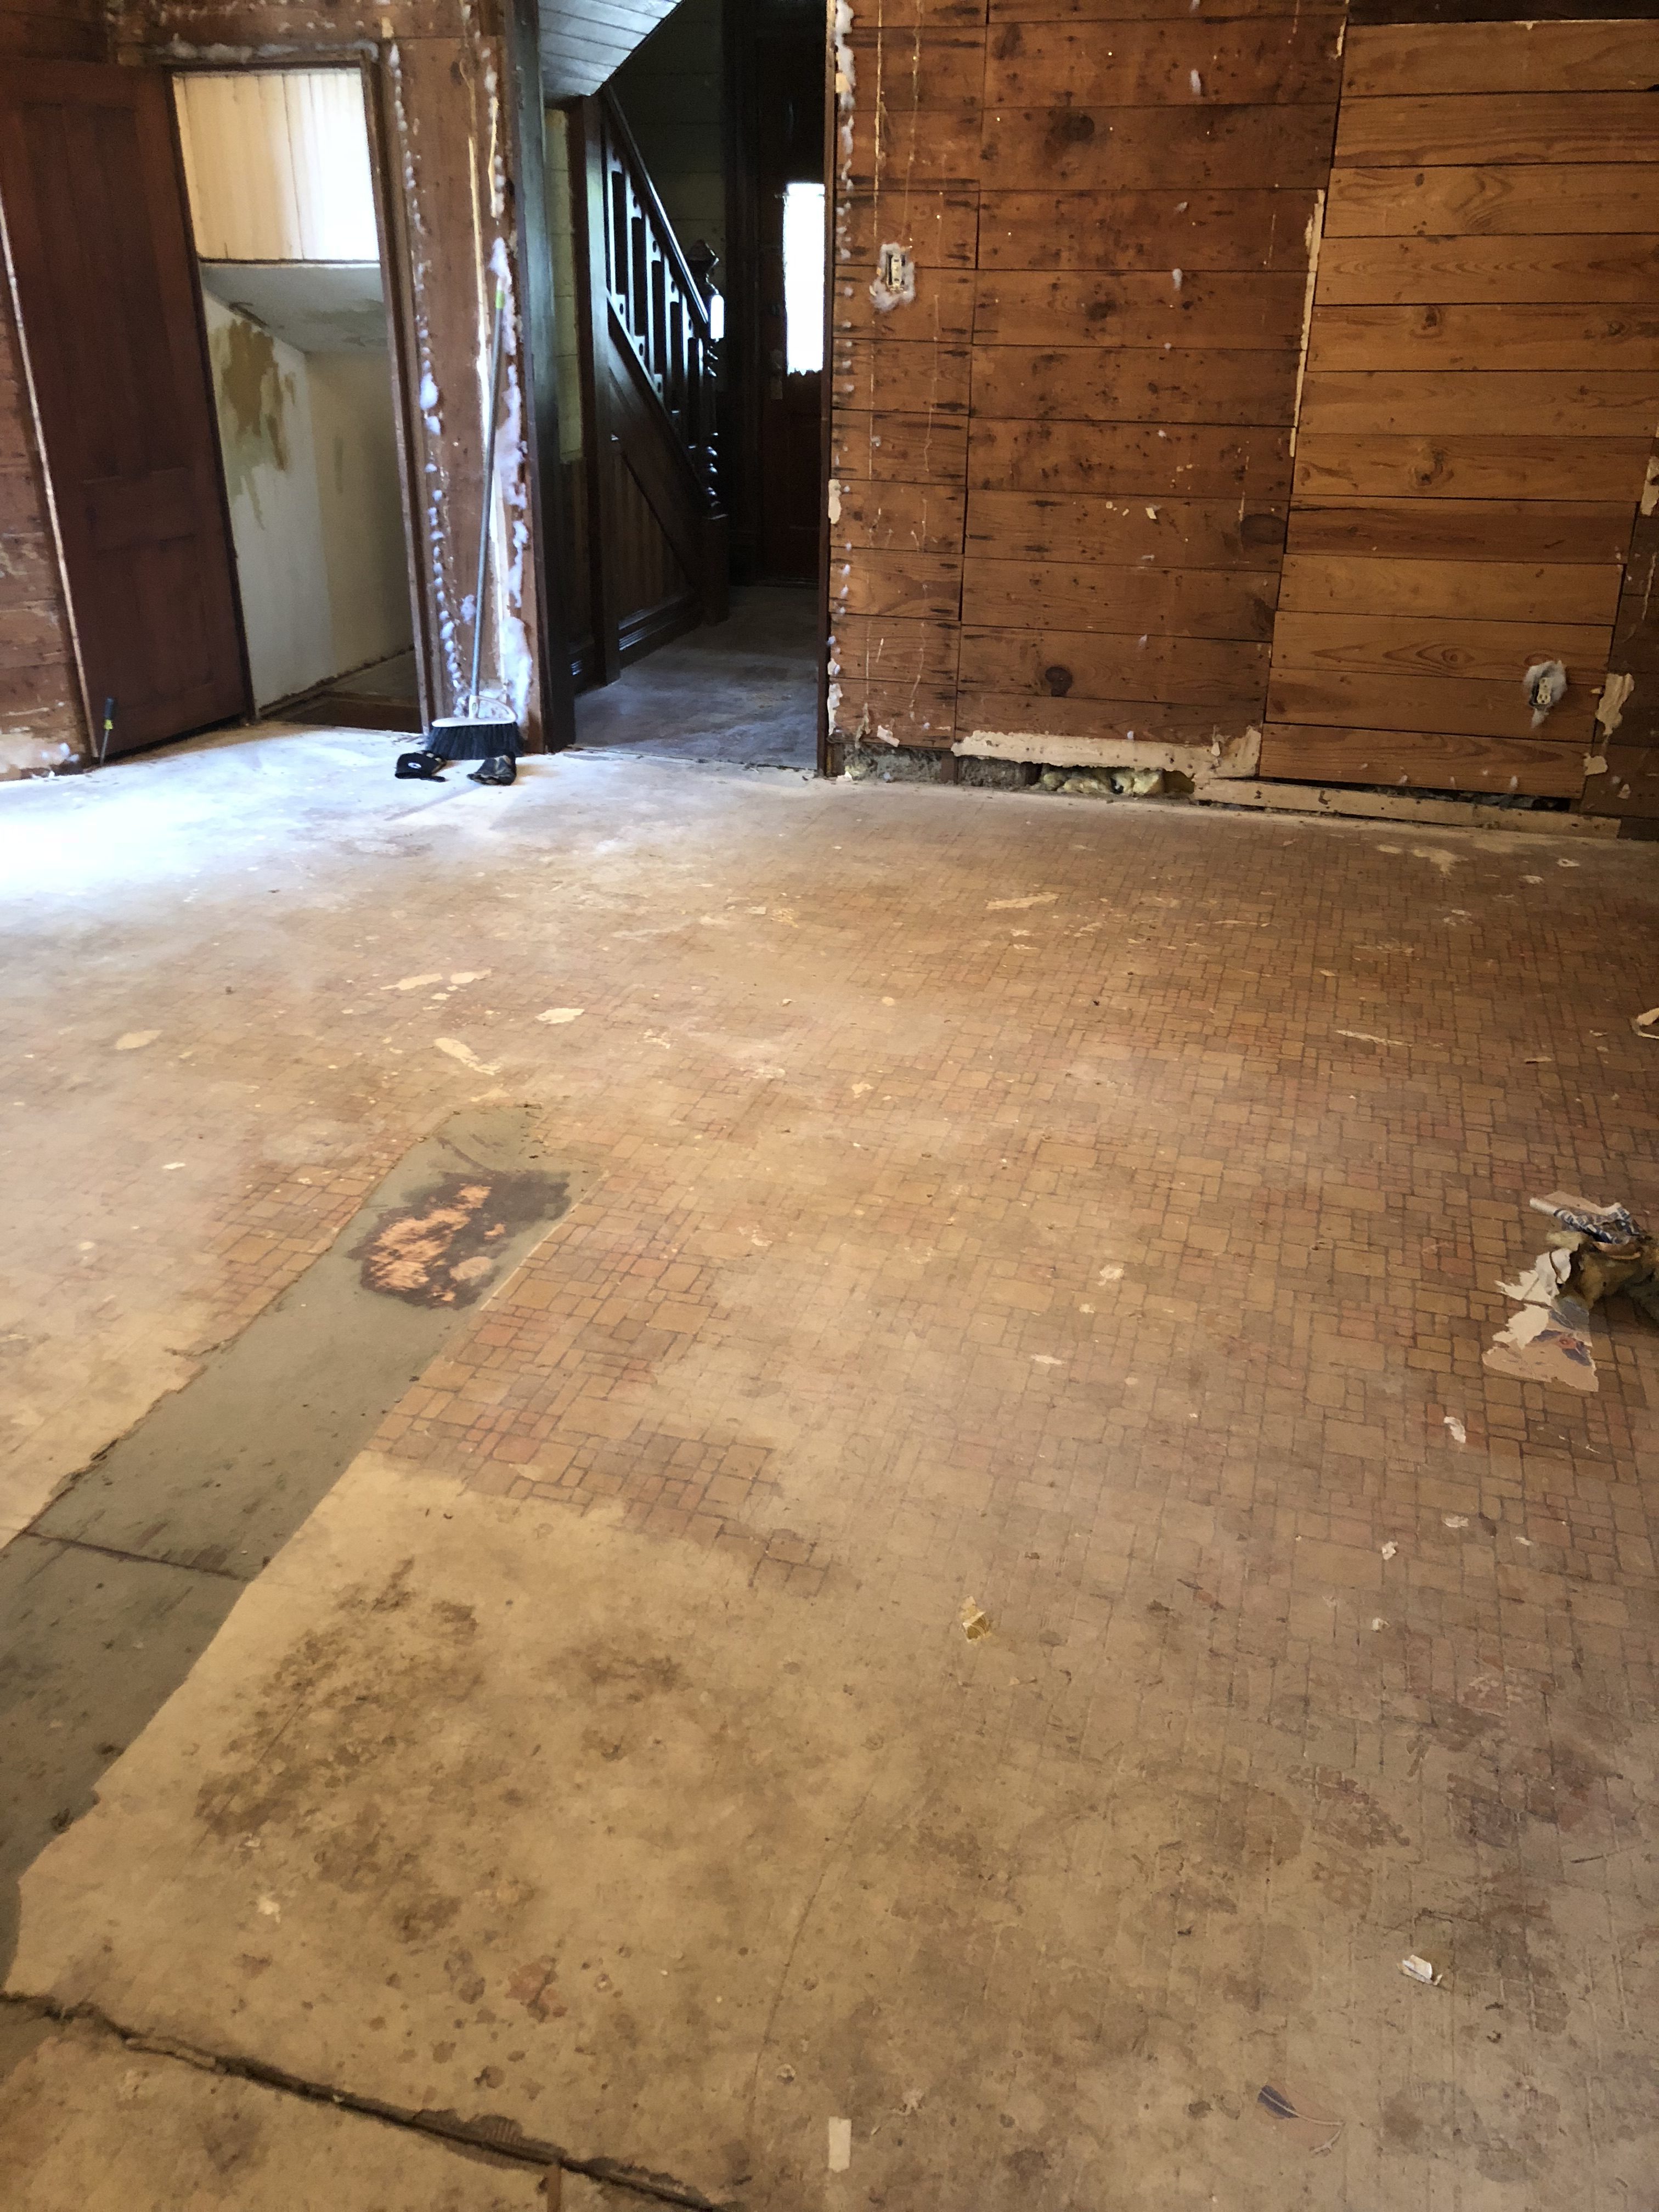
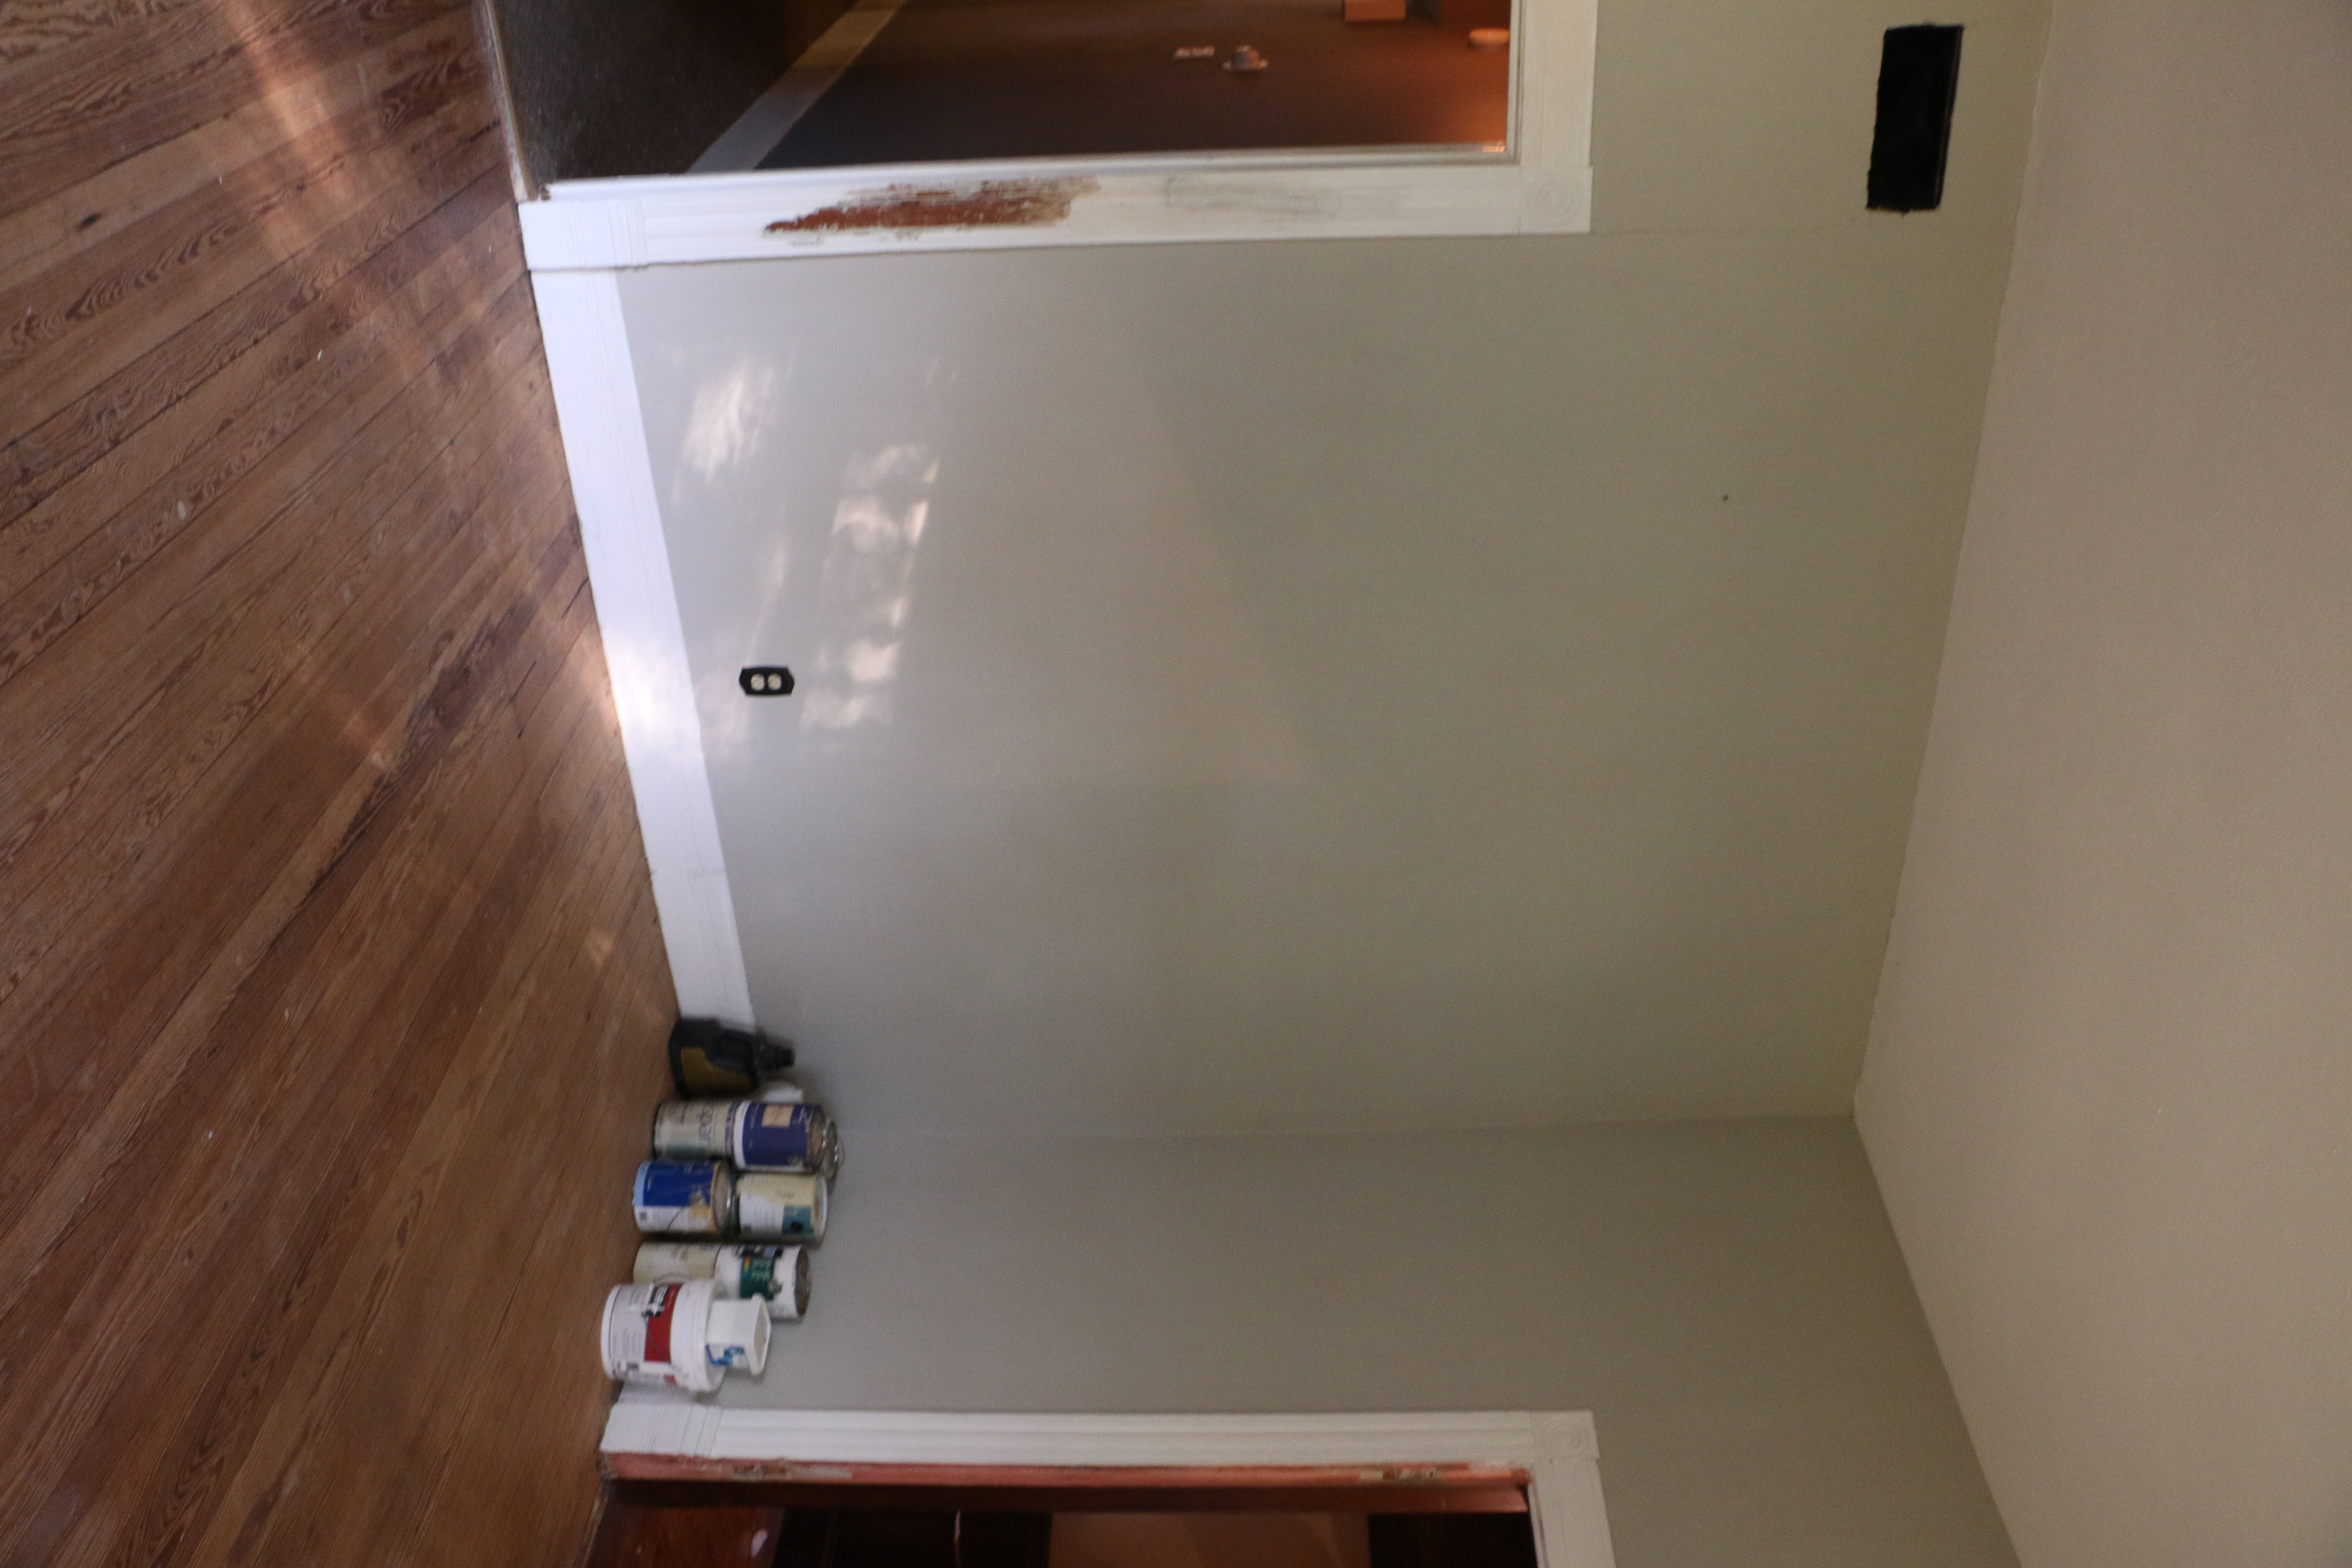
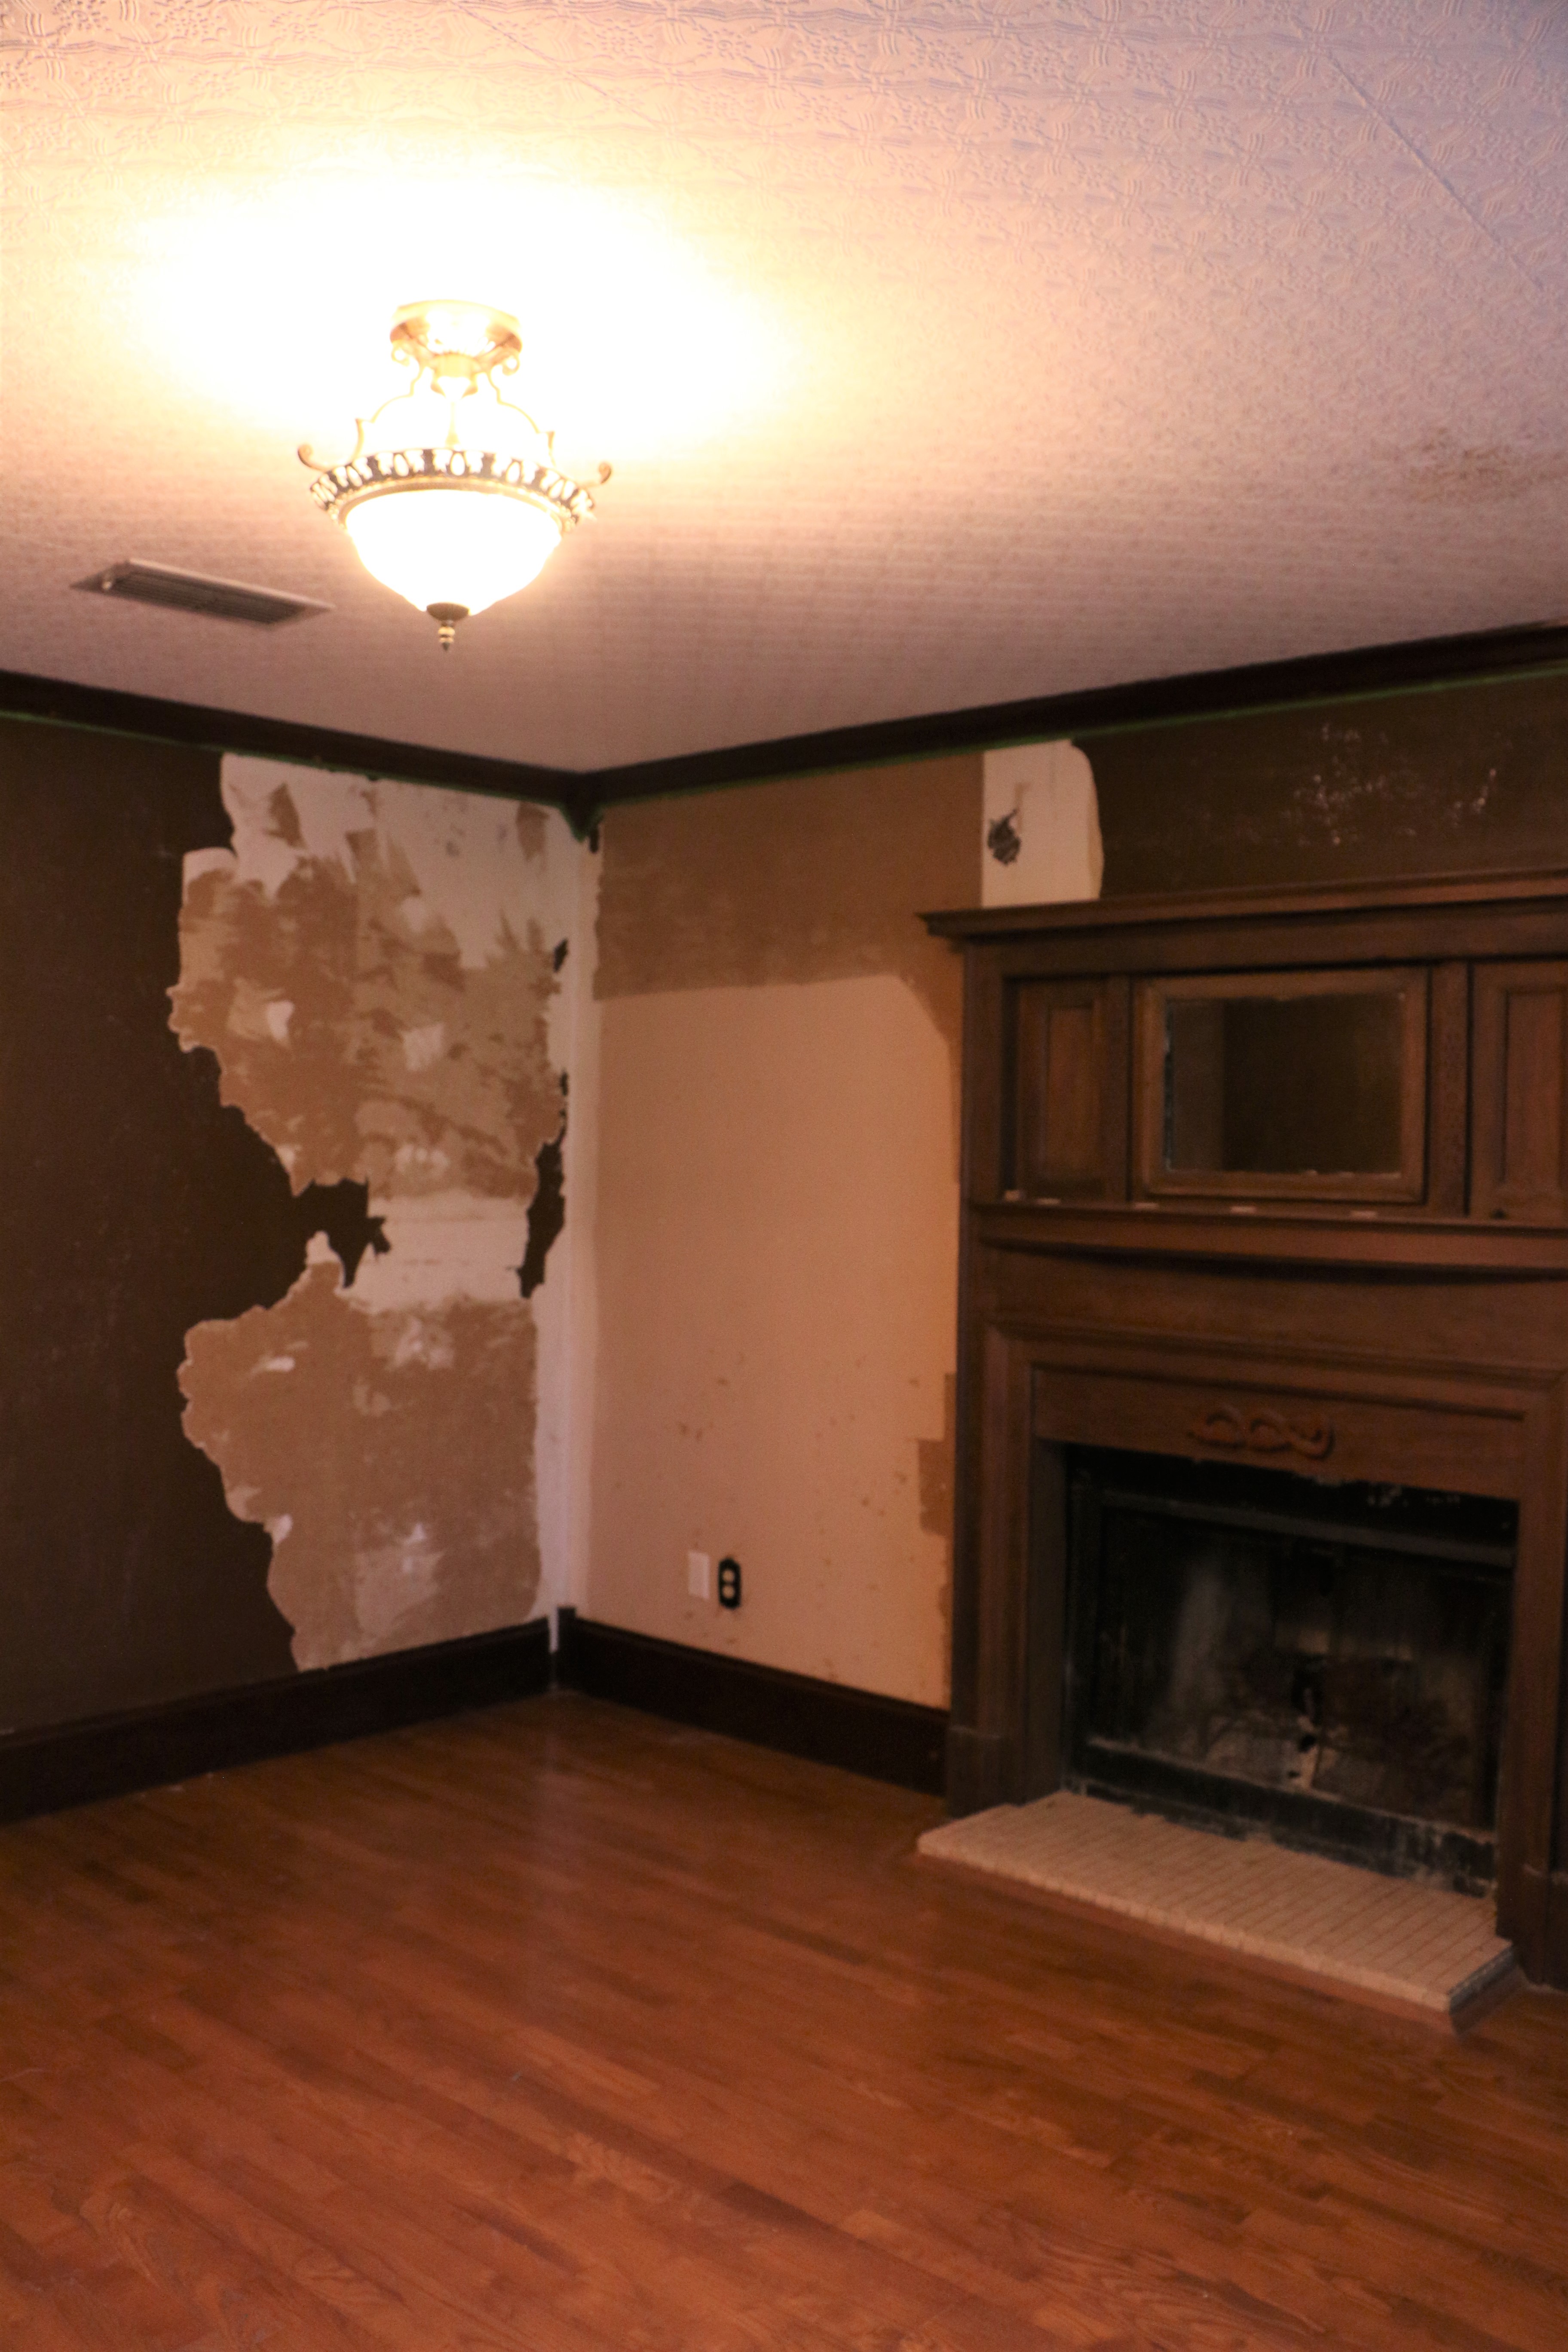
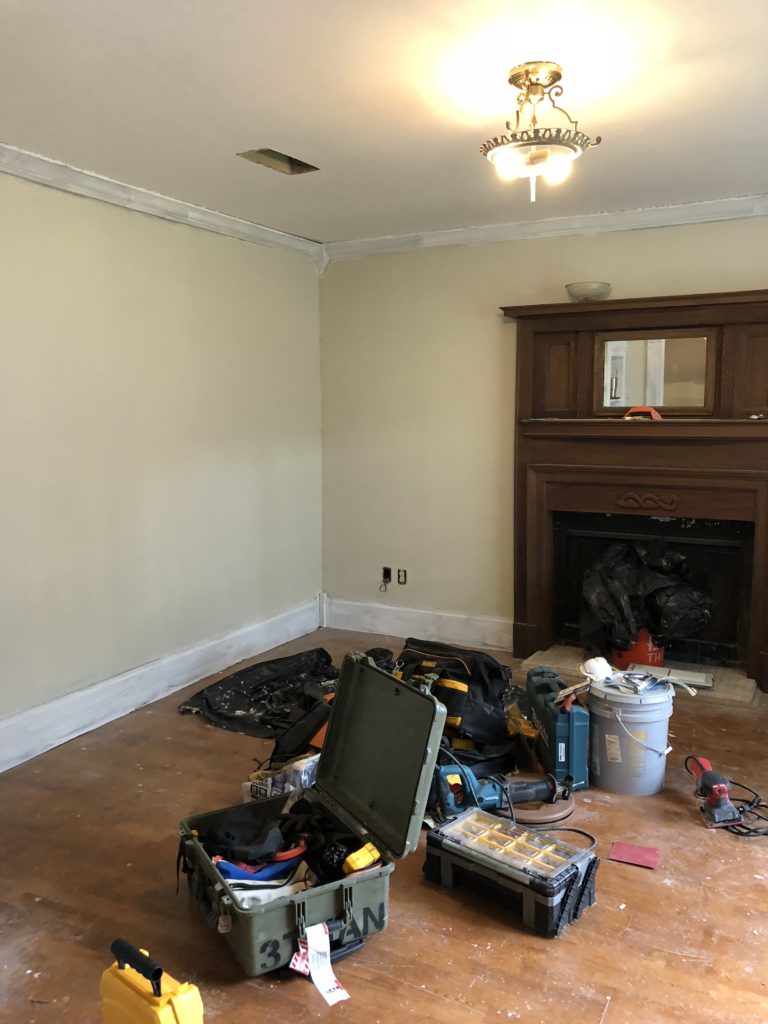
The Living Room 

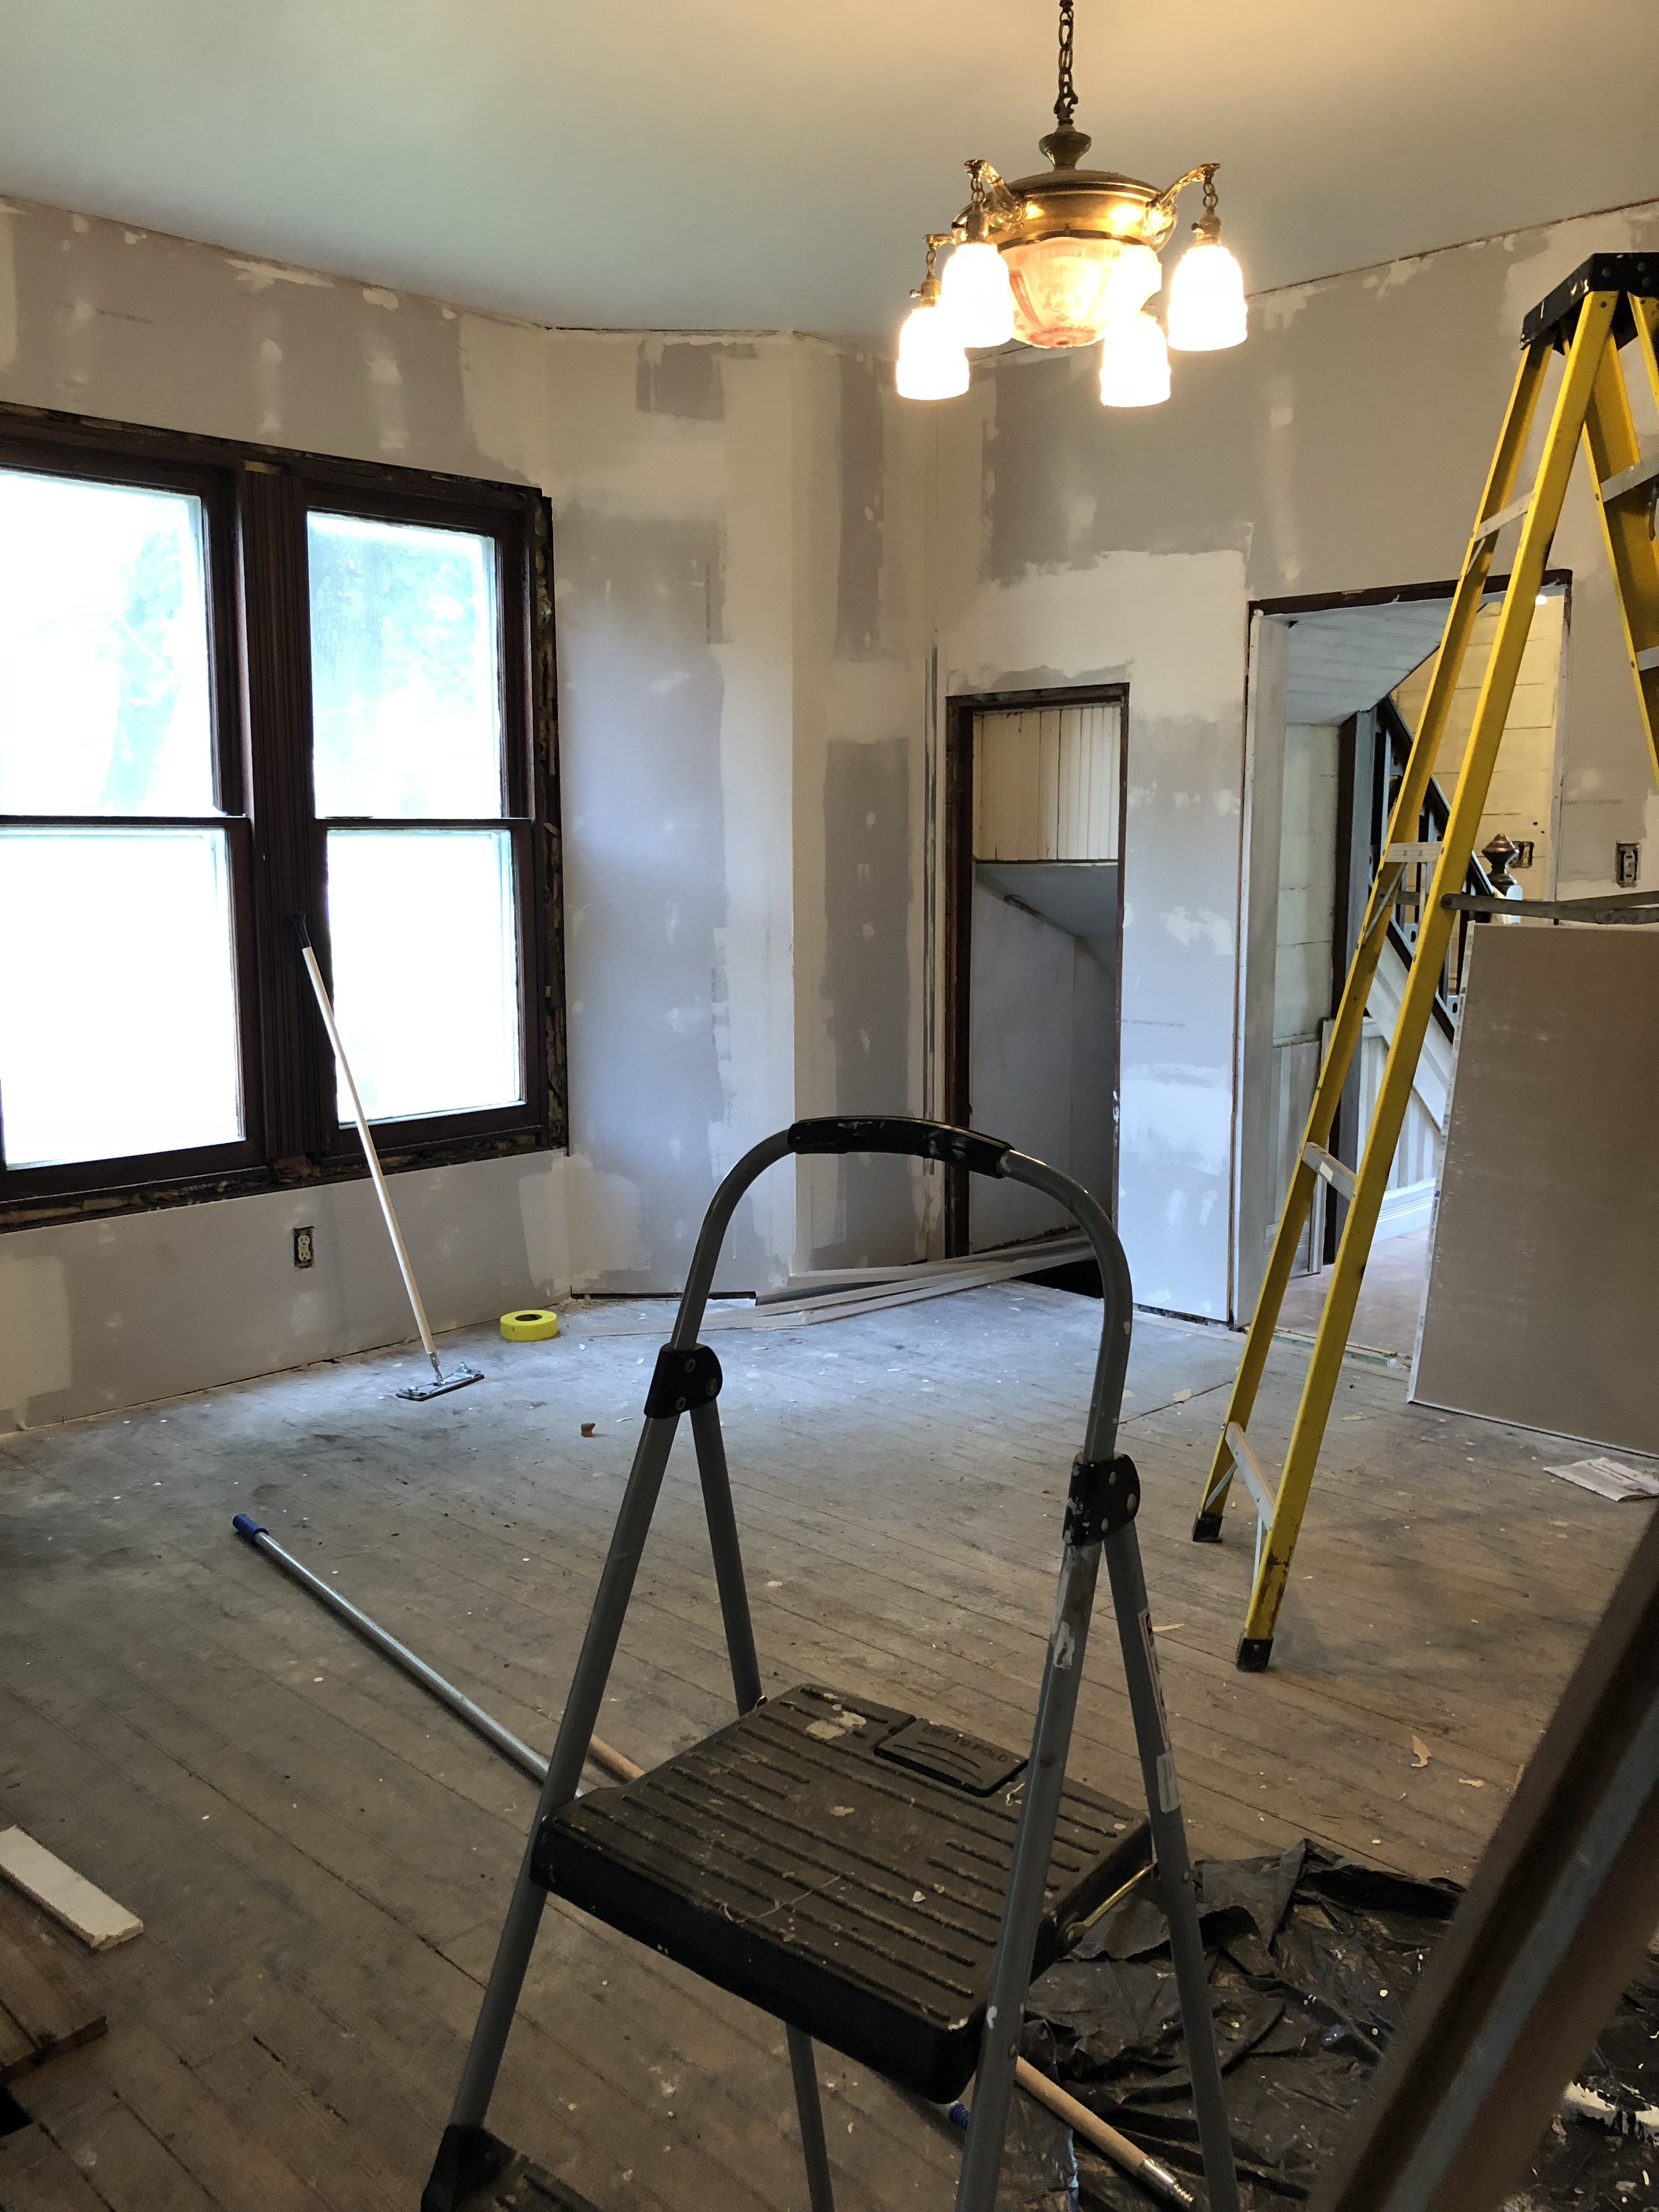
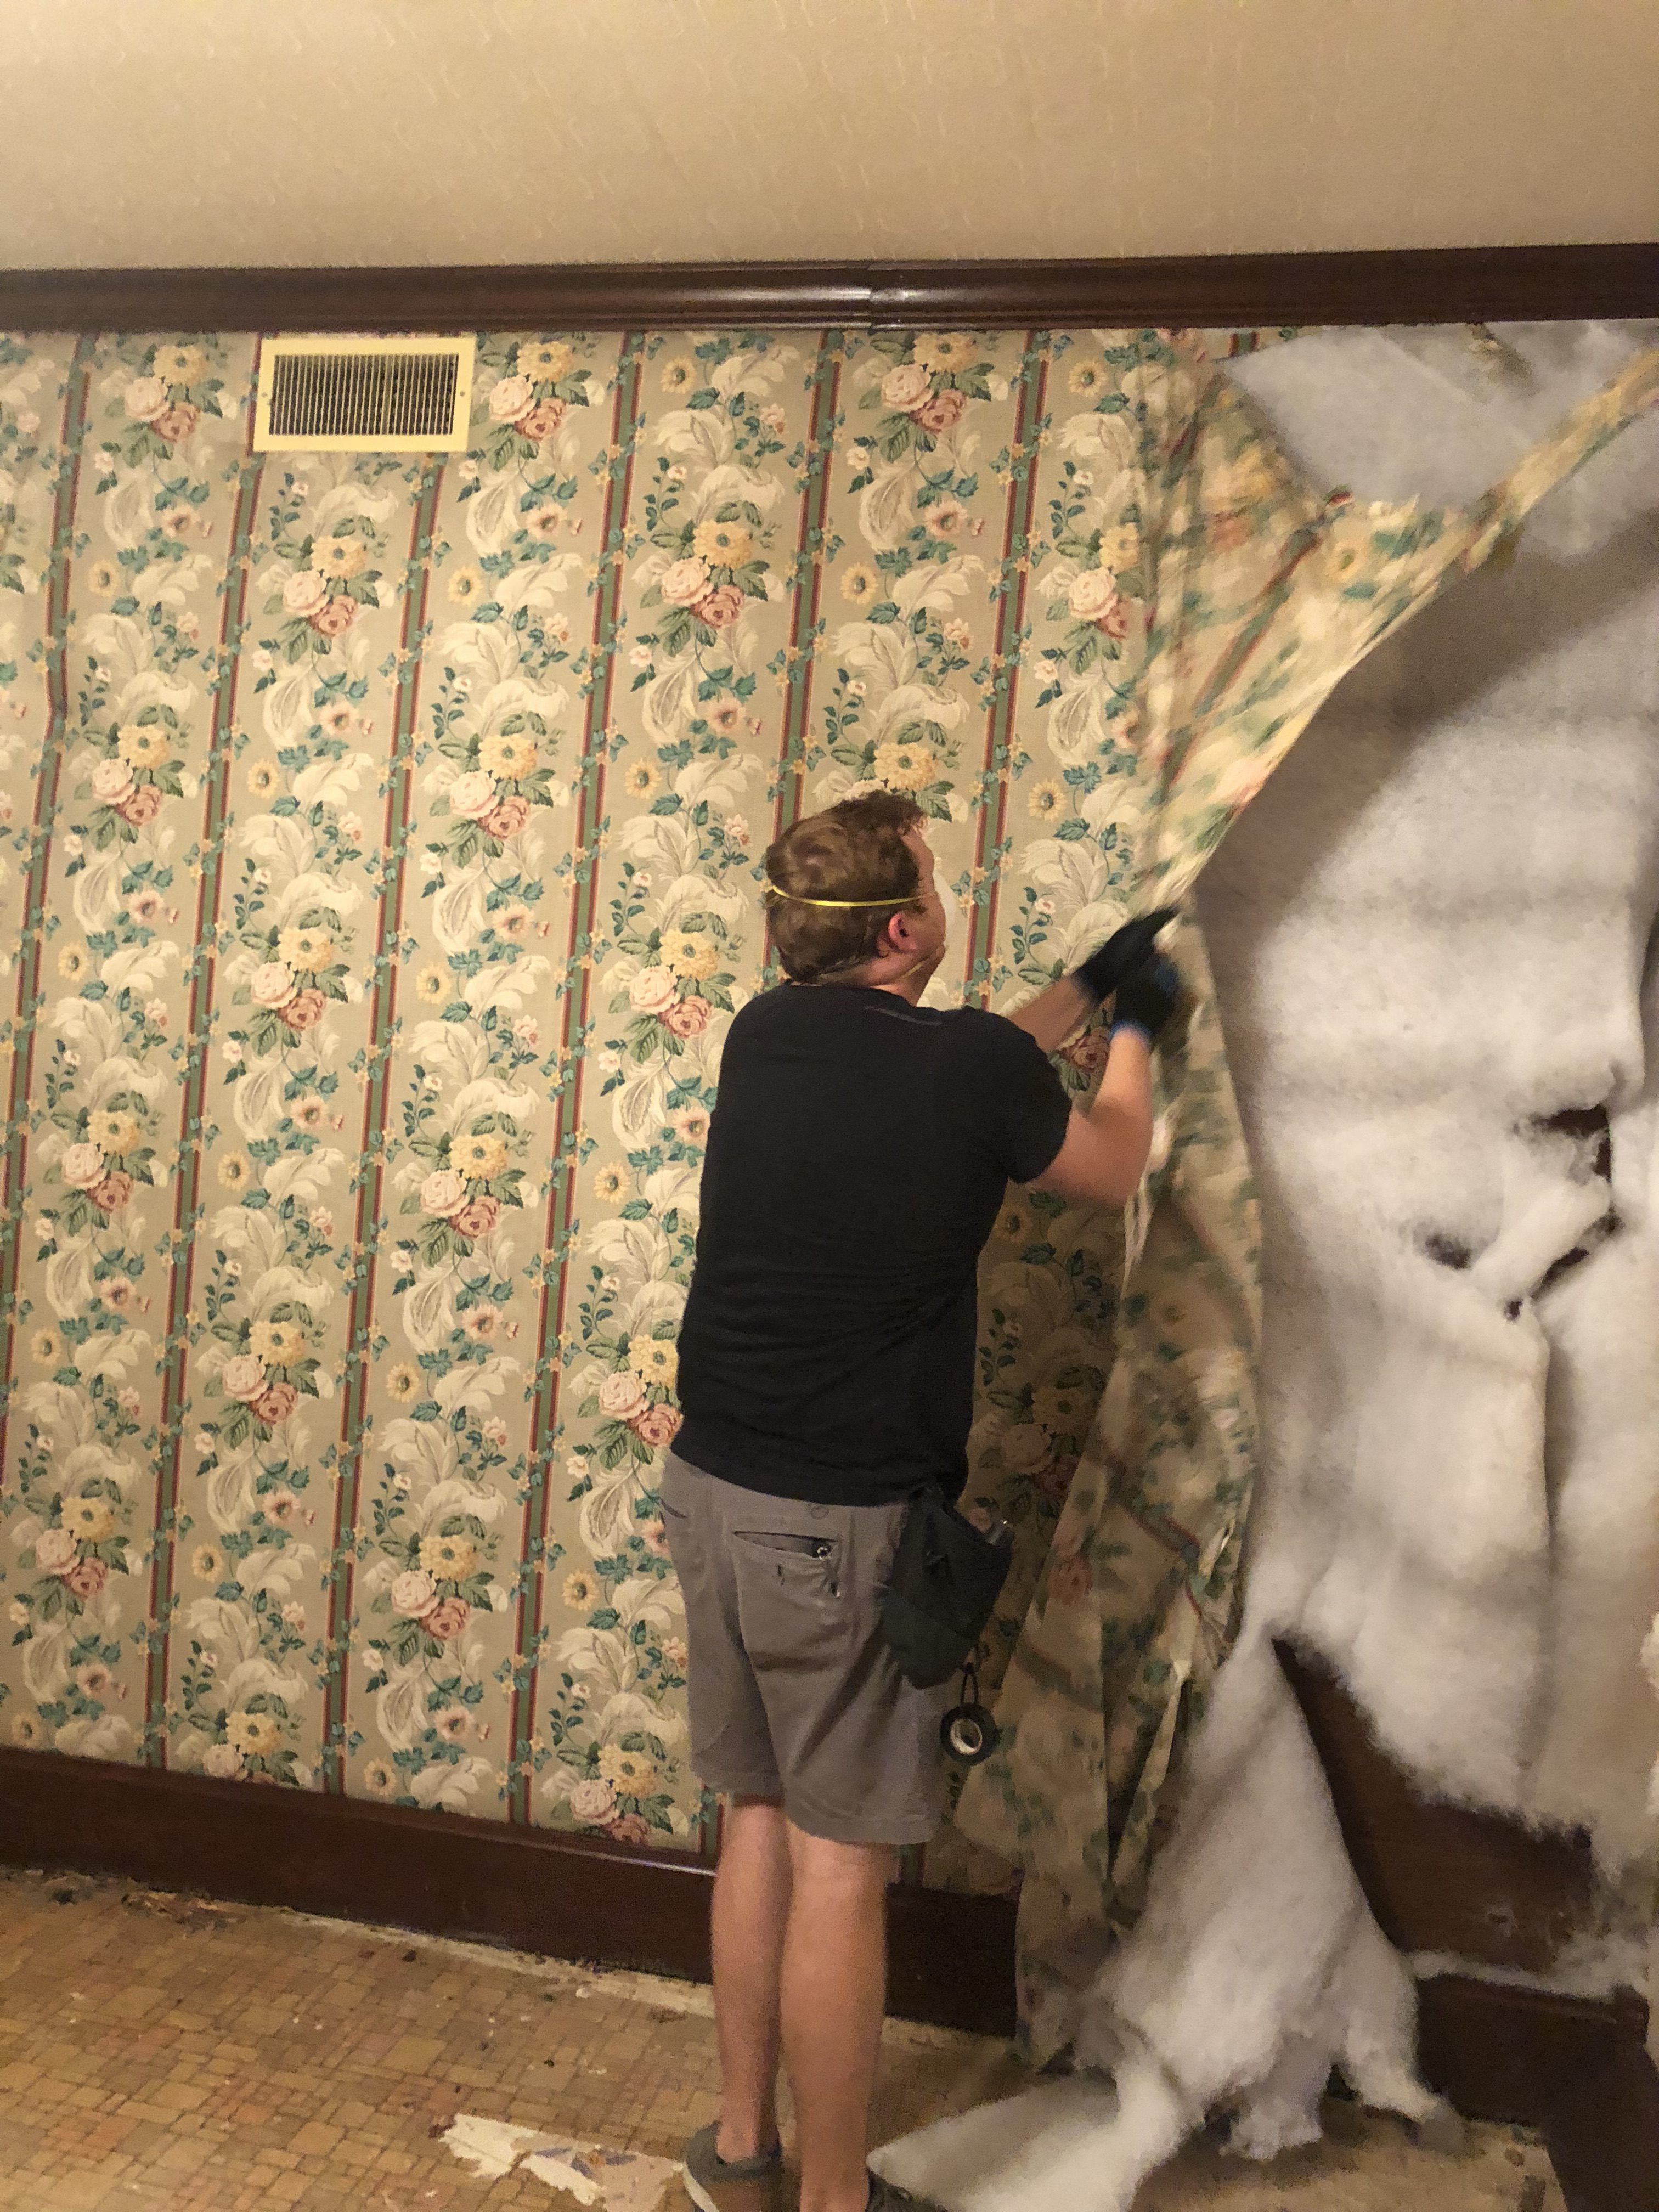
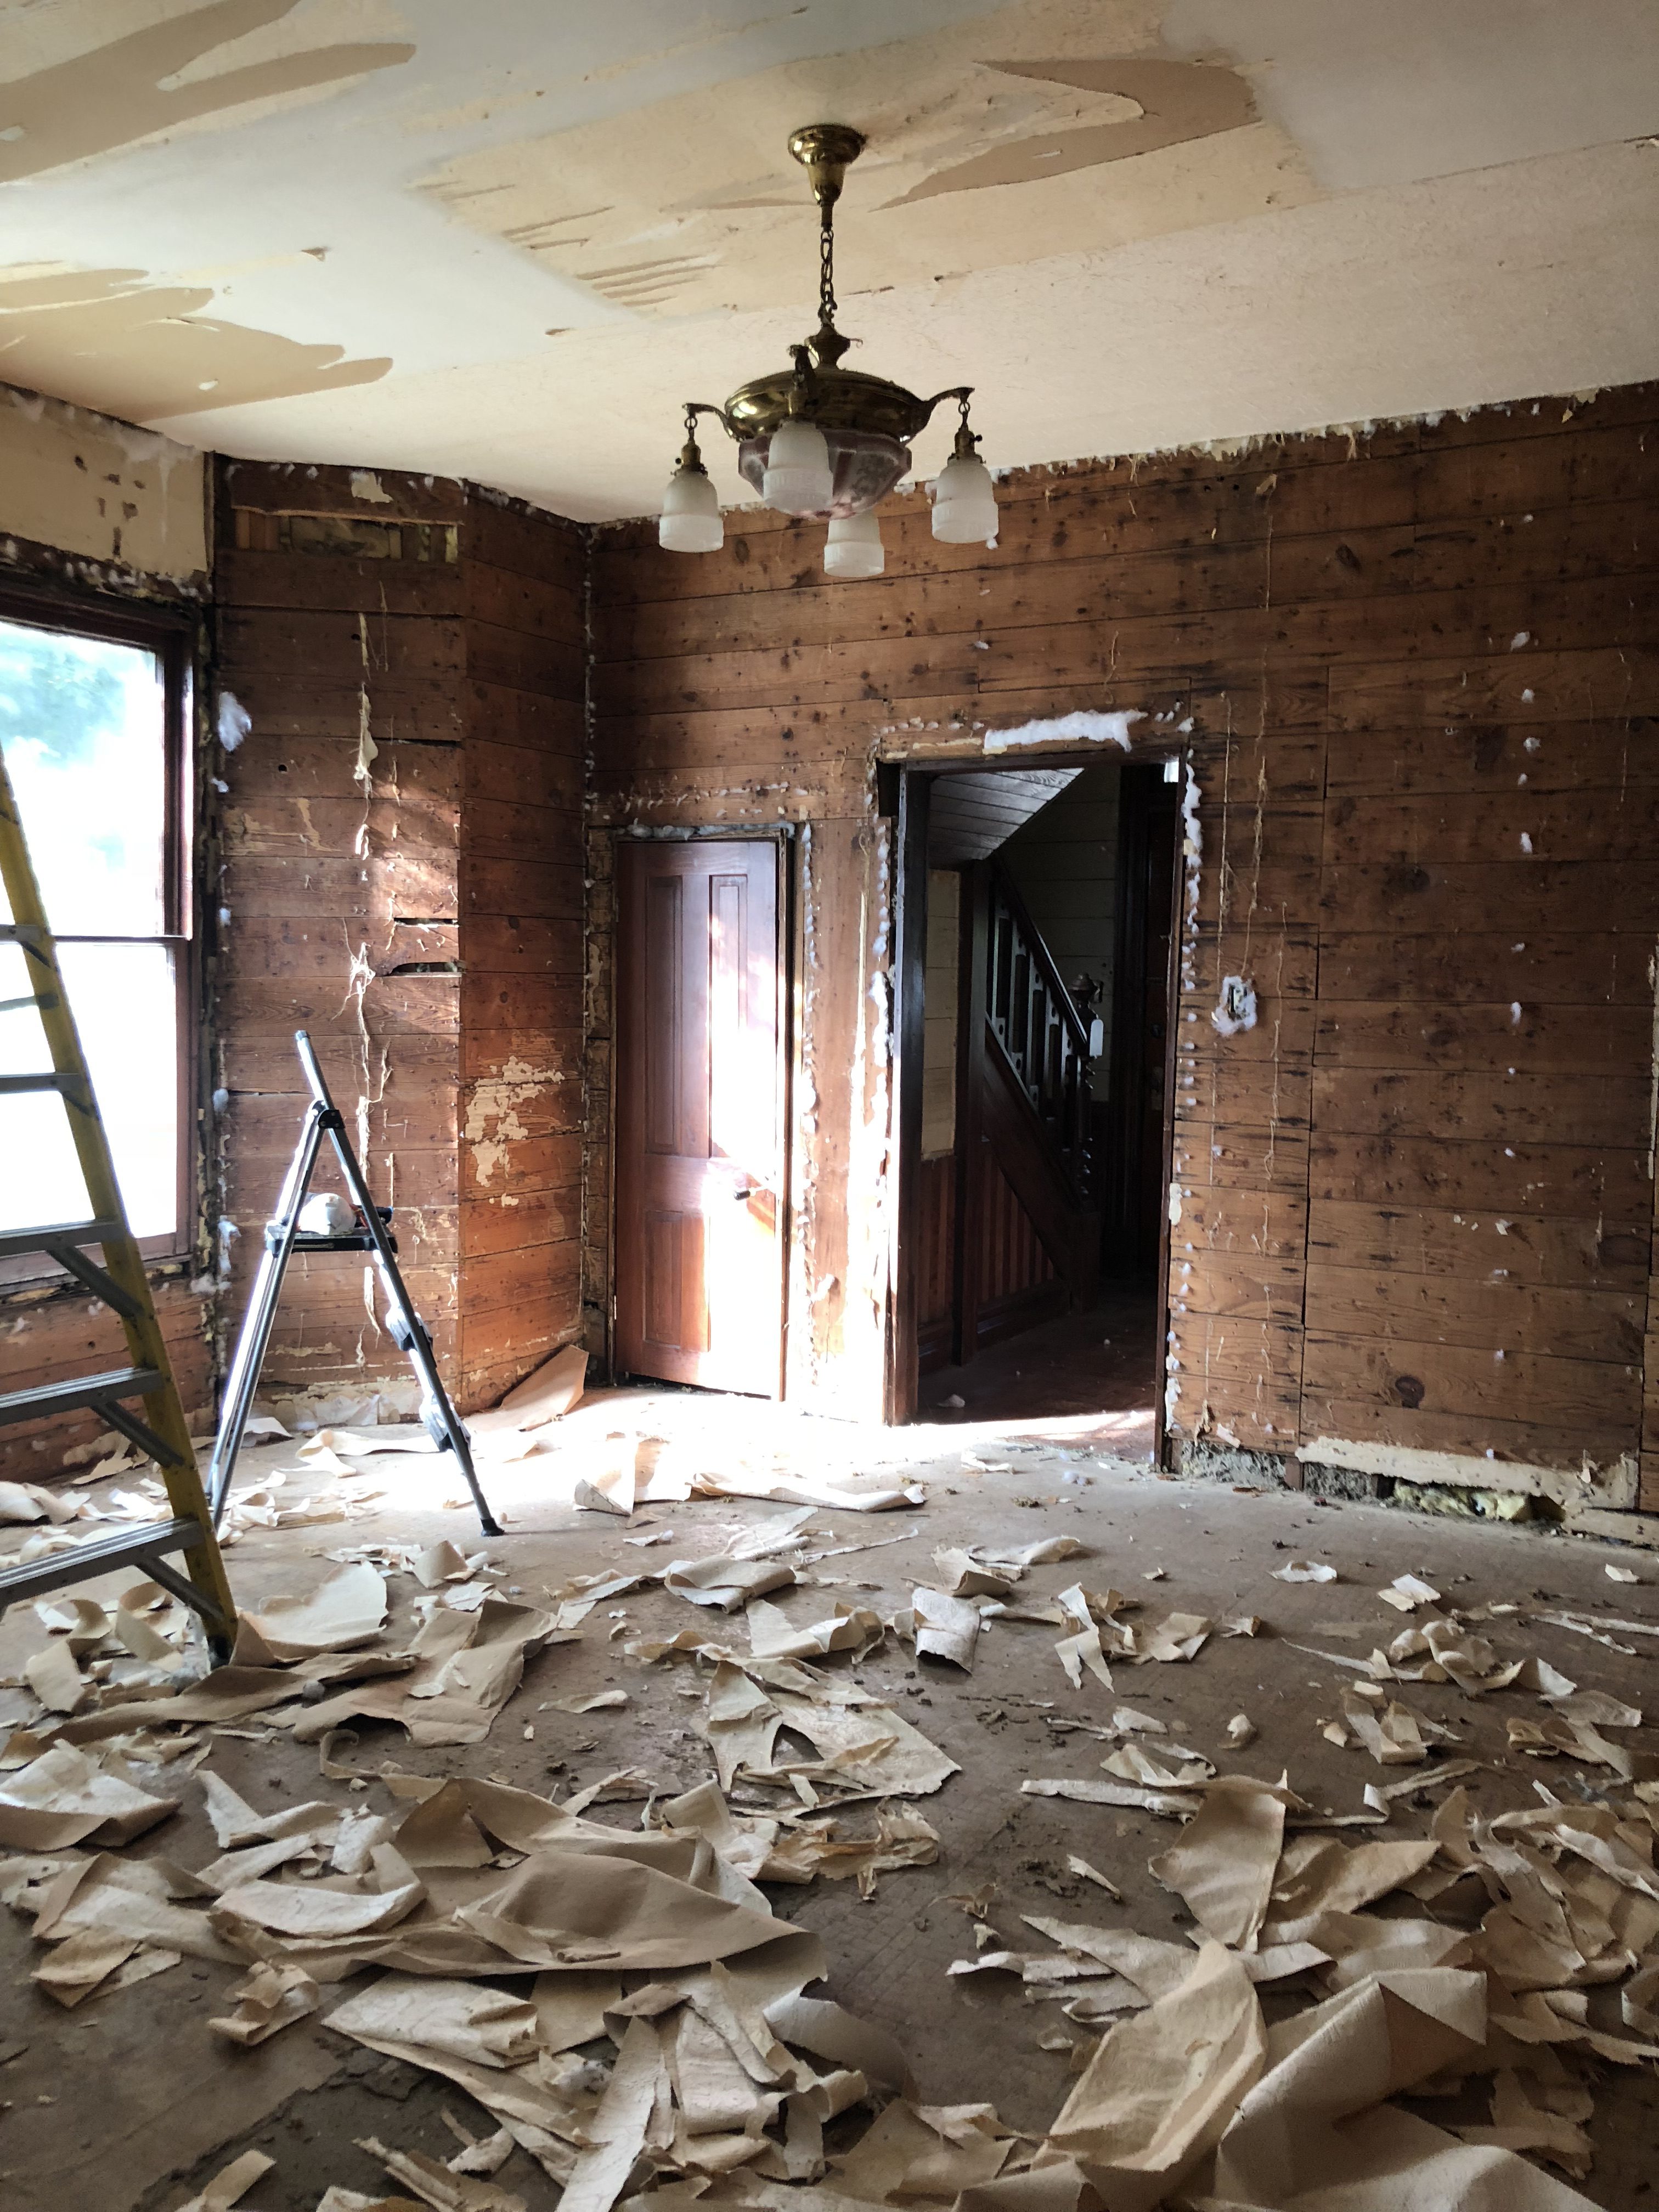
In the living room, the sub floor has been completely removed, the walls have been sheetrocked, and the ceilings have been painstakingly smoothed out after tearing down all the wallpaper.

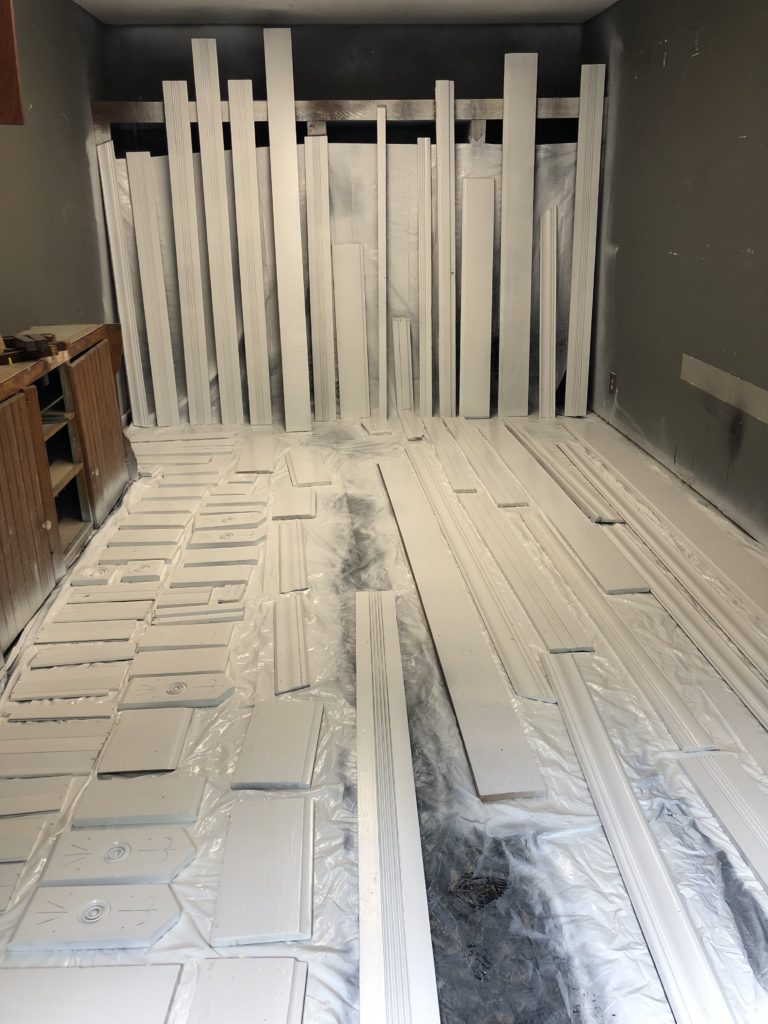
The trim that belongs in this room has been de-nailed (which took forever), powerwashed (it smelled like cats still), primed, and painted in the garage. Once the floors are done and the walls are textured and painted, the trim will all be put back in place.
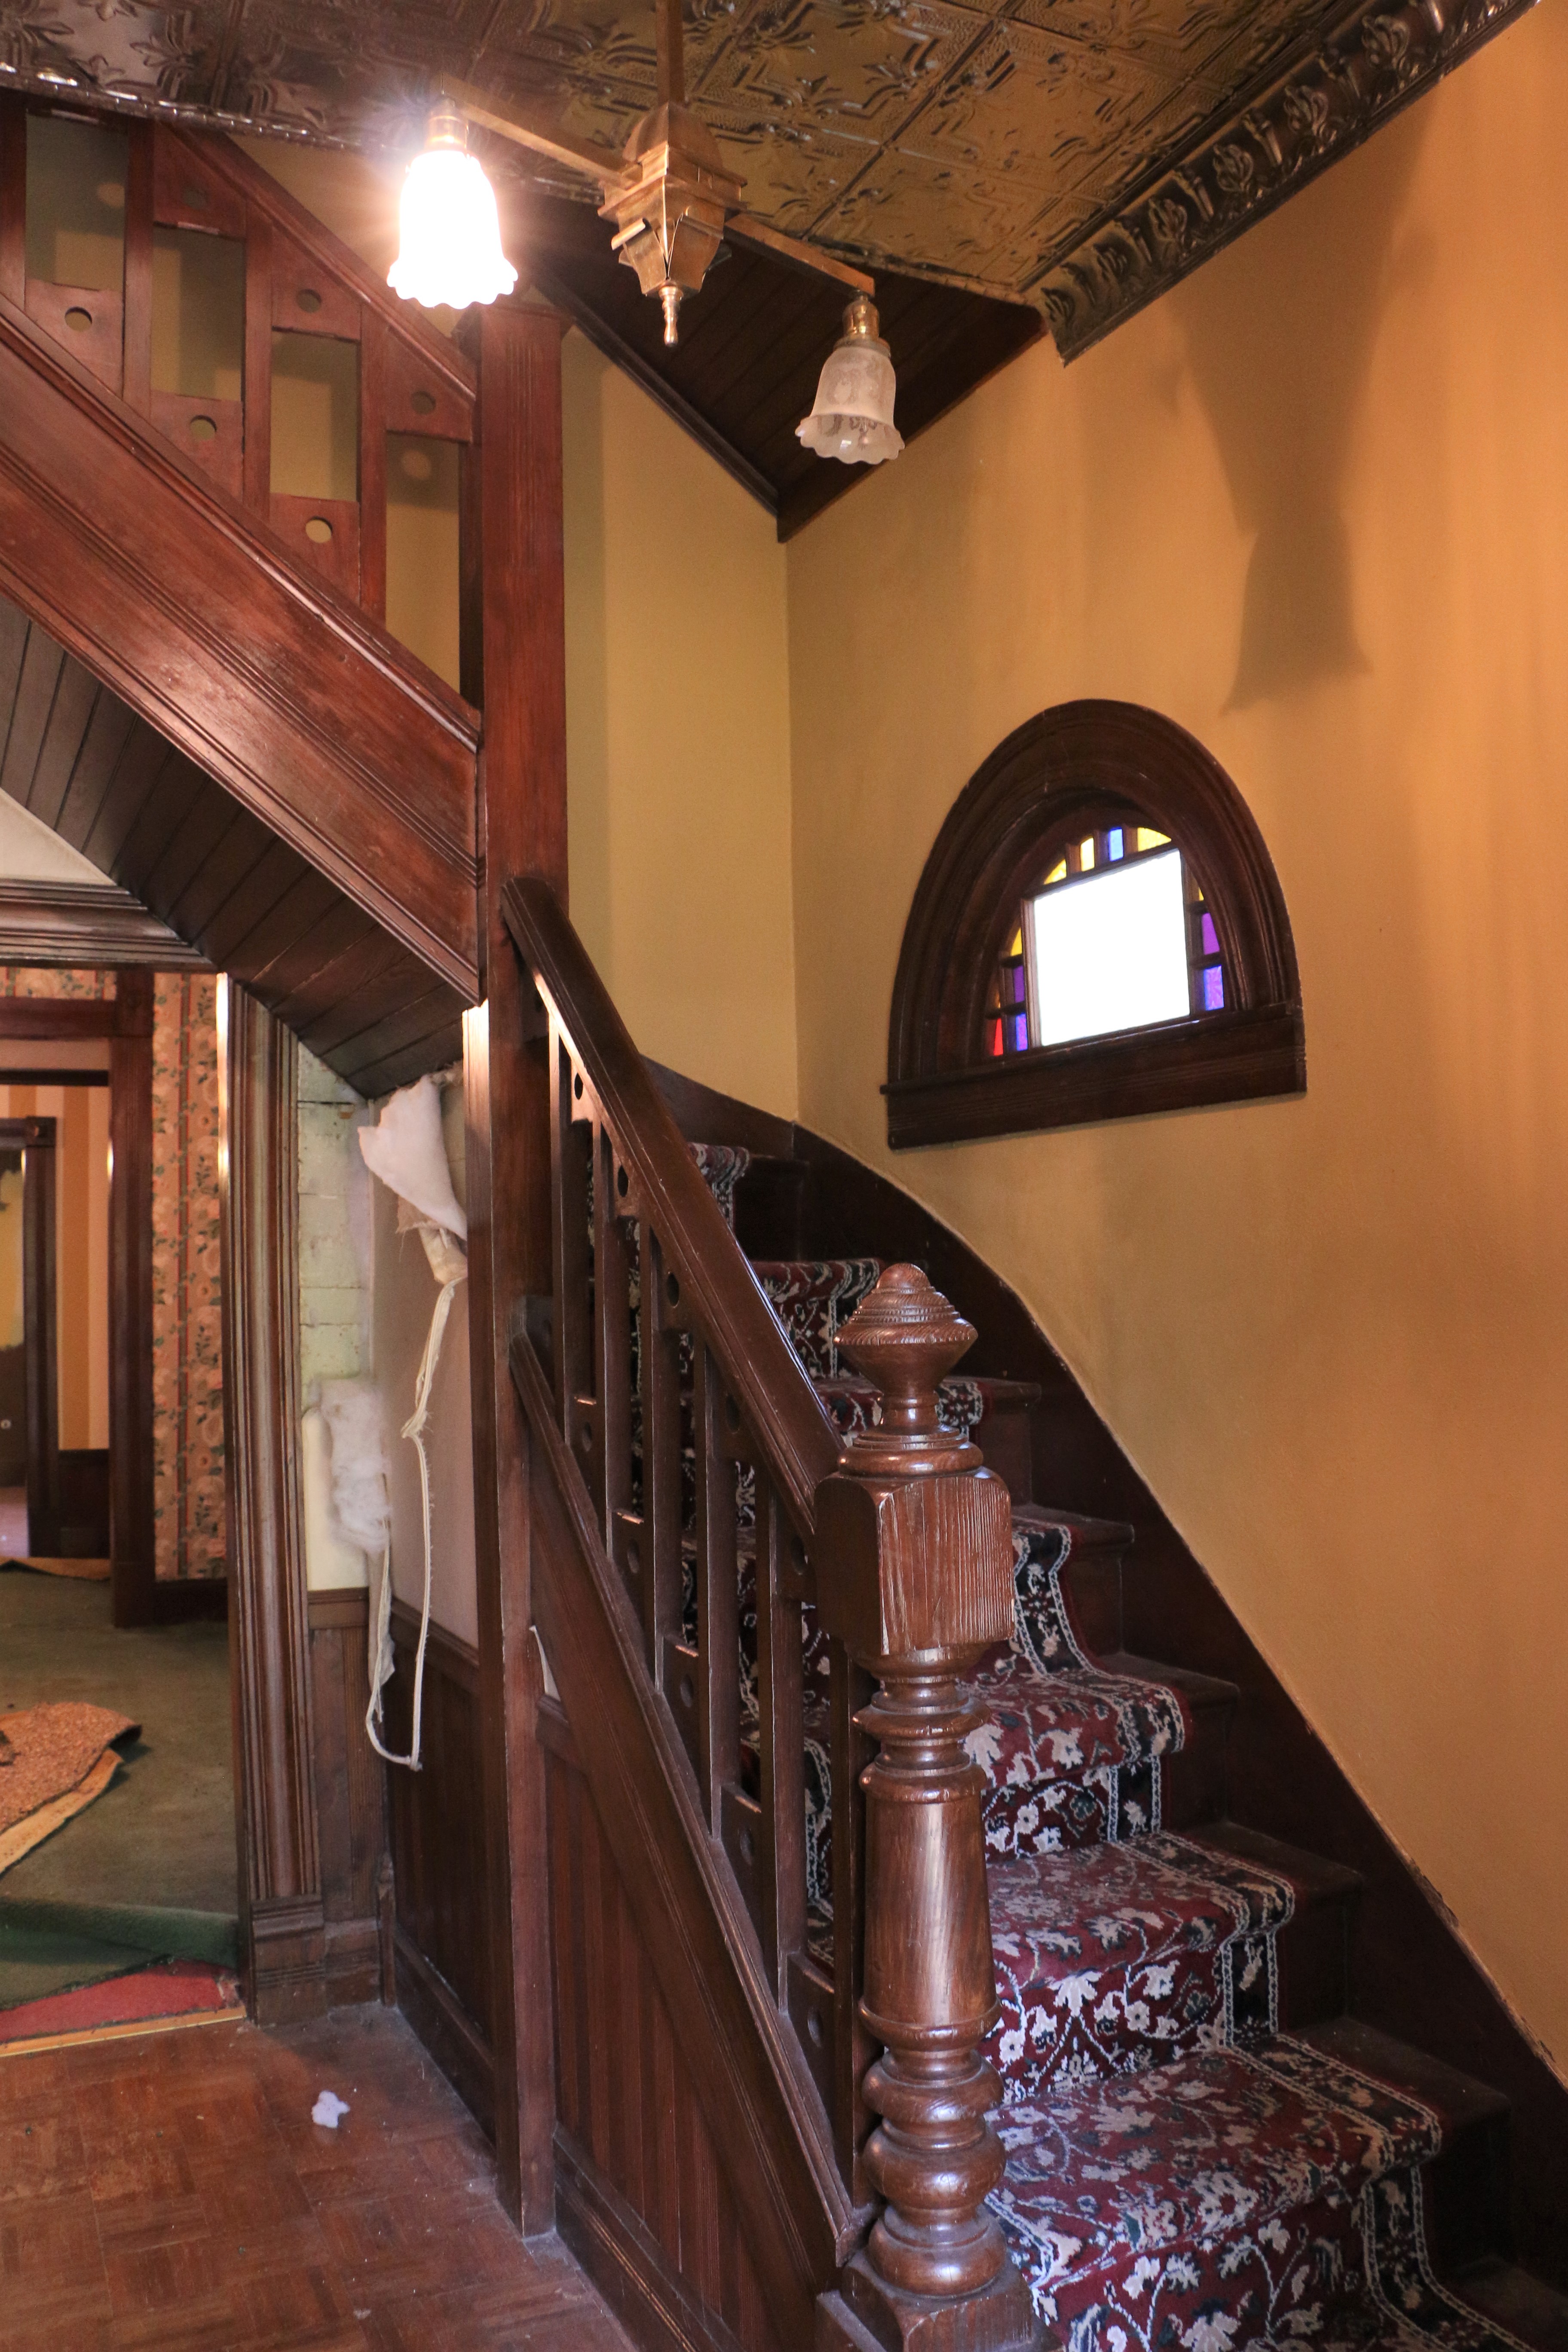
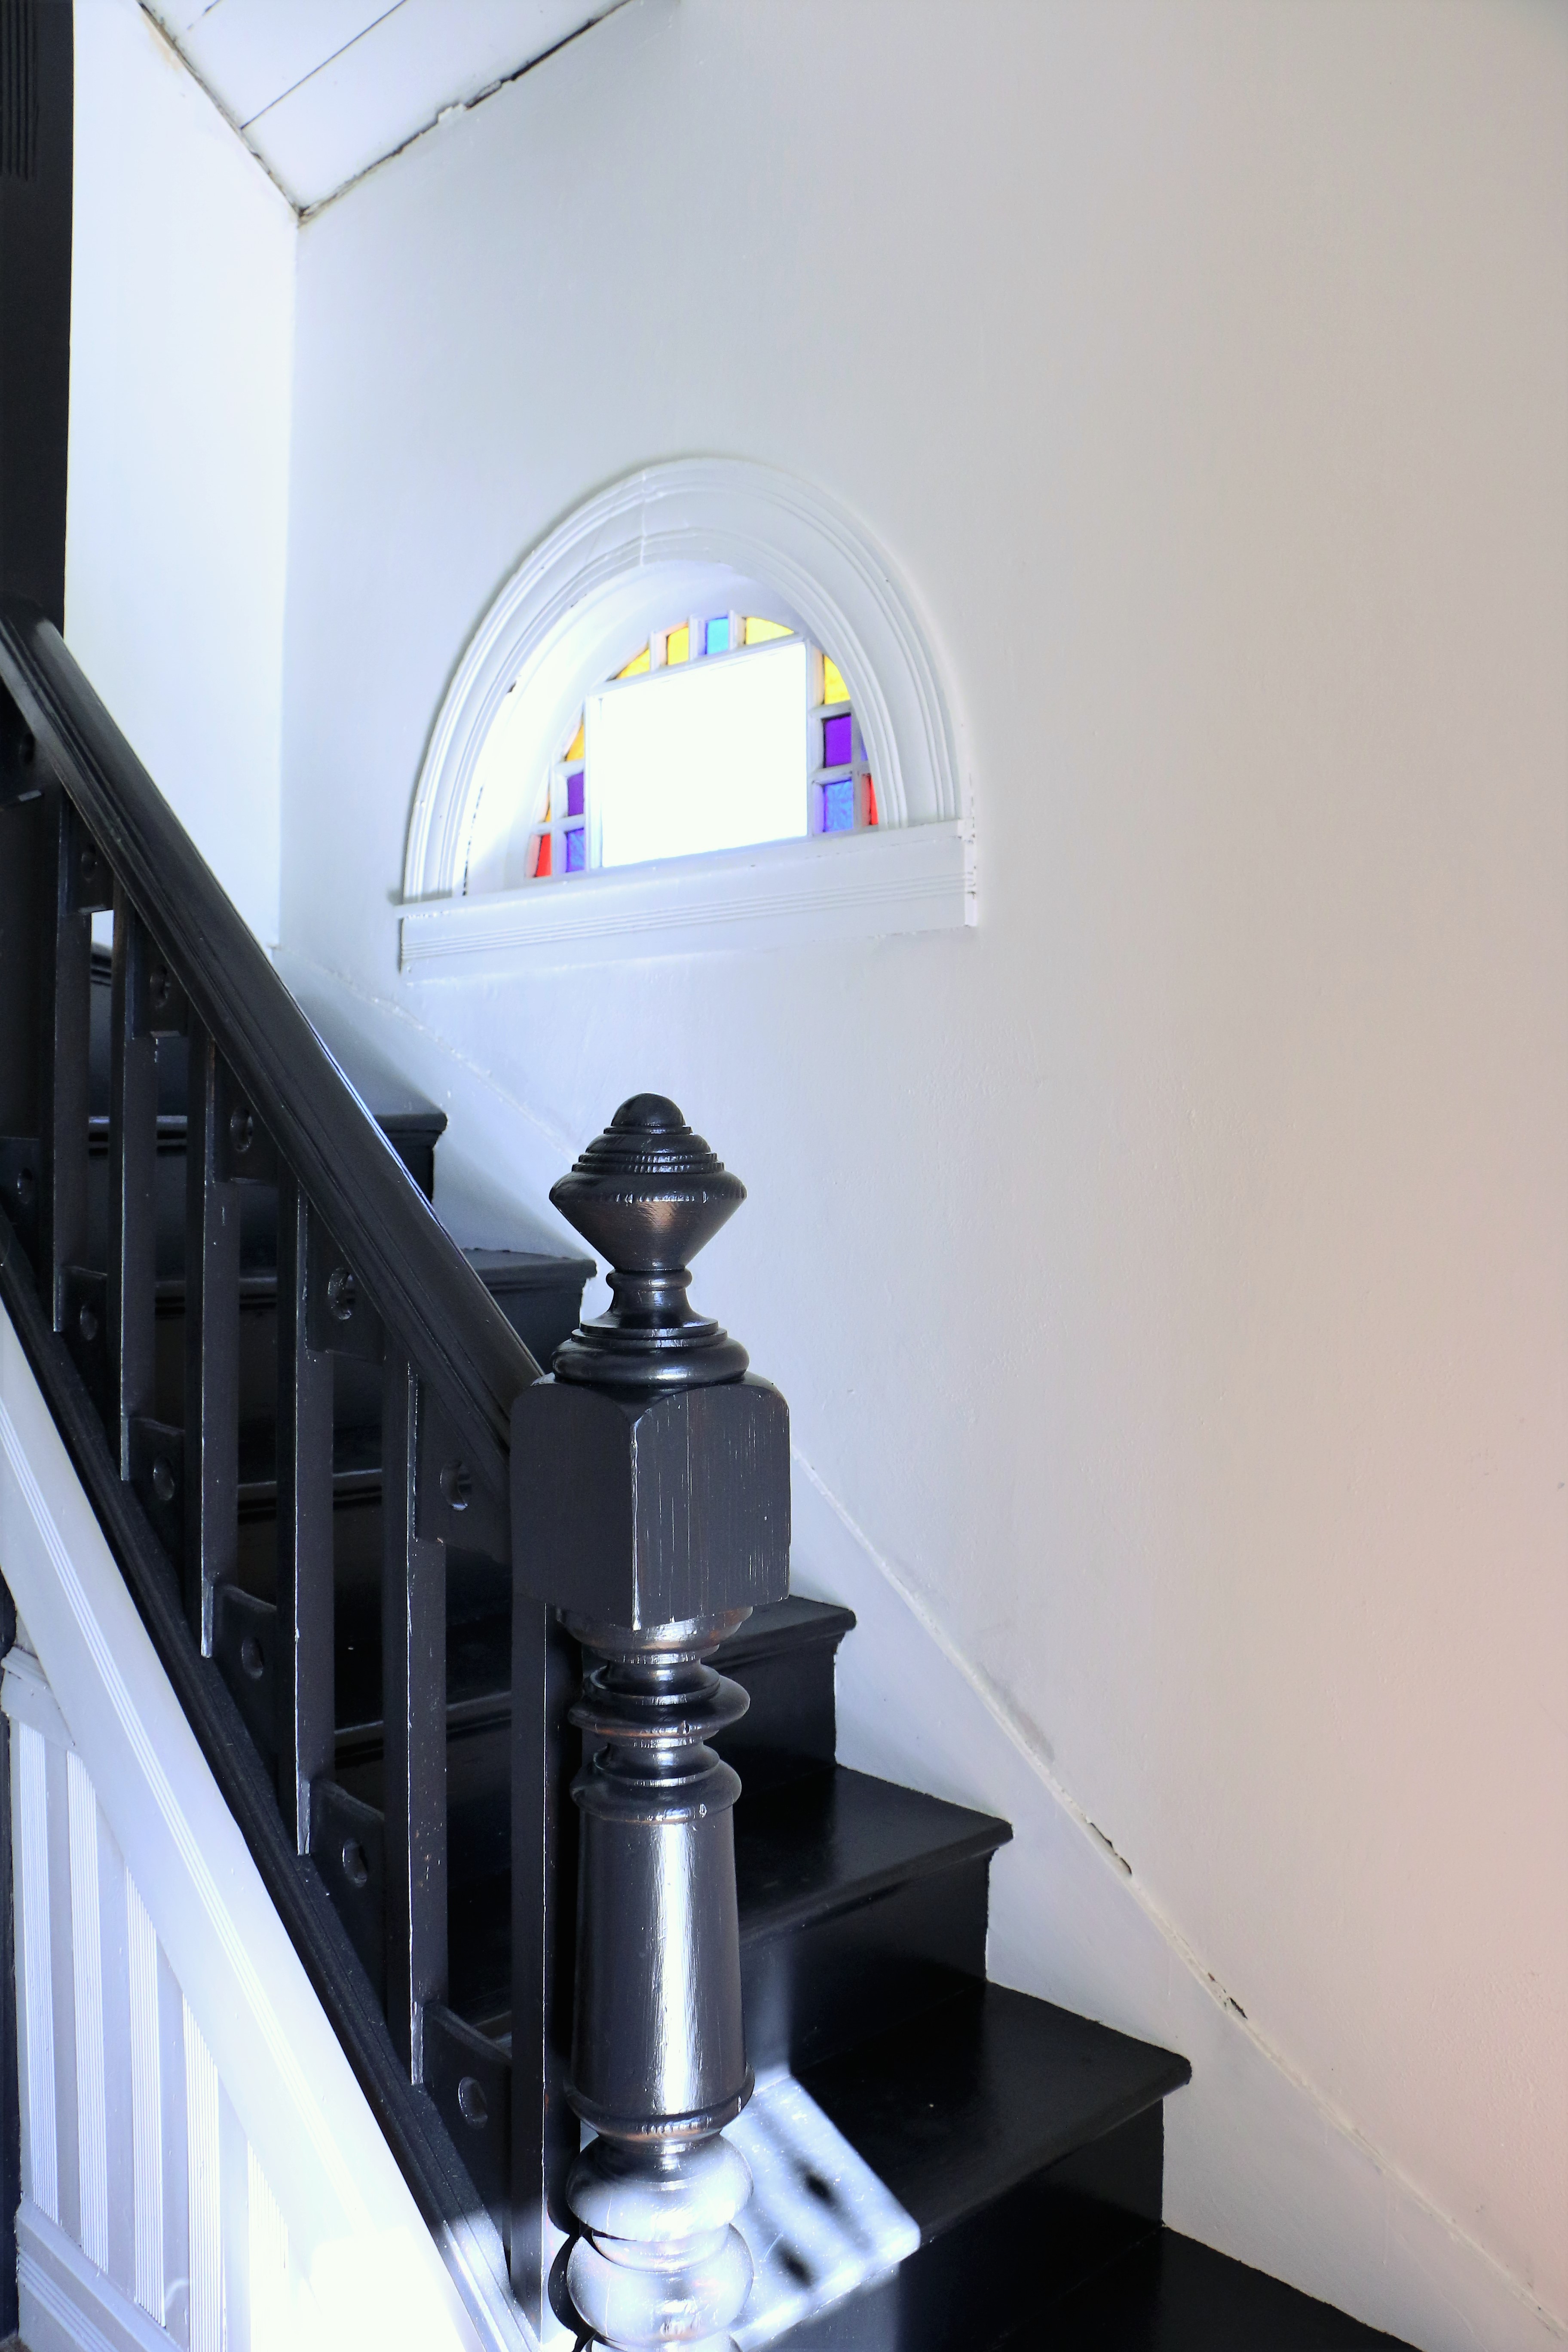
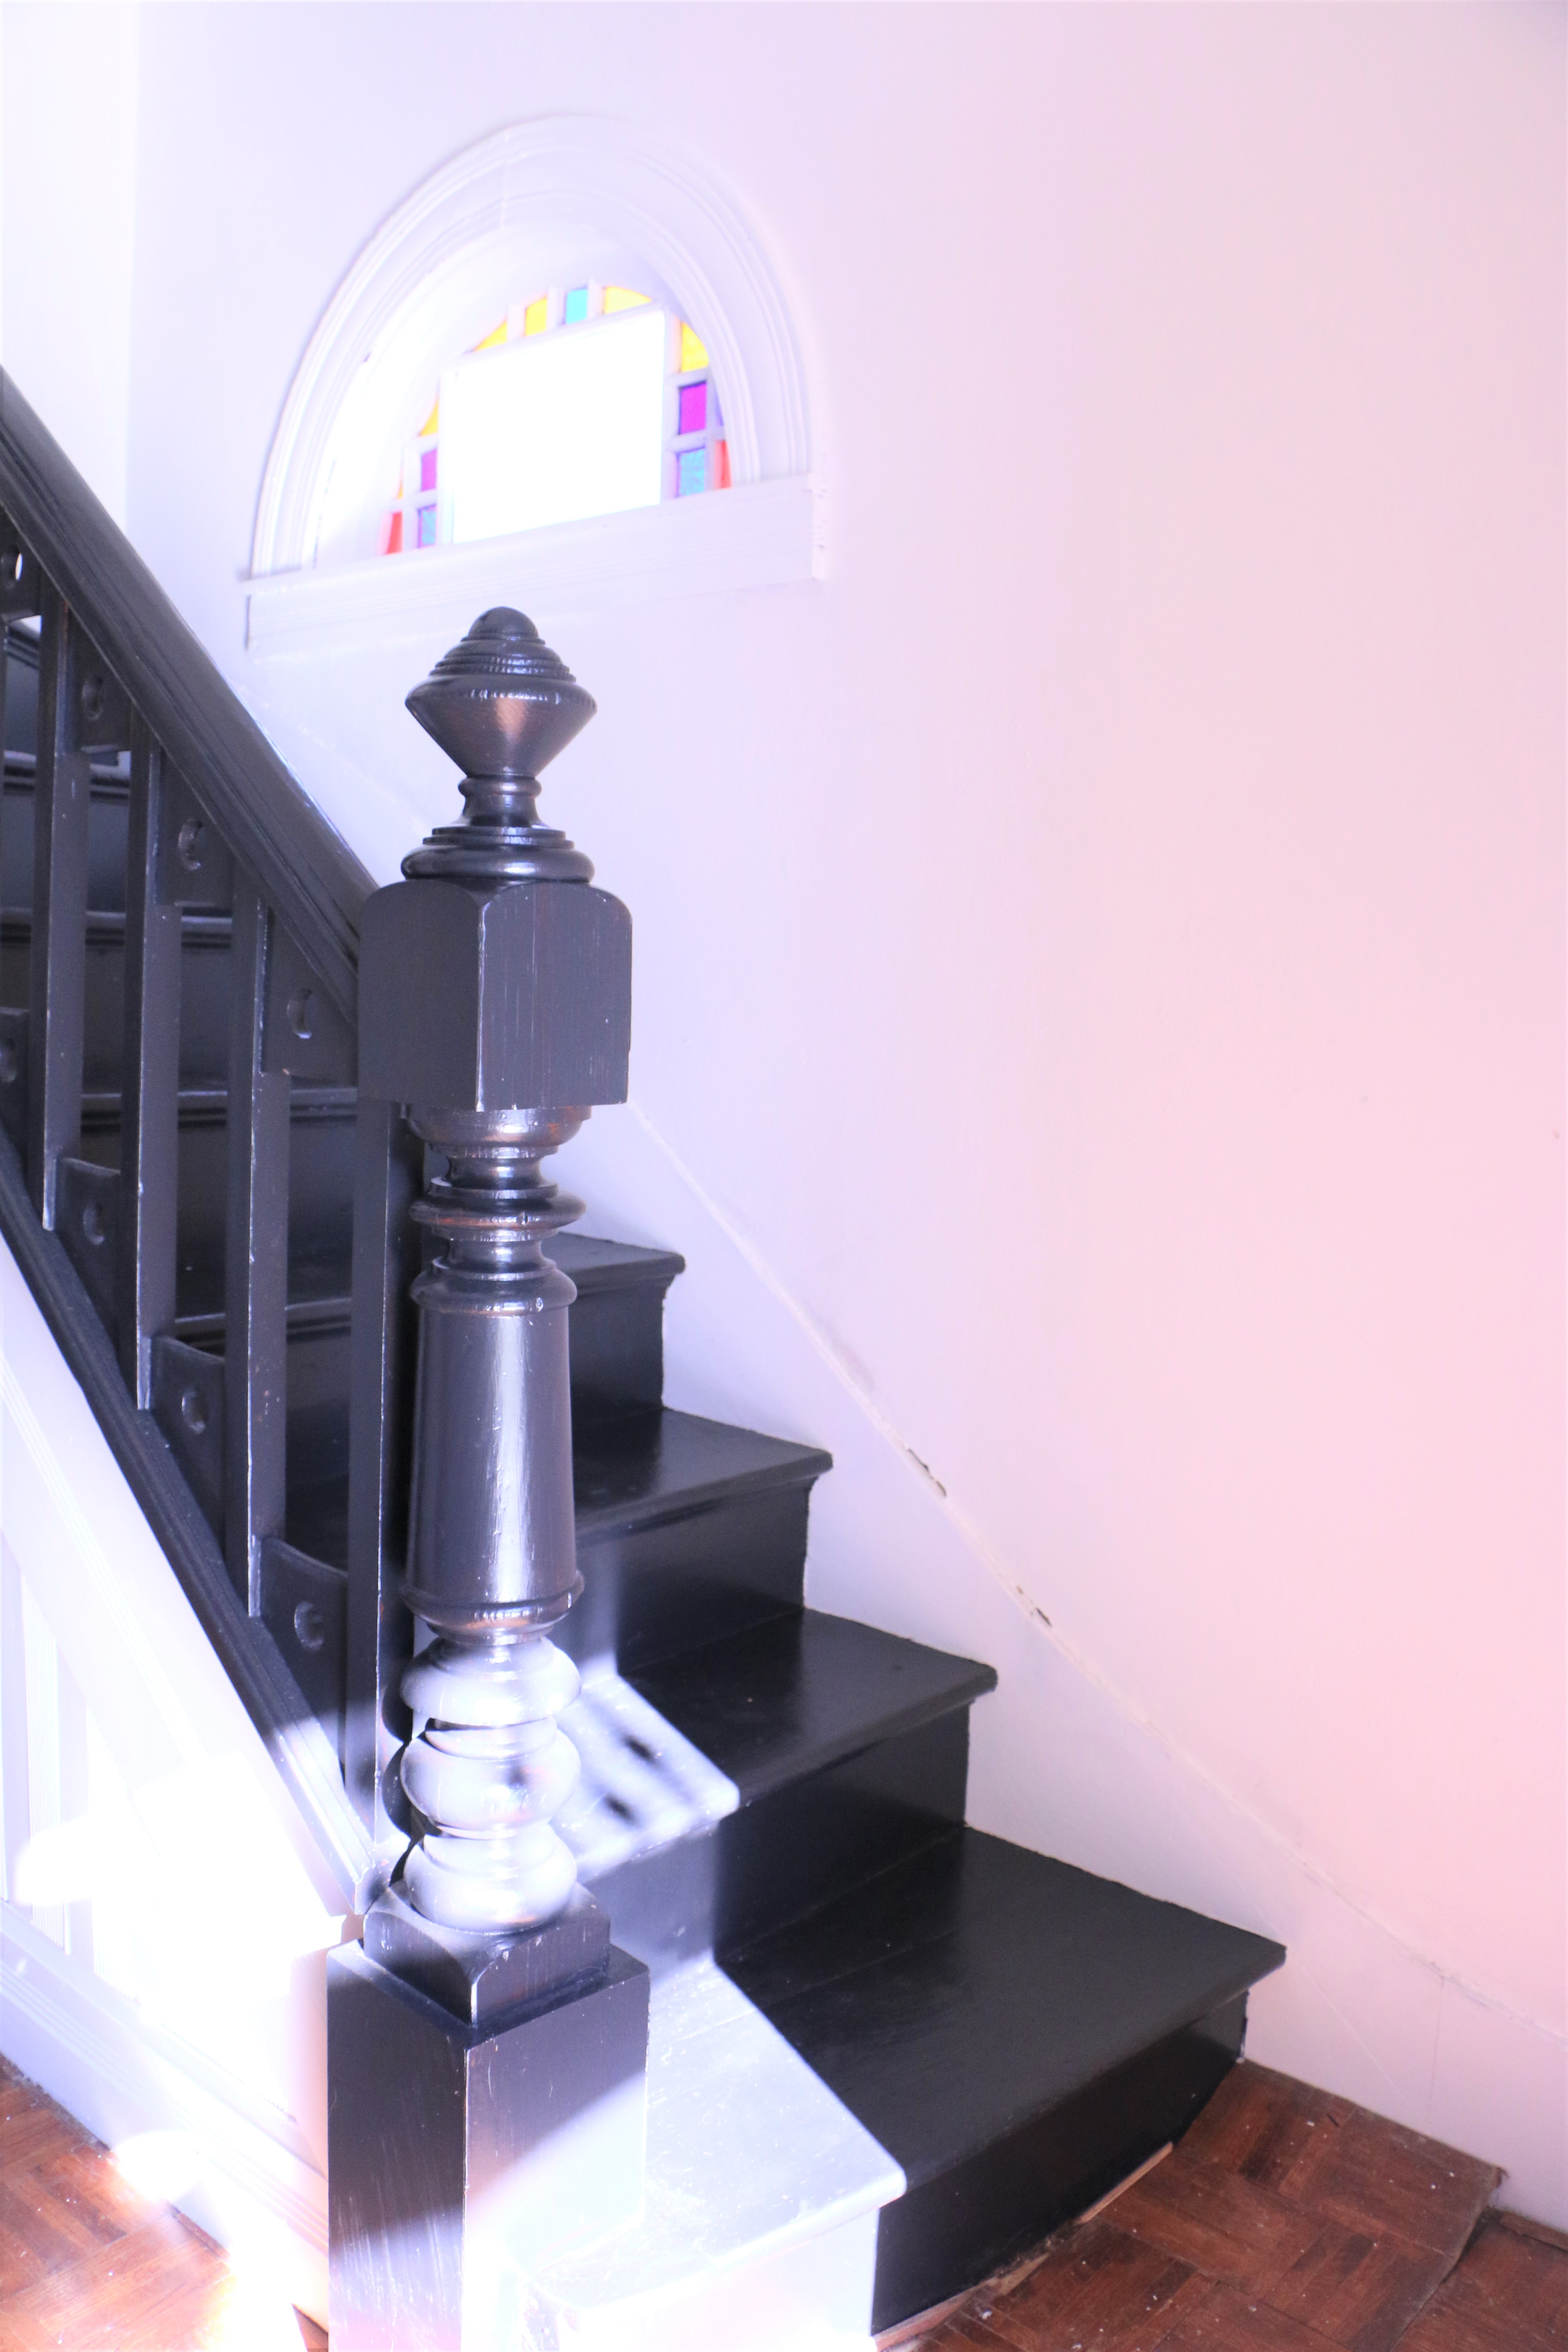
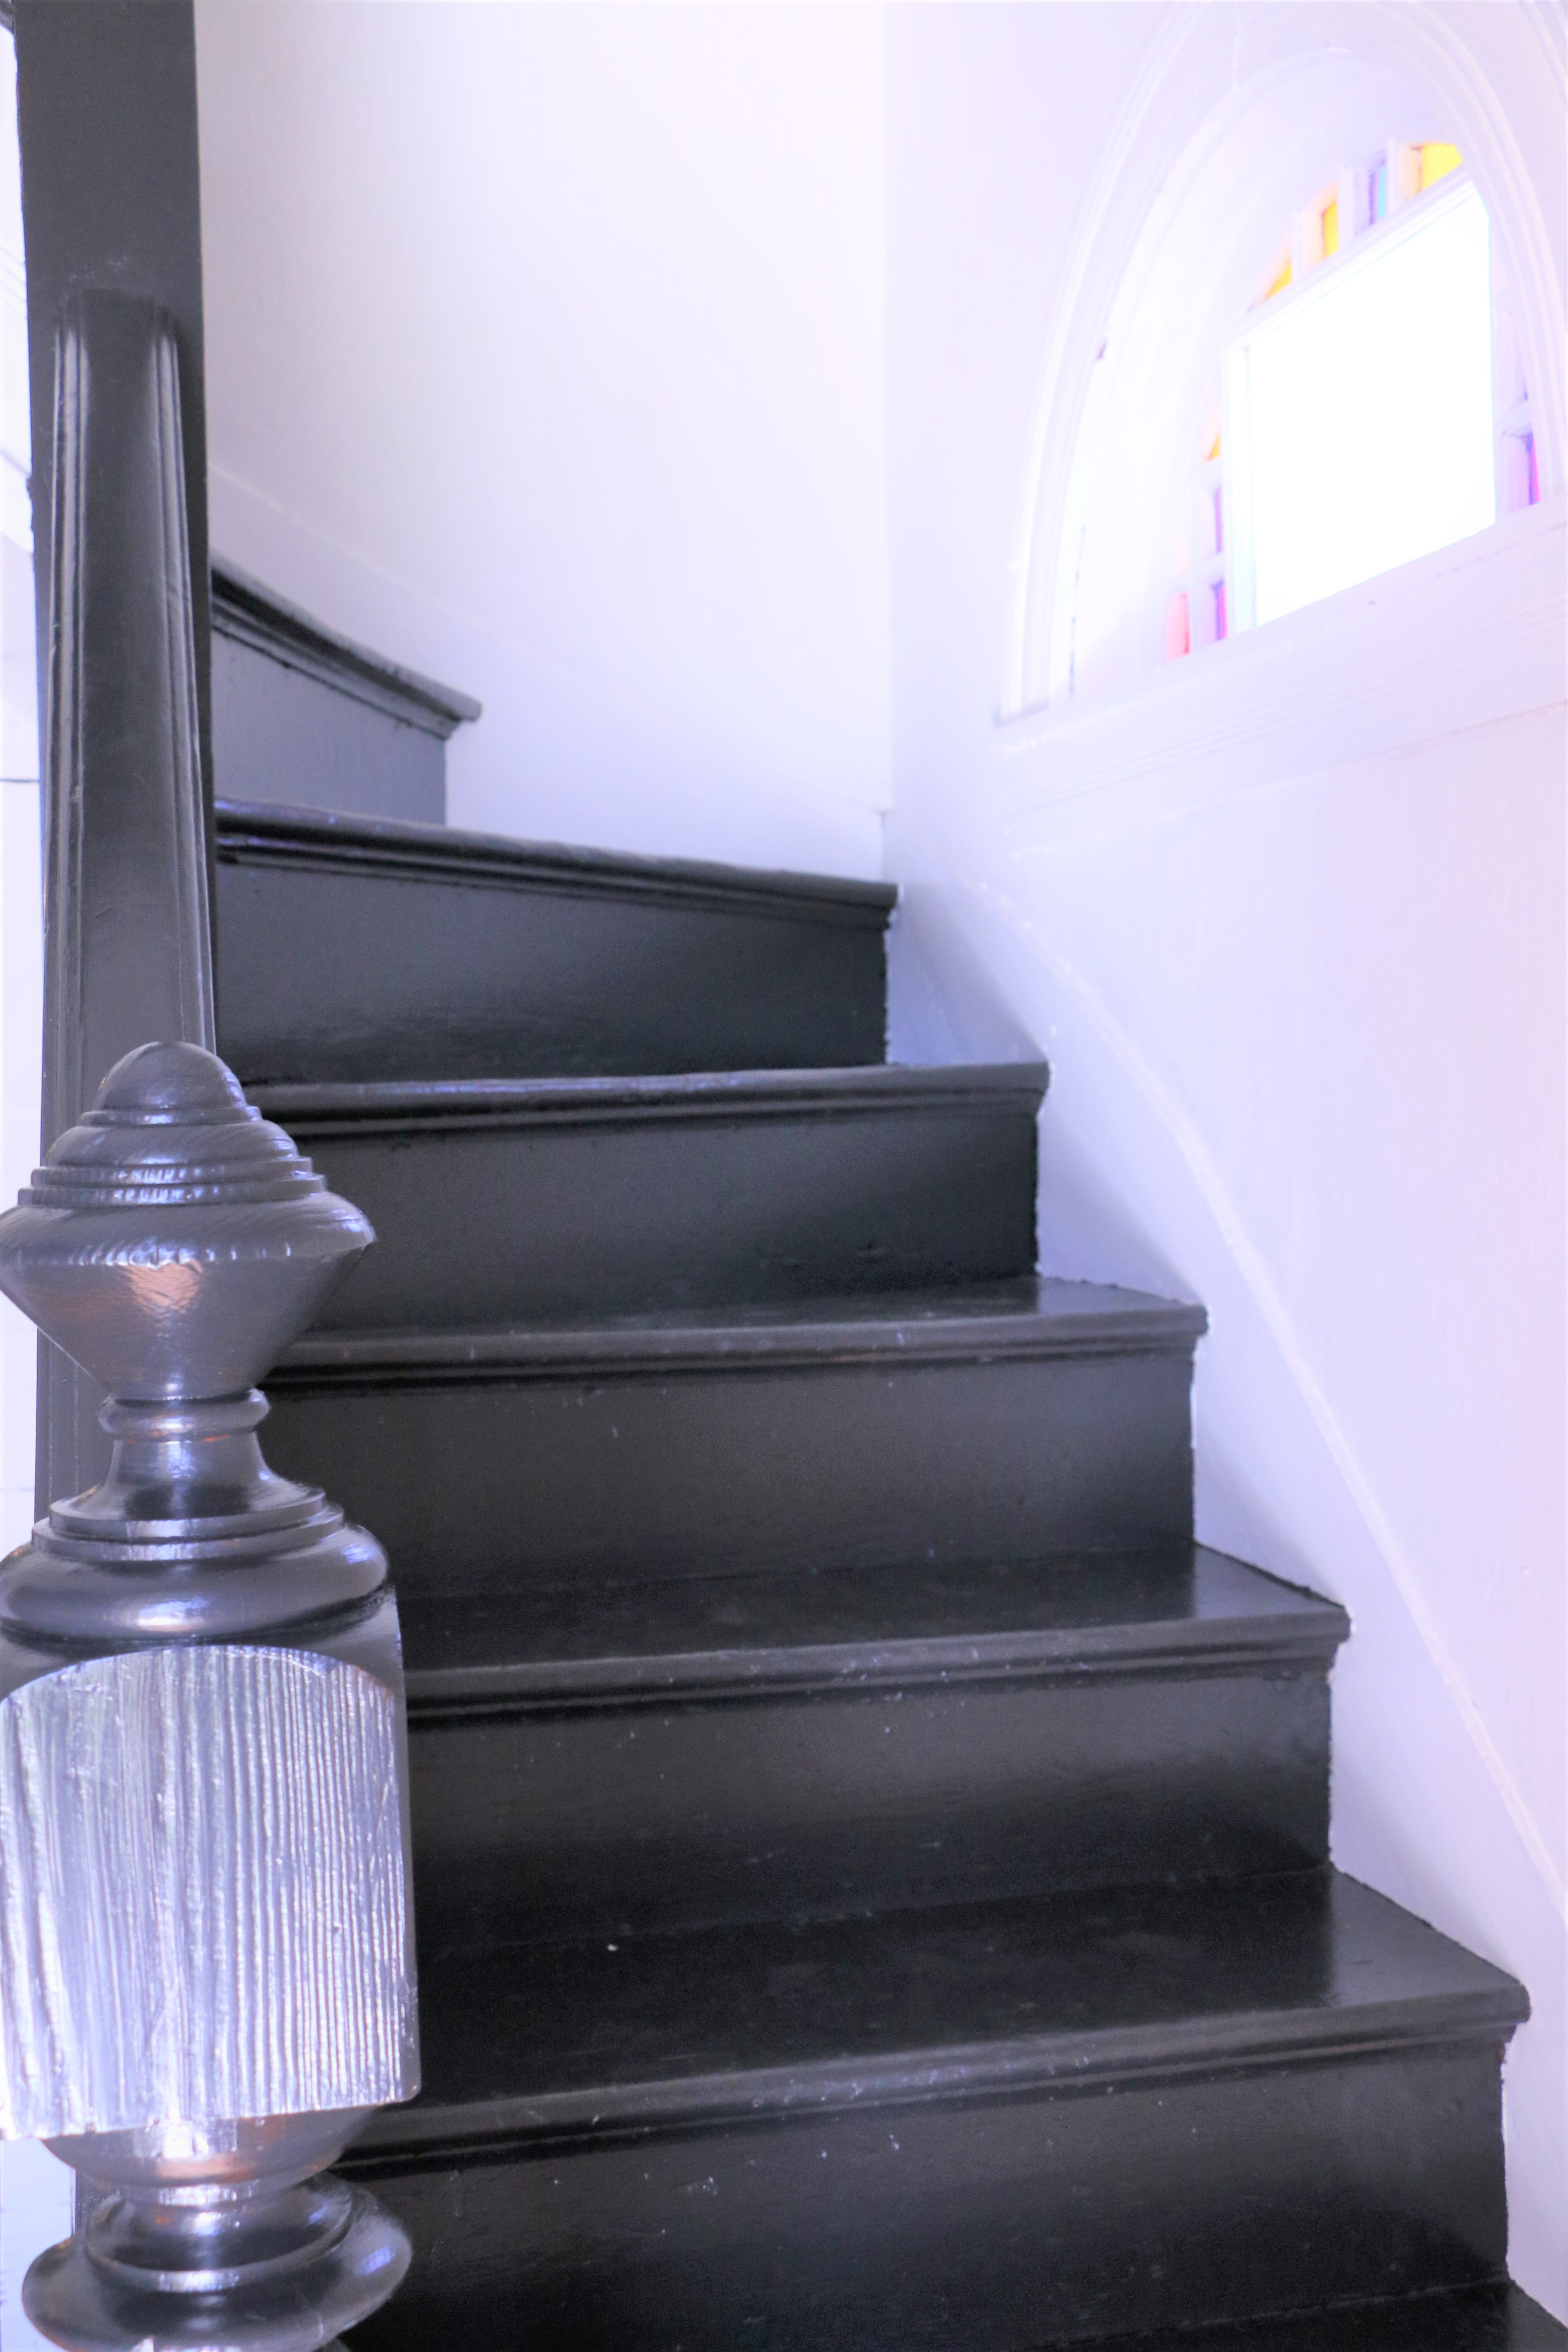
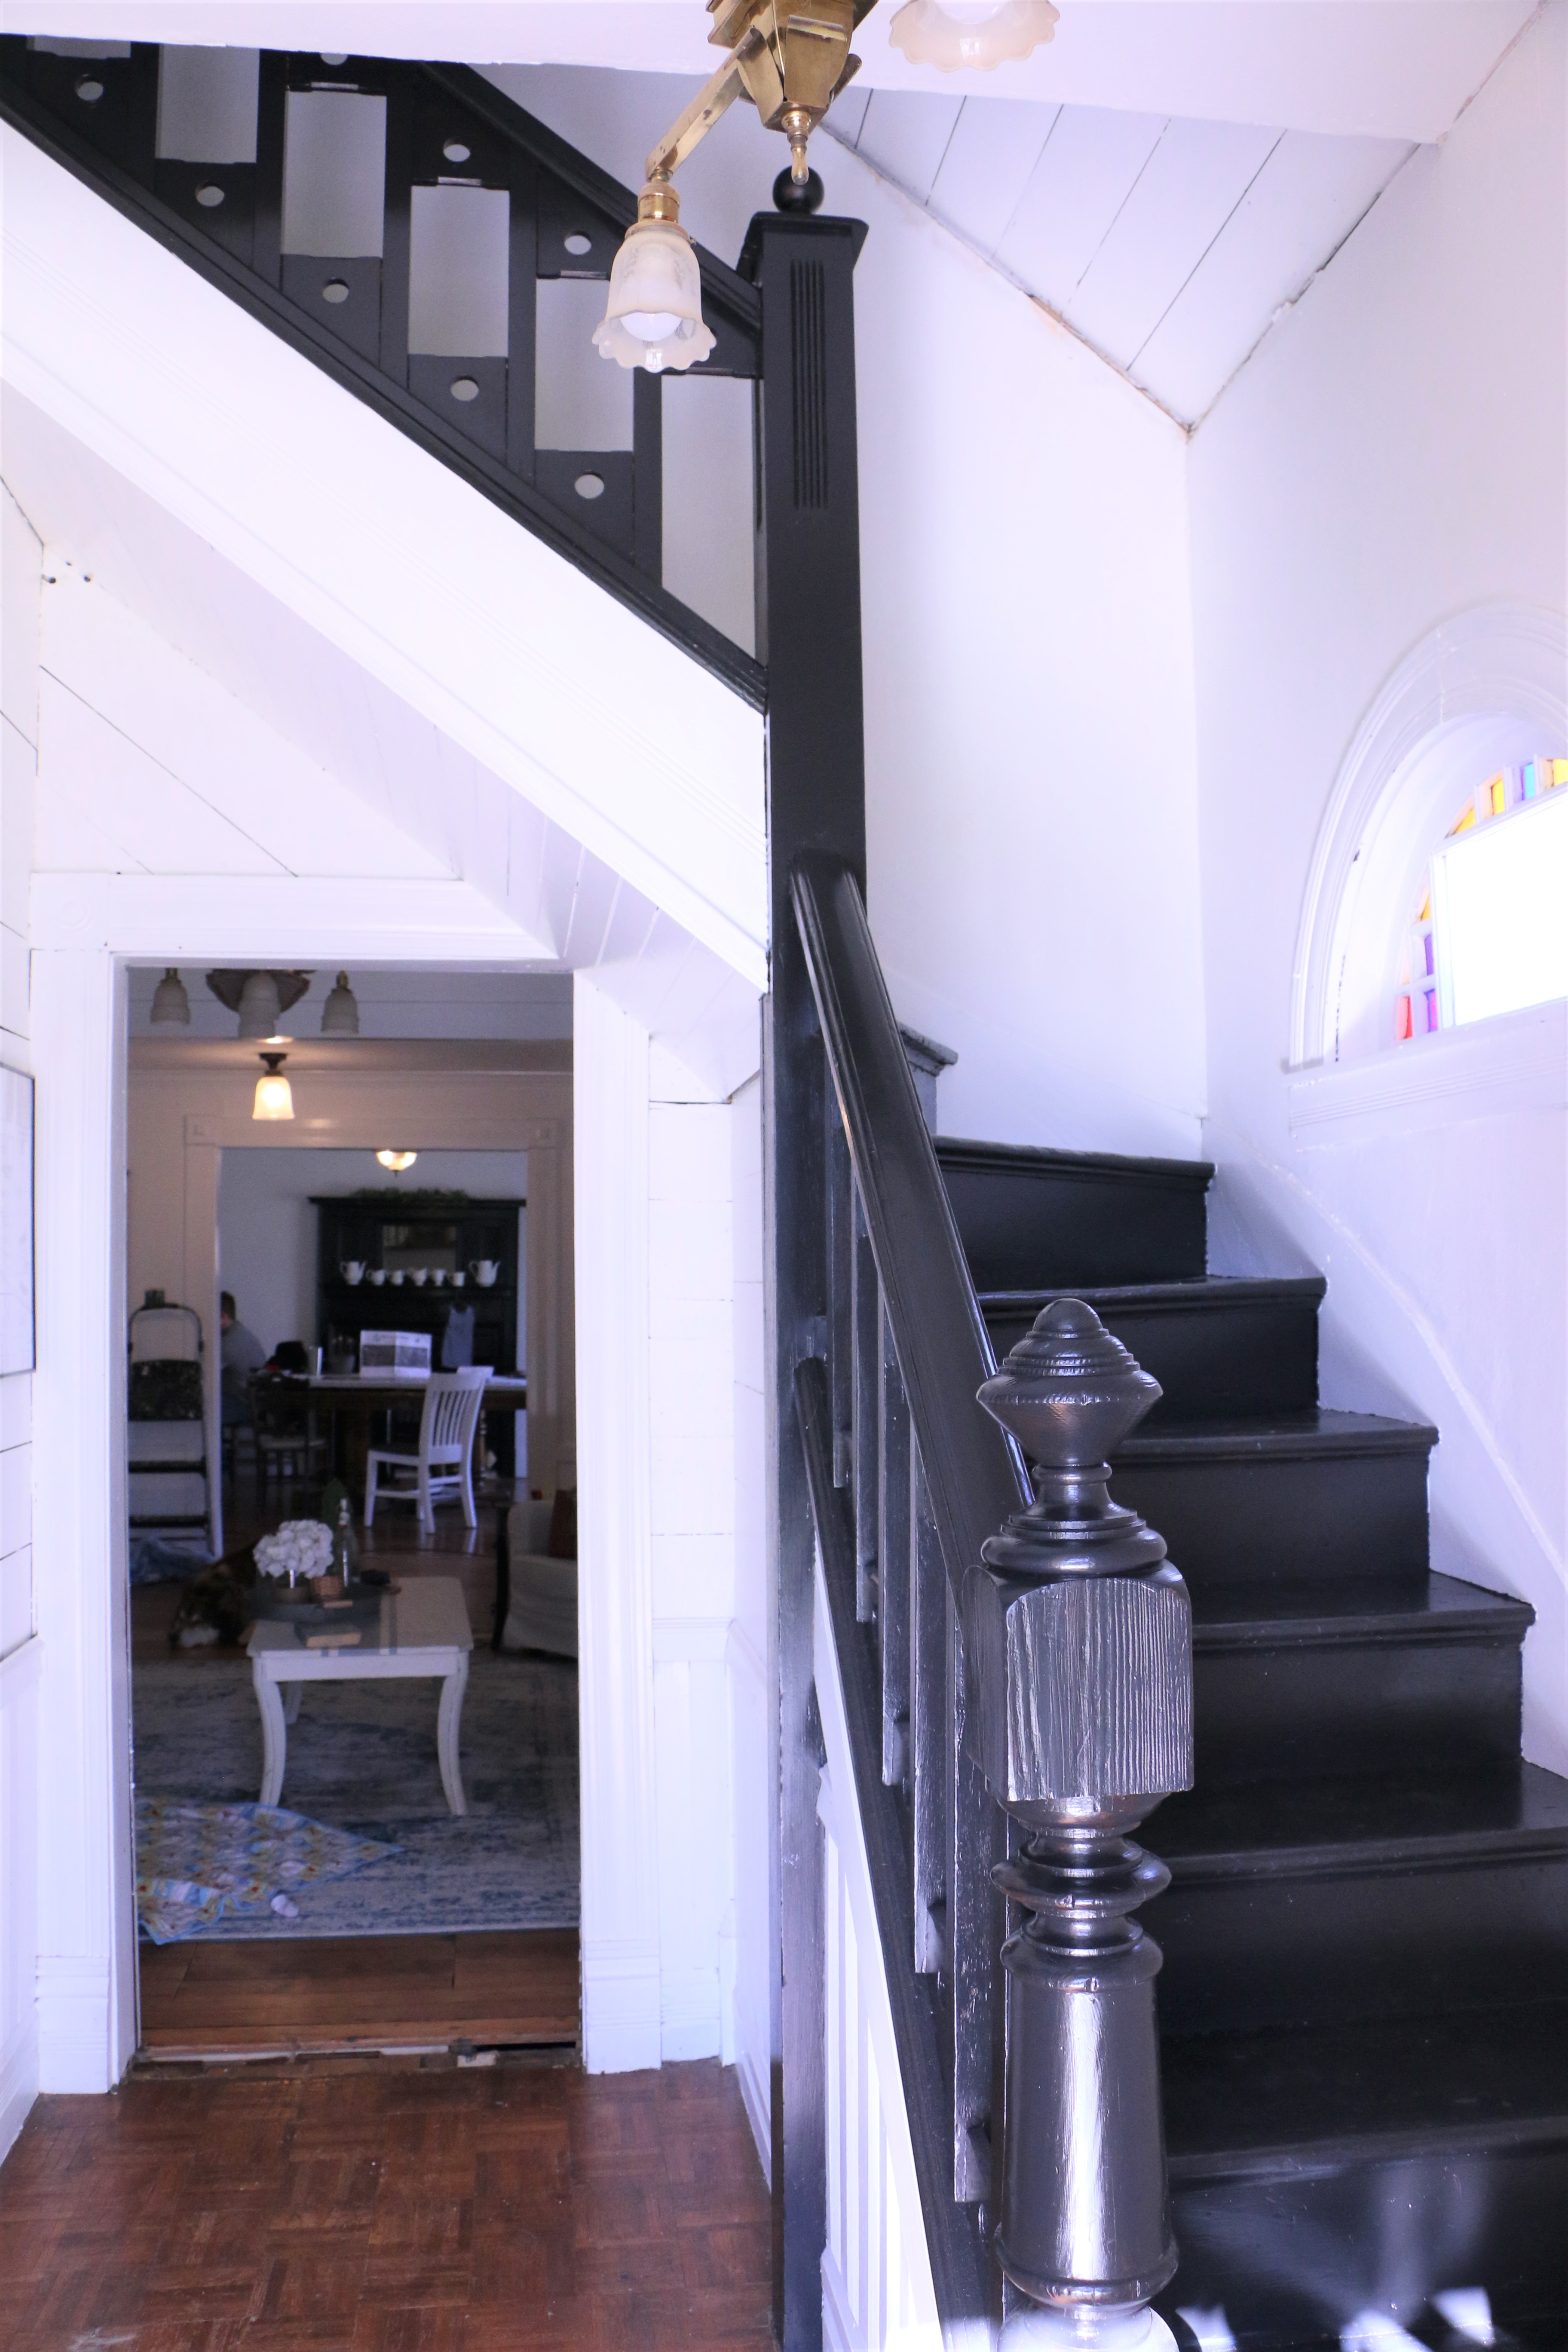
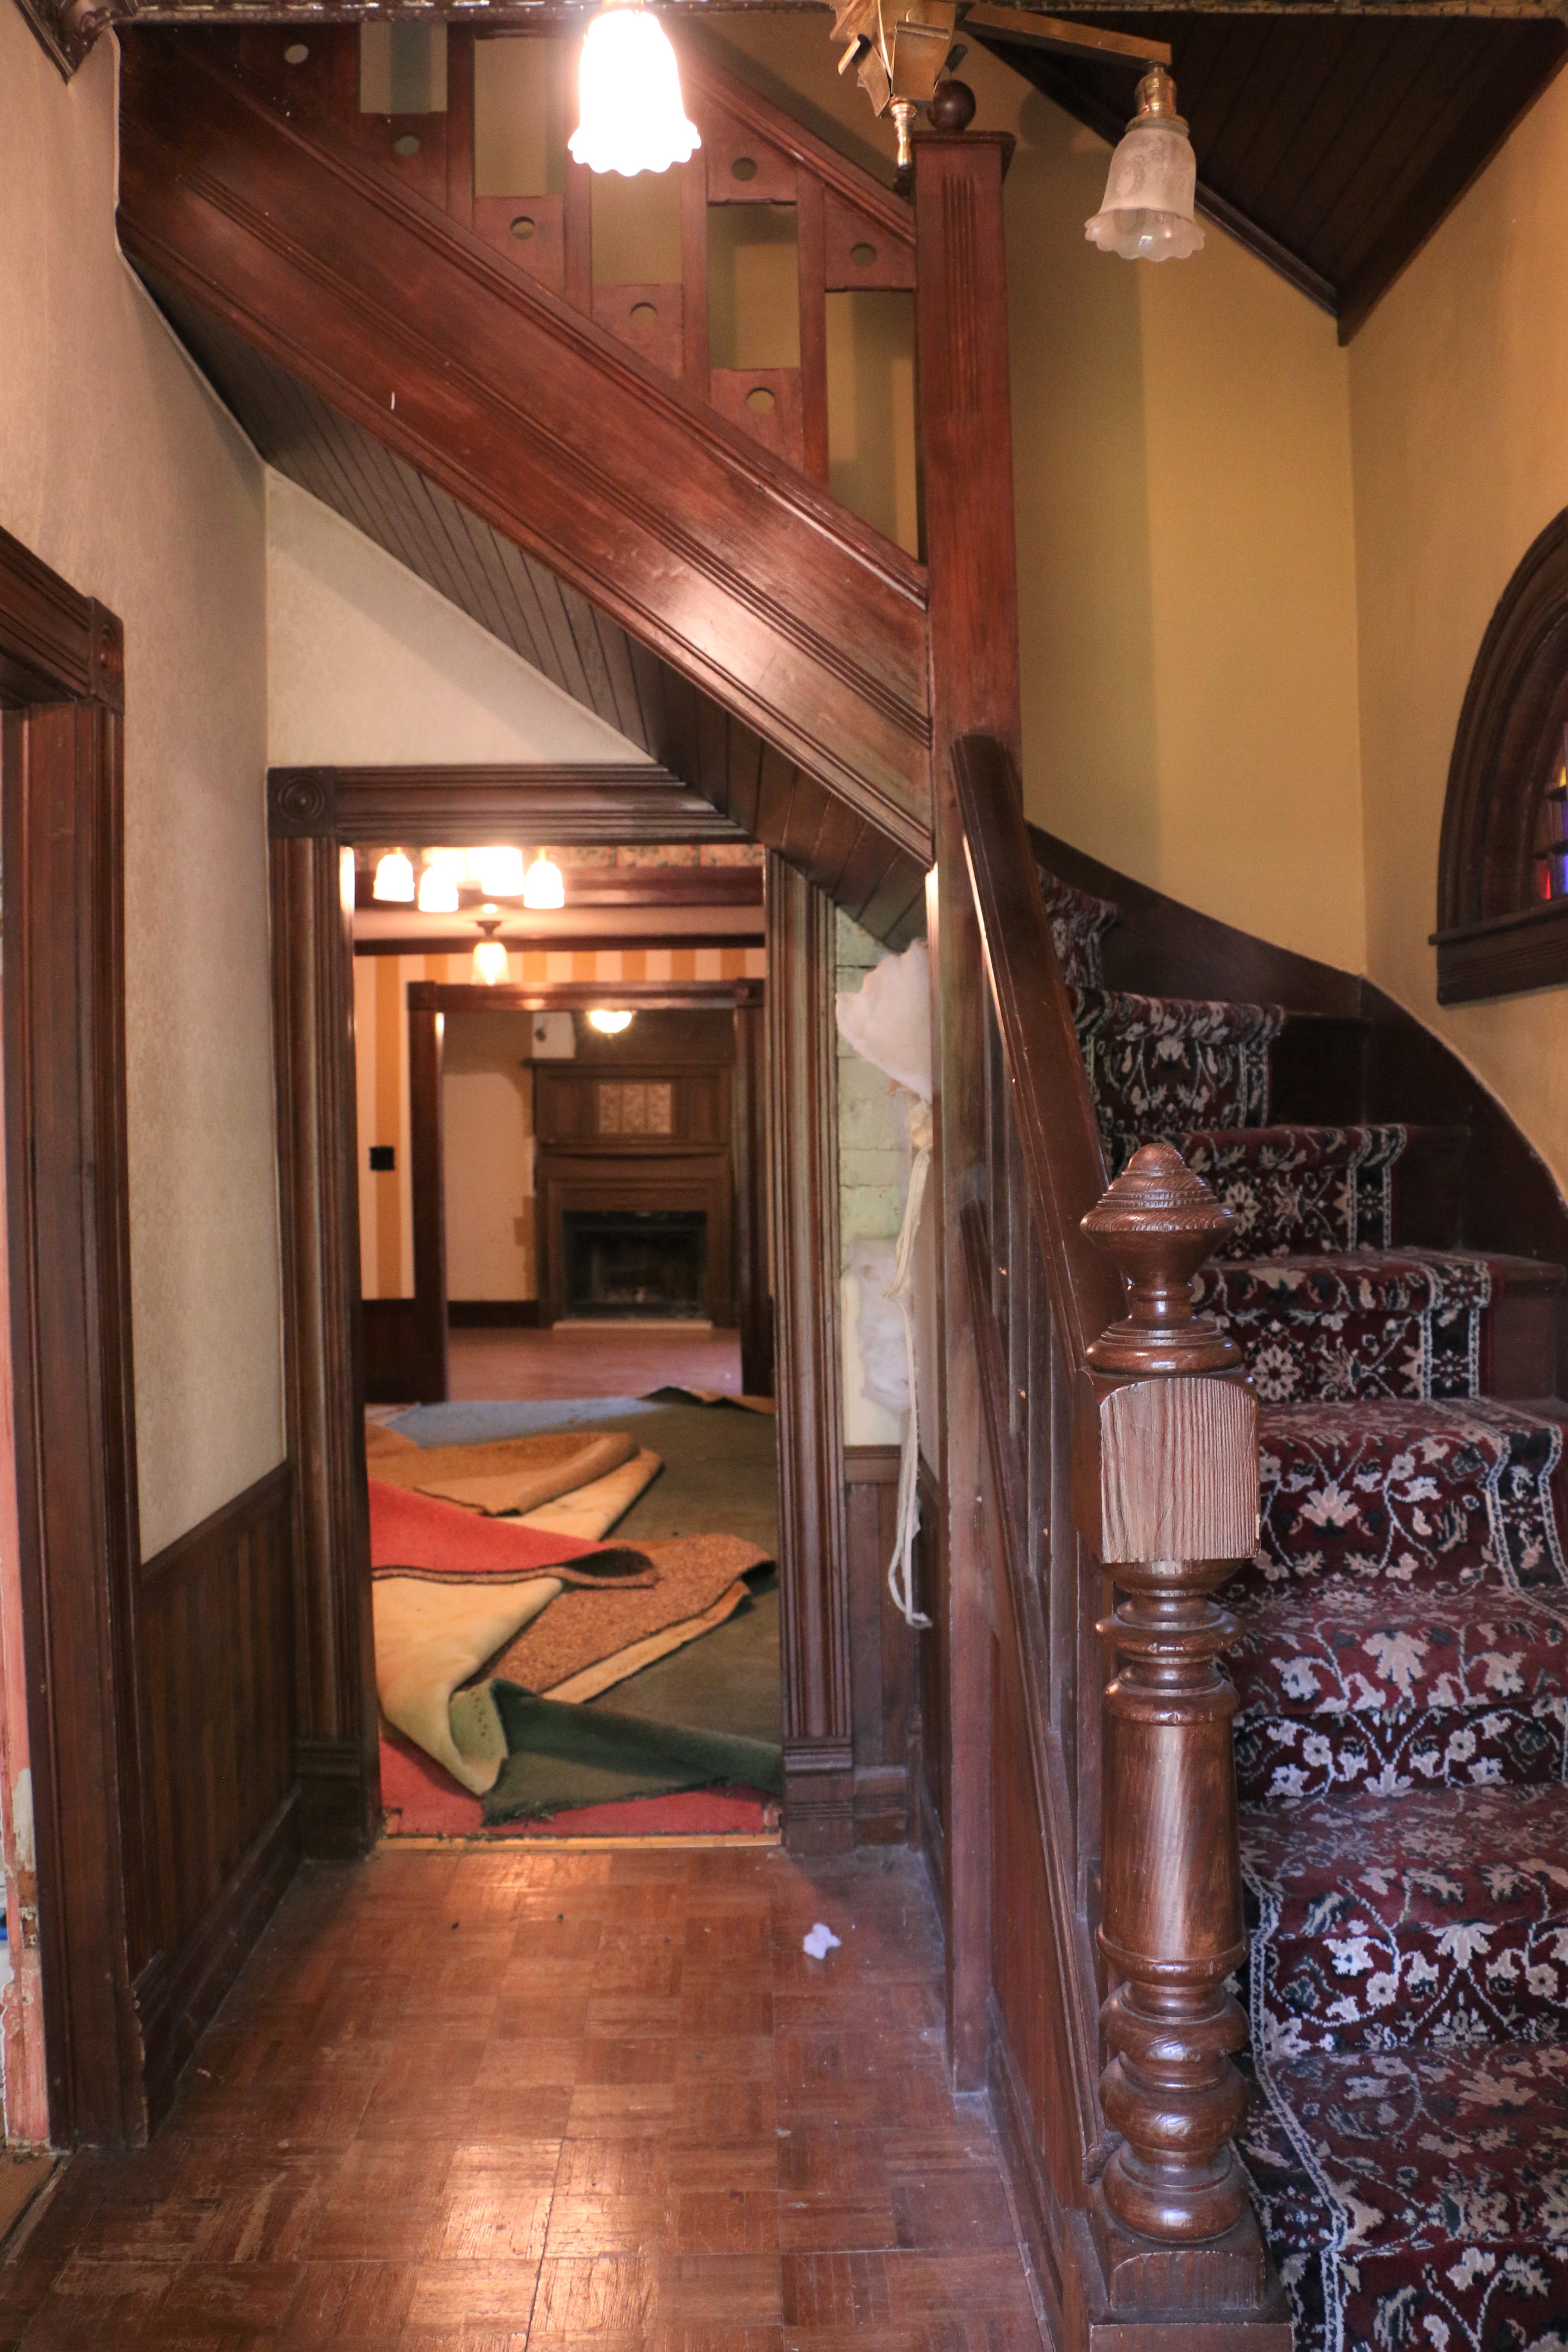
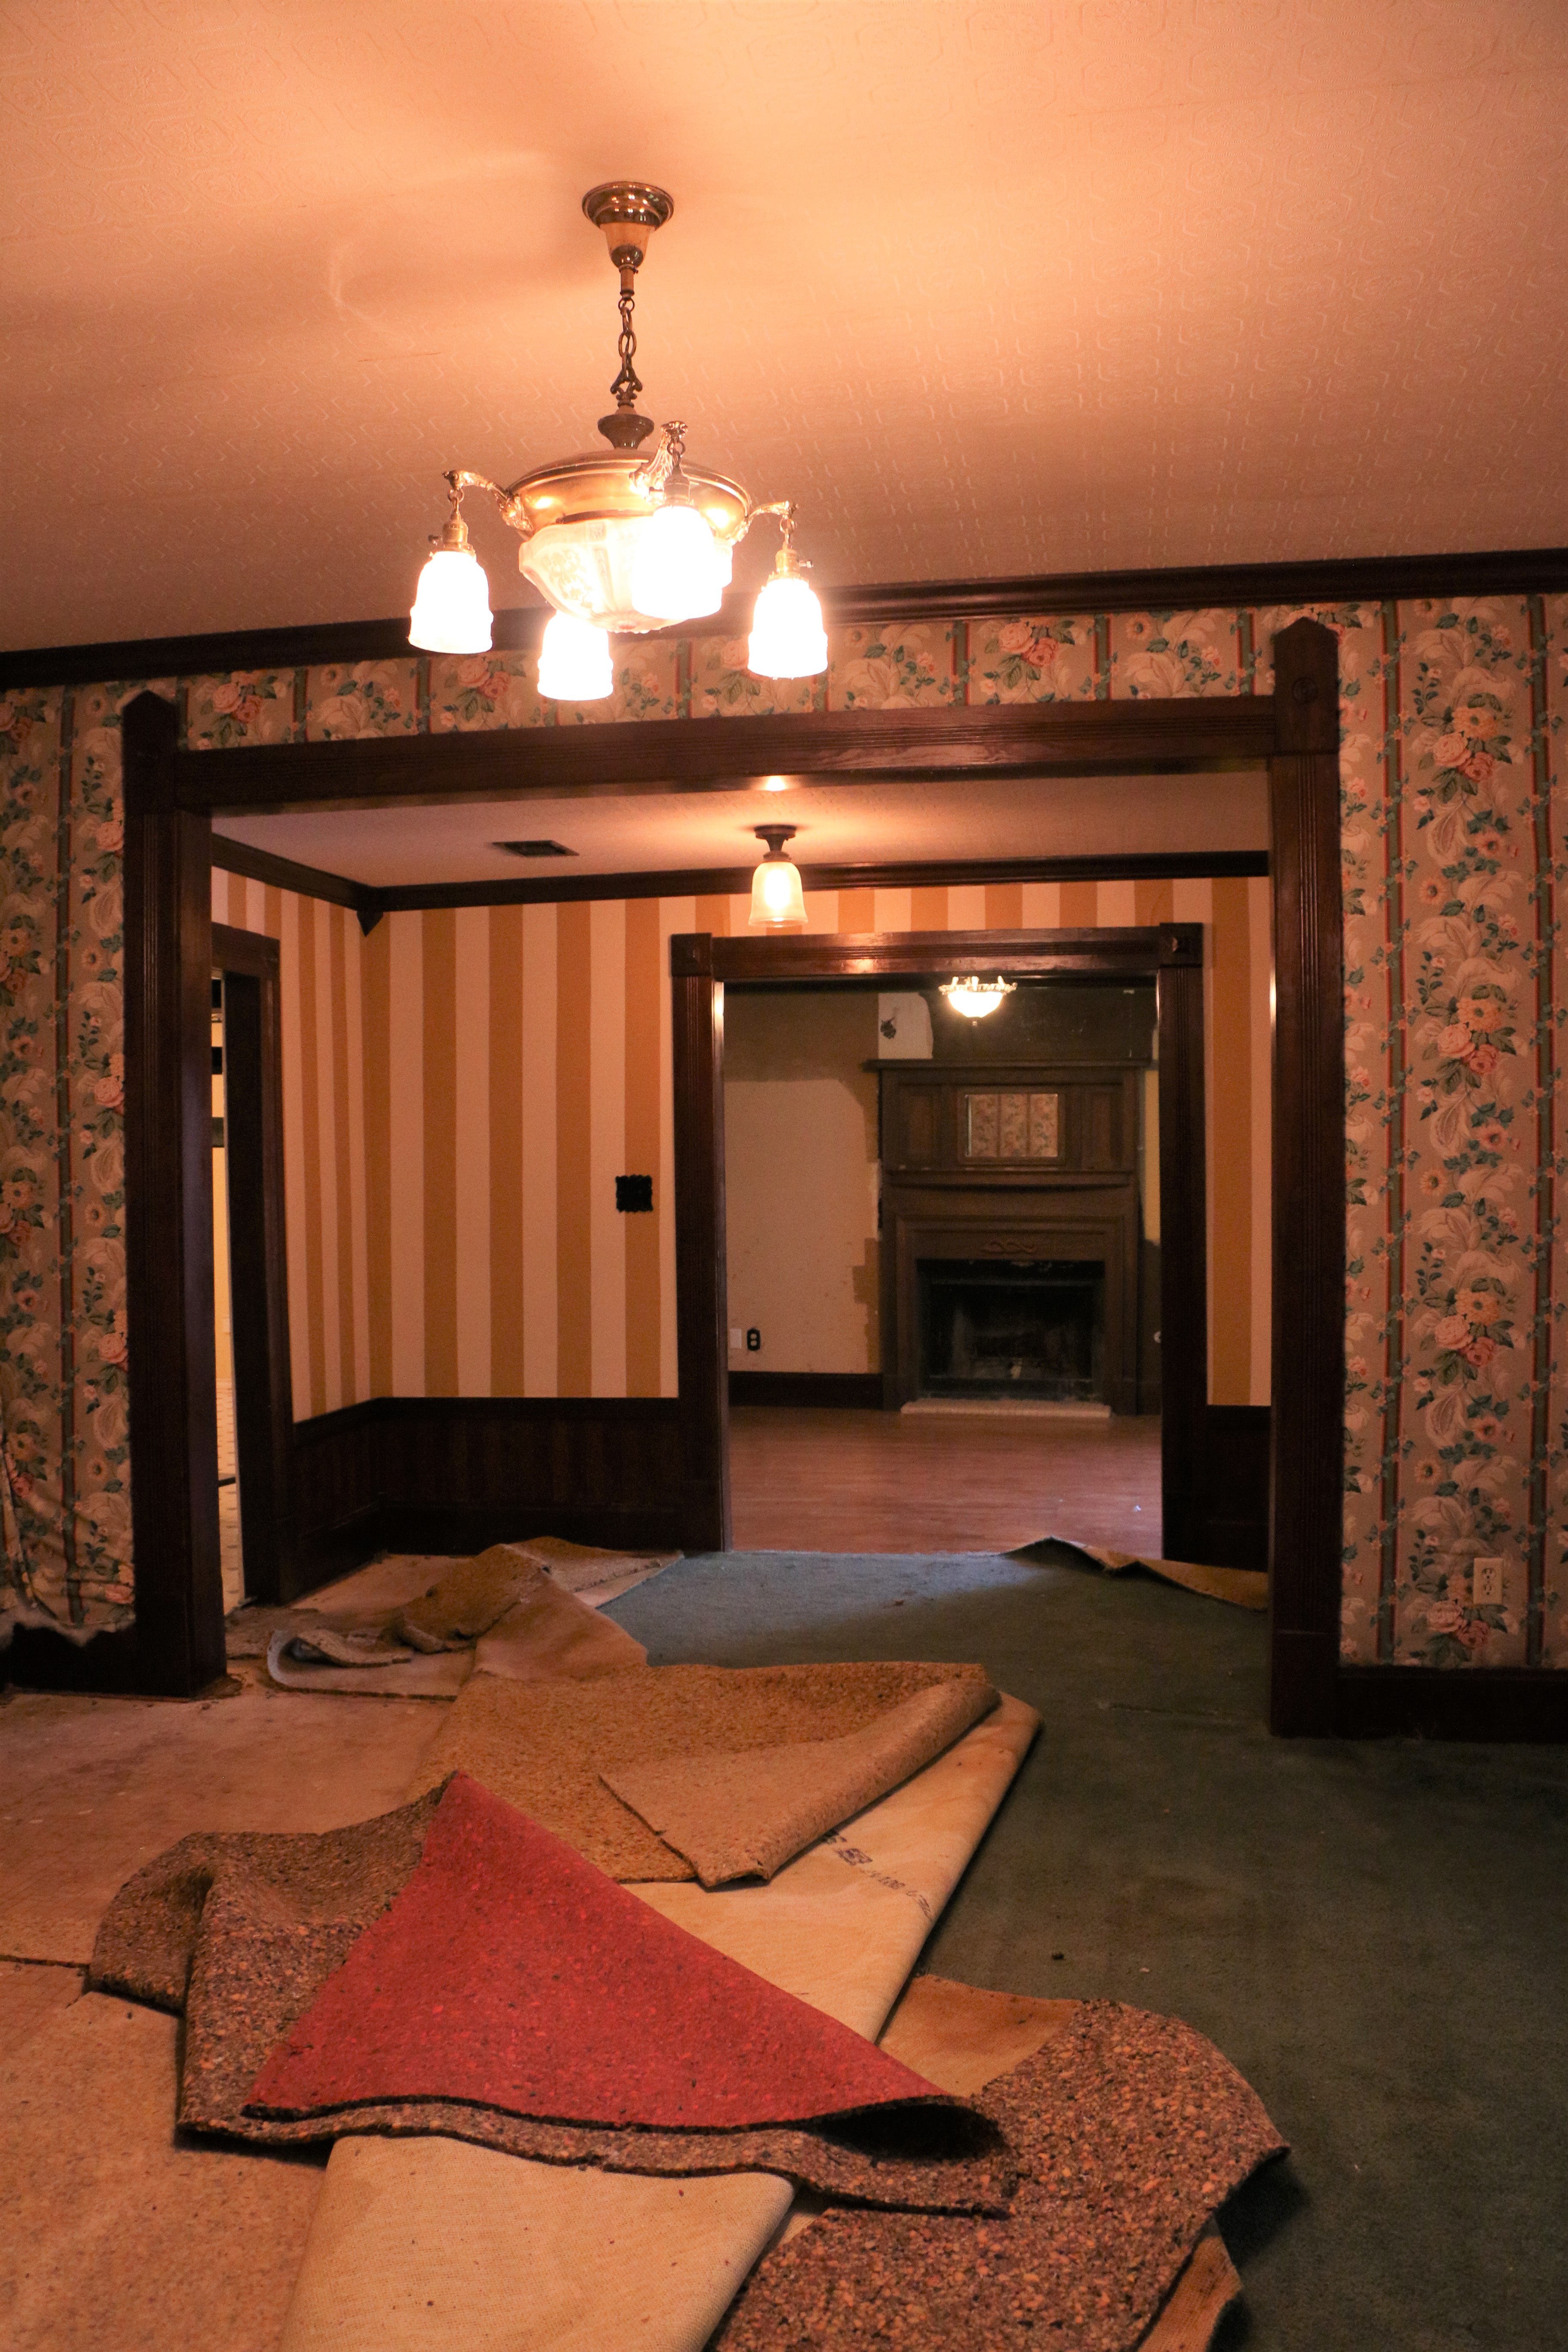
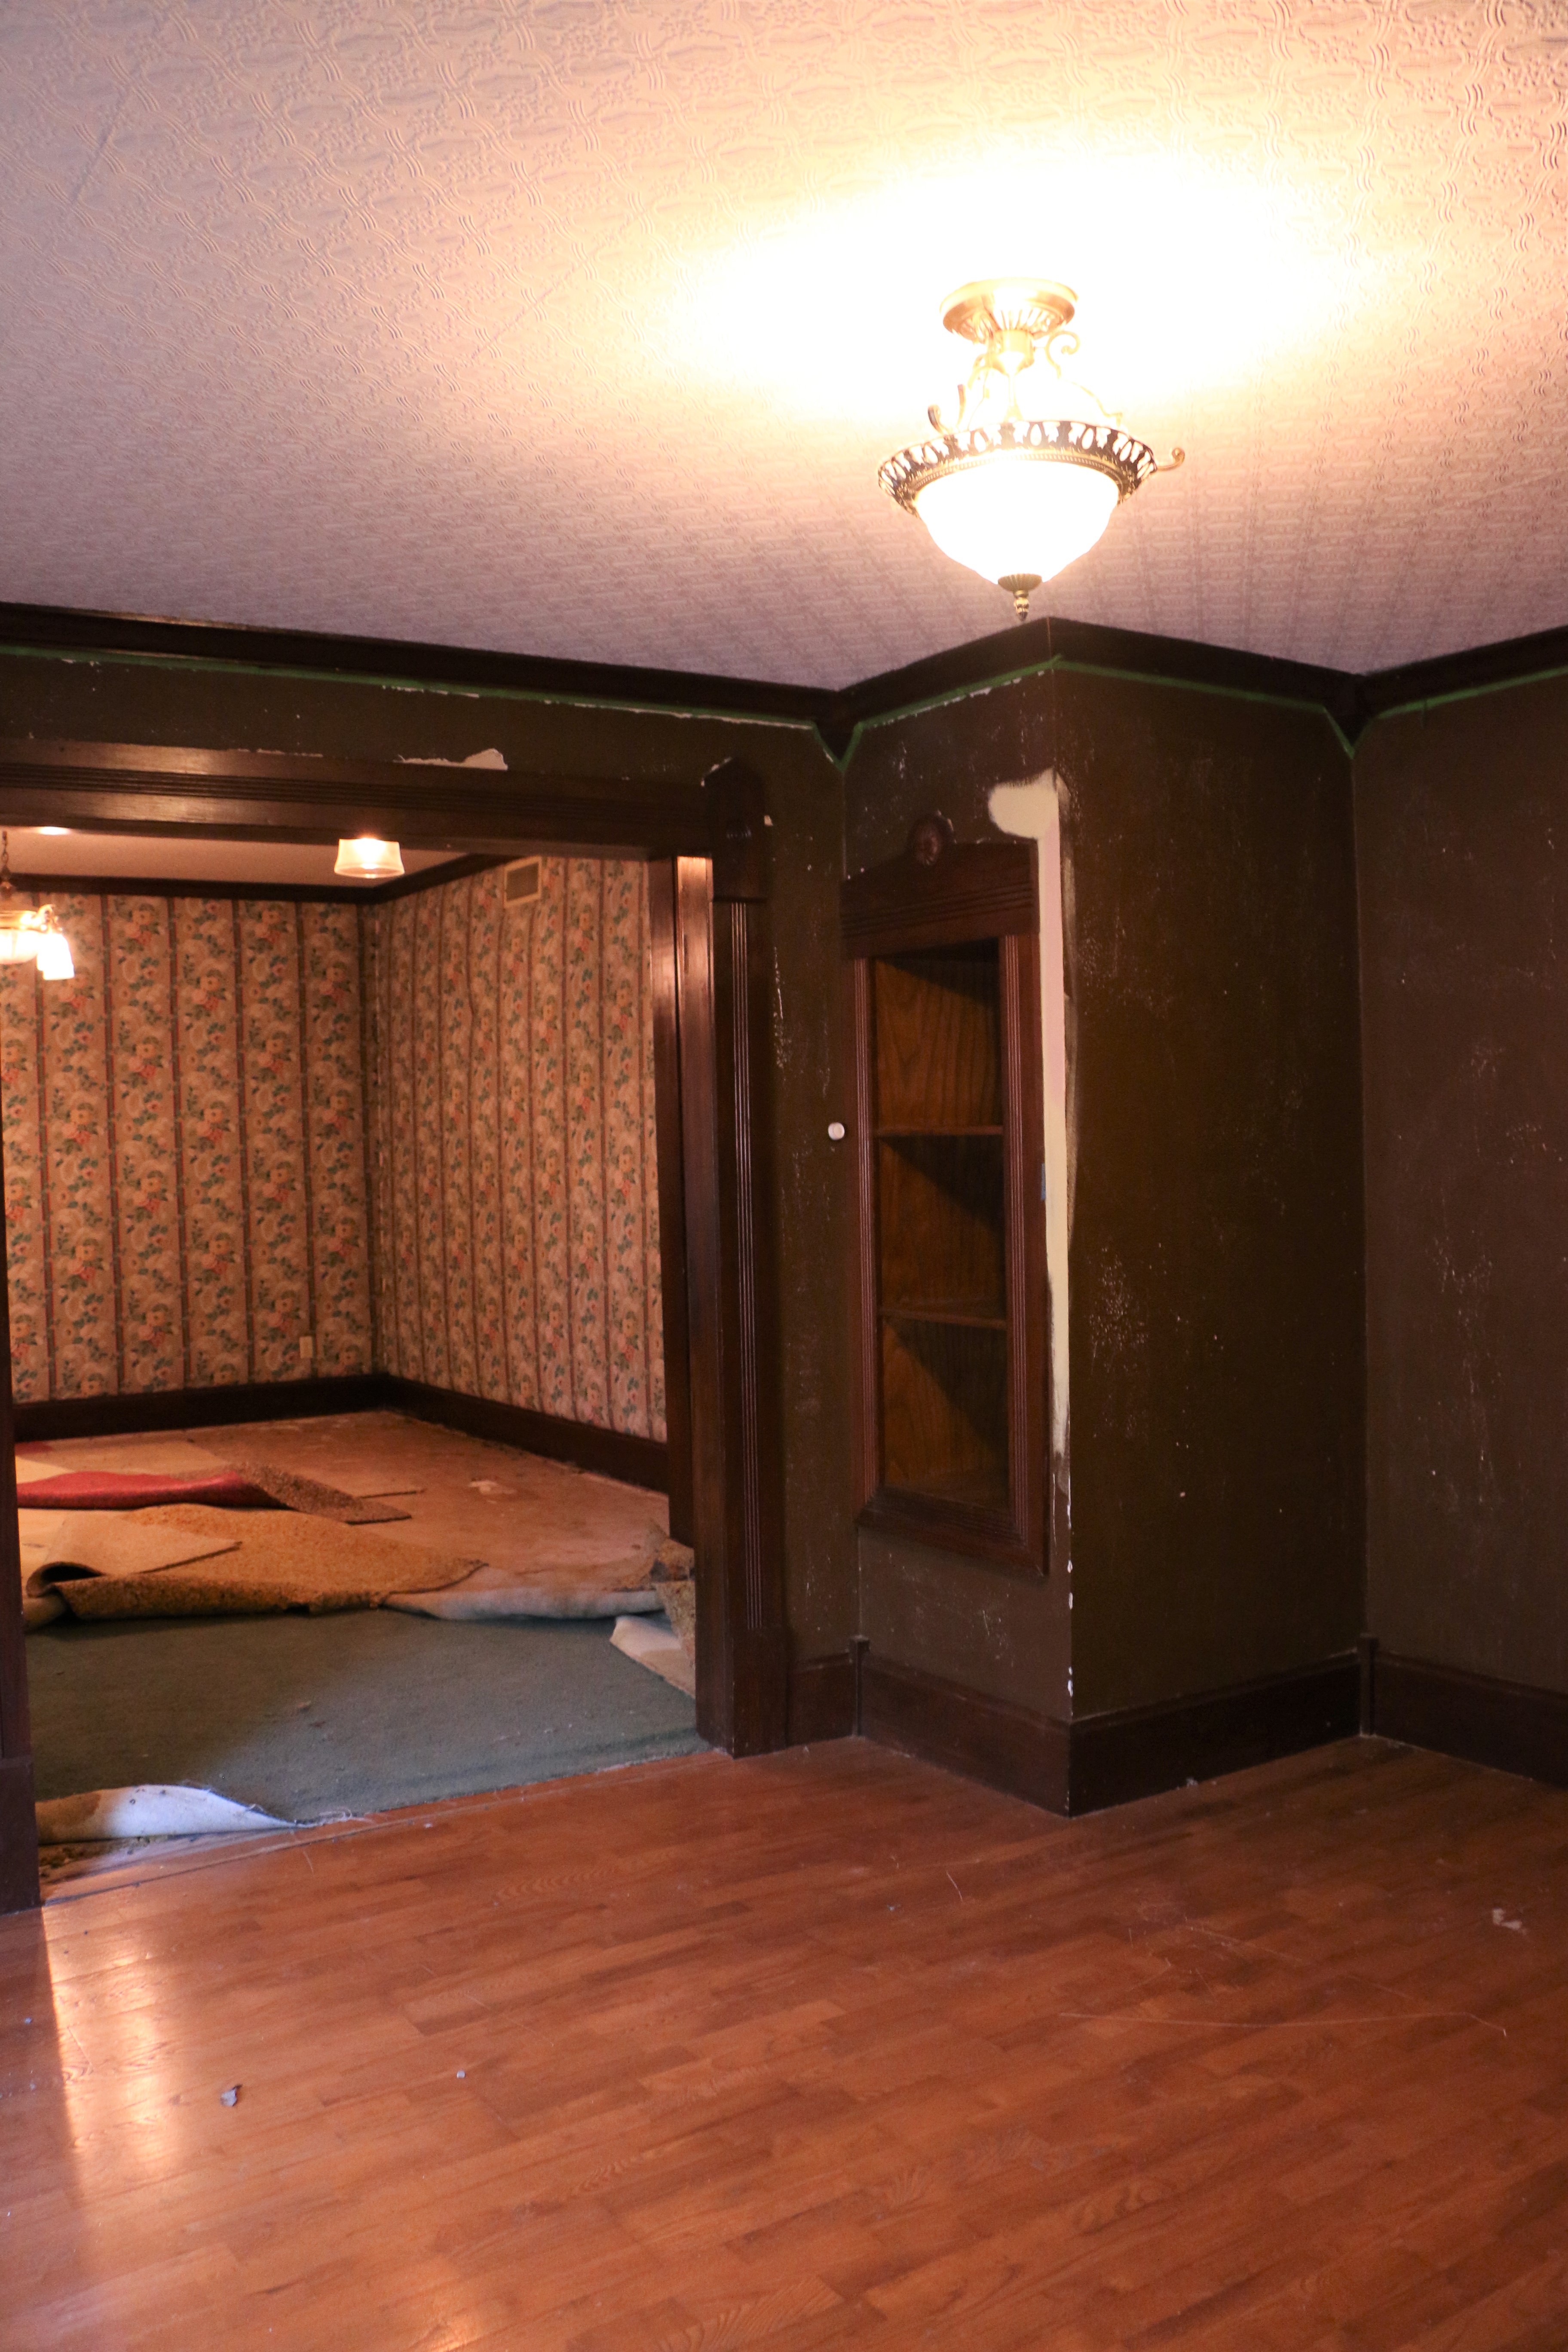
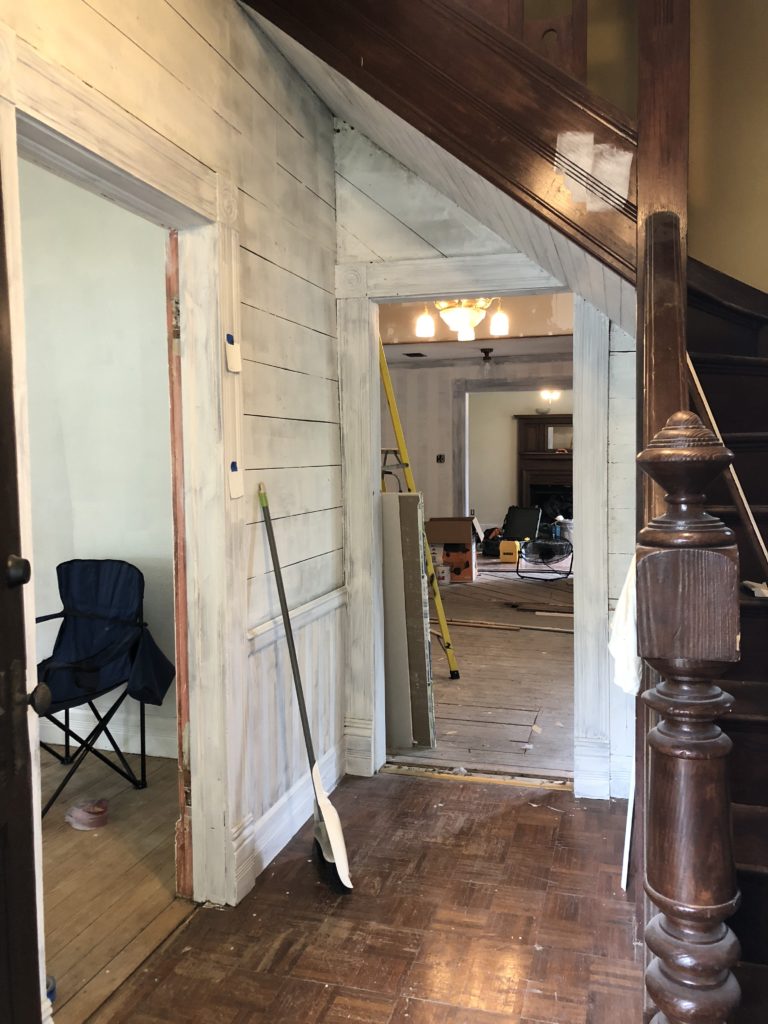
The Foyer 

The foyer was upholstered, so we took all of that down, and took what was probably 1,000 staples out of the shiplap. The shiplap has been sanded and primed, ready for paint. This is the only shiplap in the house that we will be leaving exposed. We also primed some of the the trim in this room as well. There is more painting to be done on the stairs (not all of it, don’t worry), but some of the stair treads need to be repaired first.
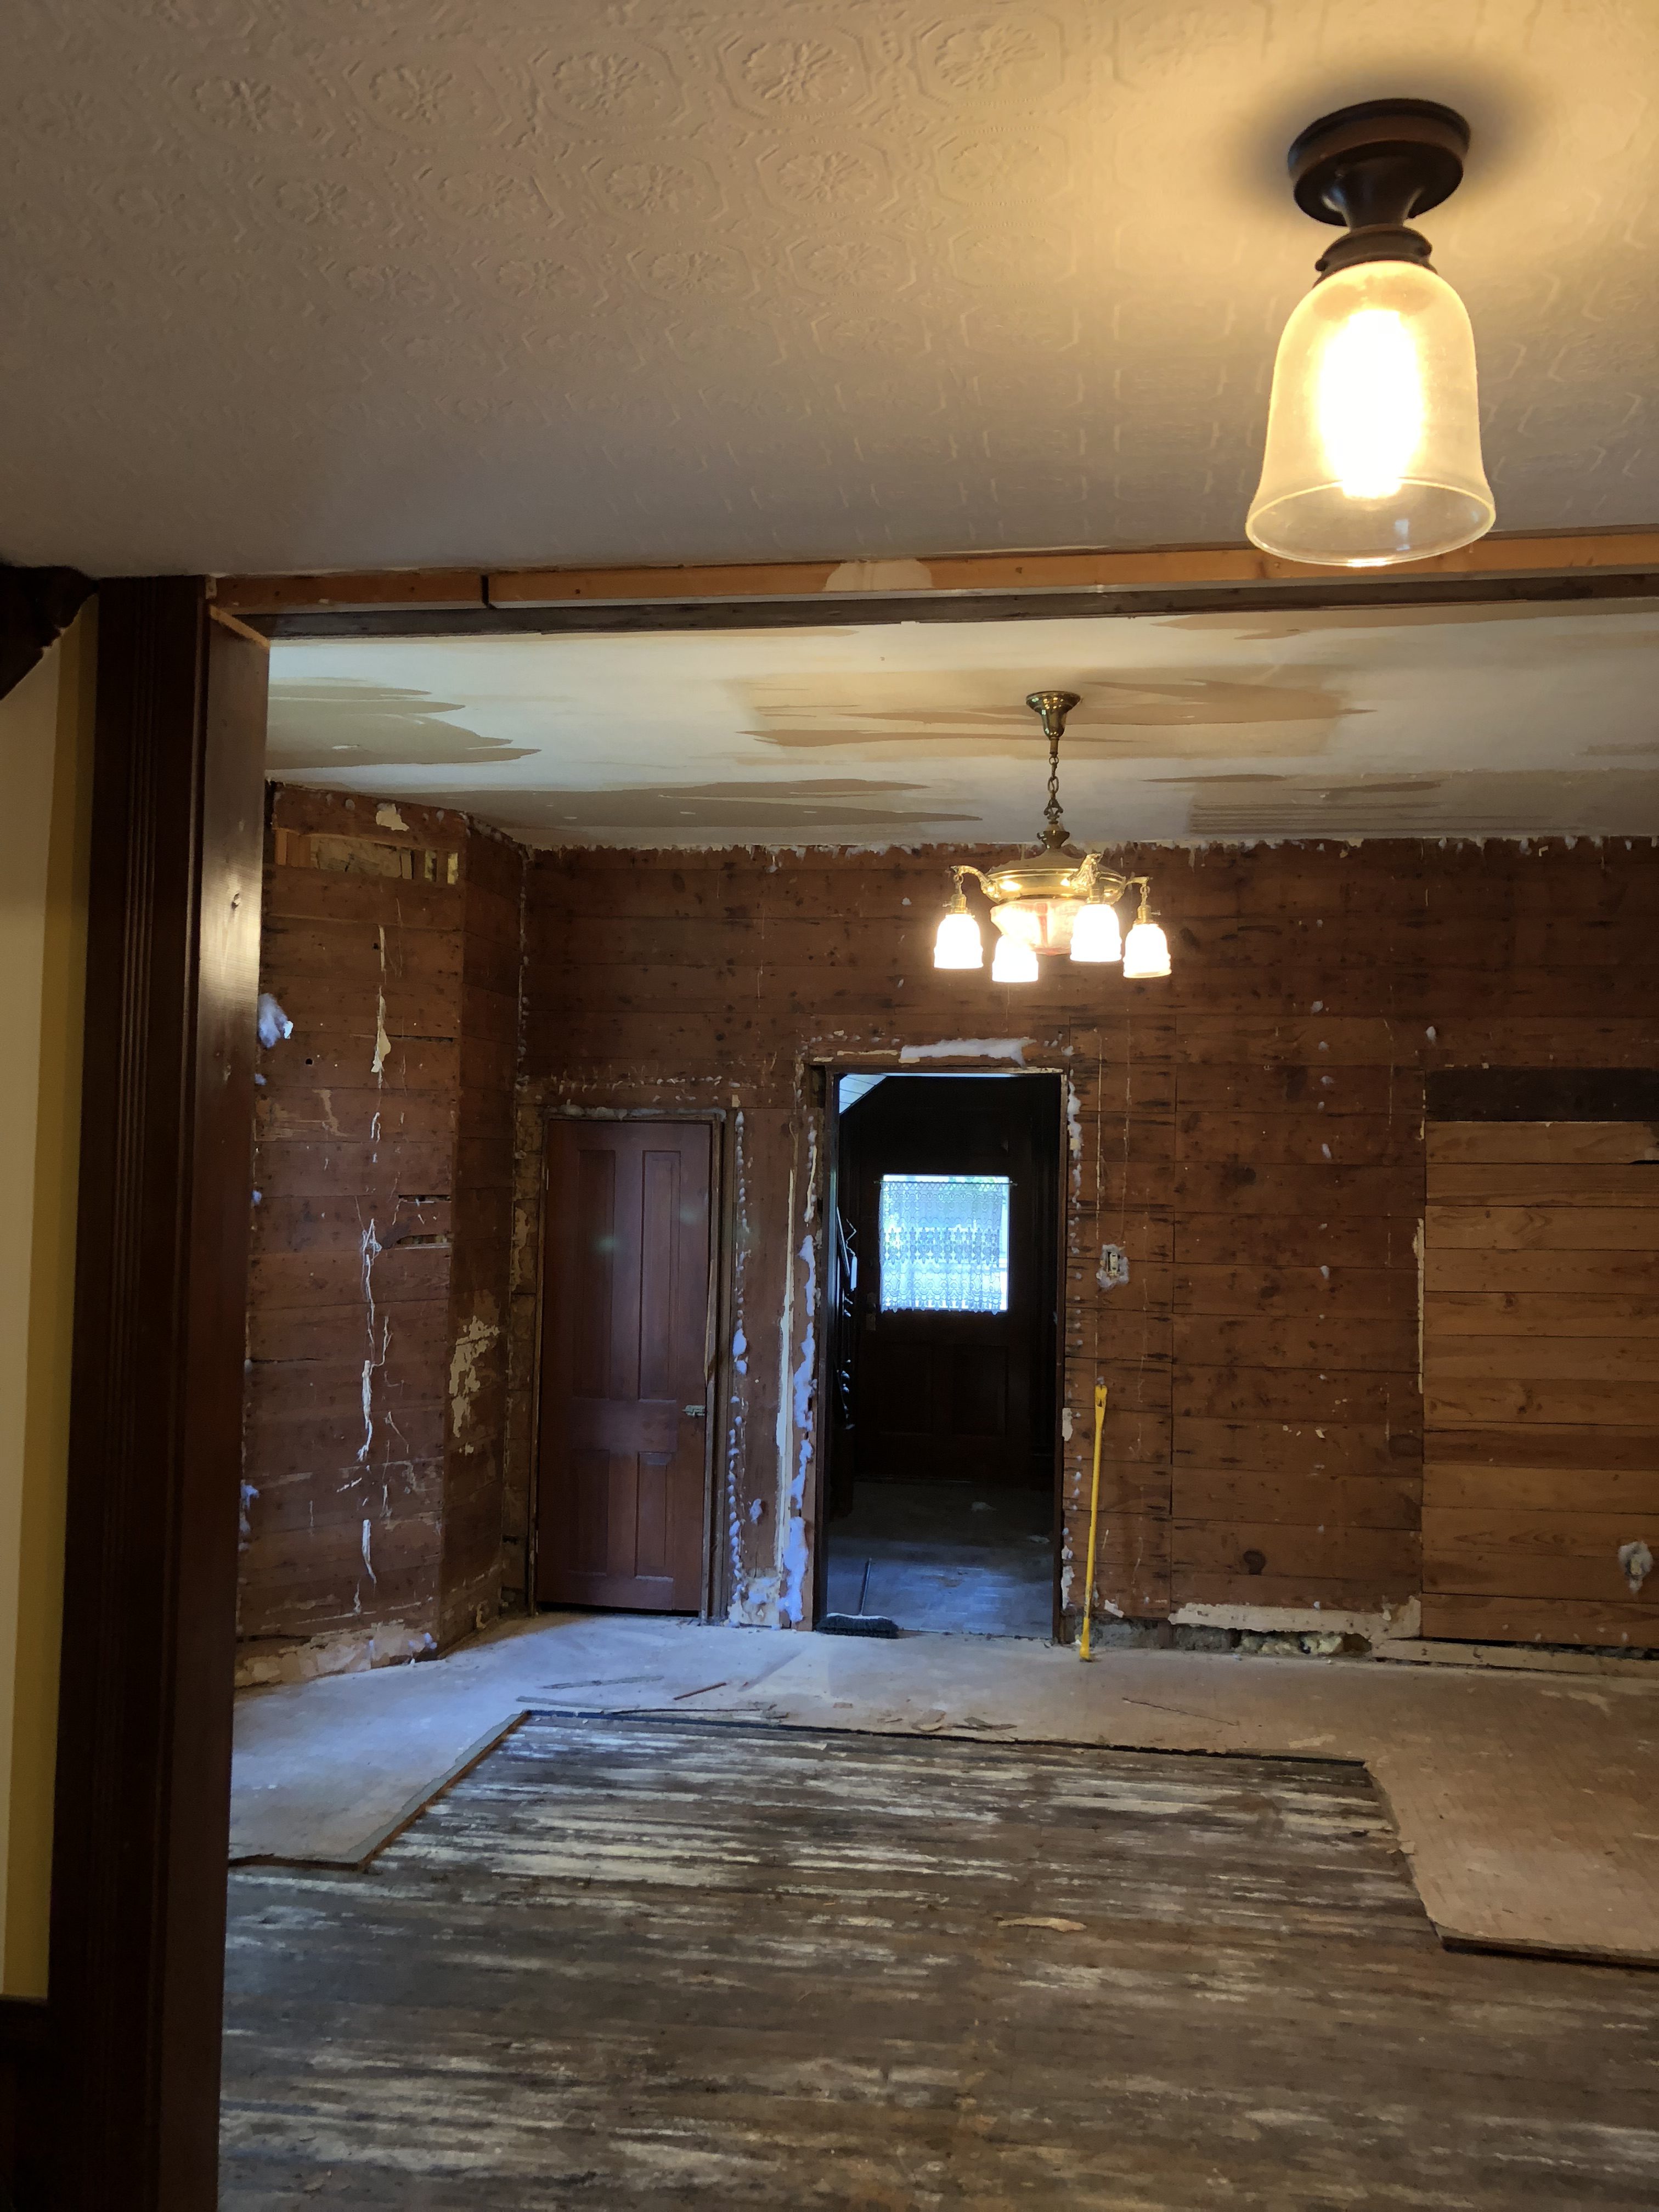
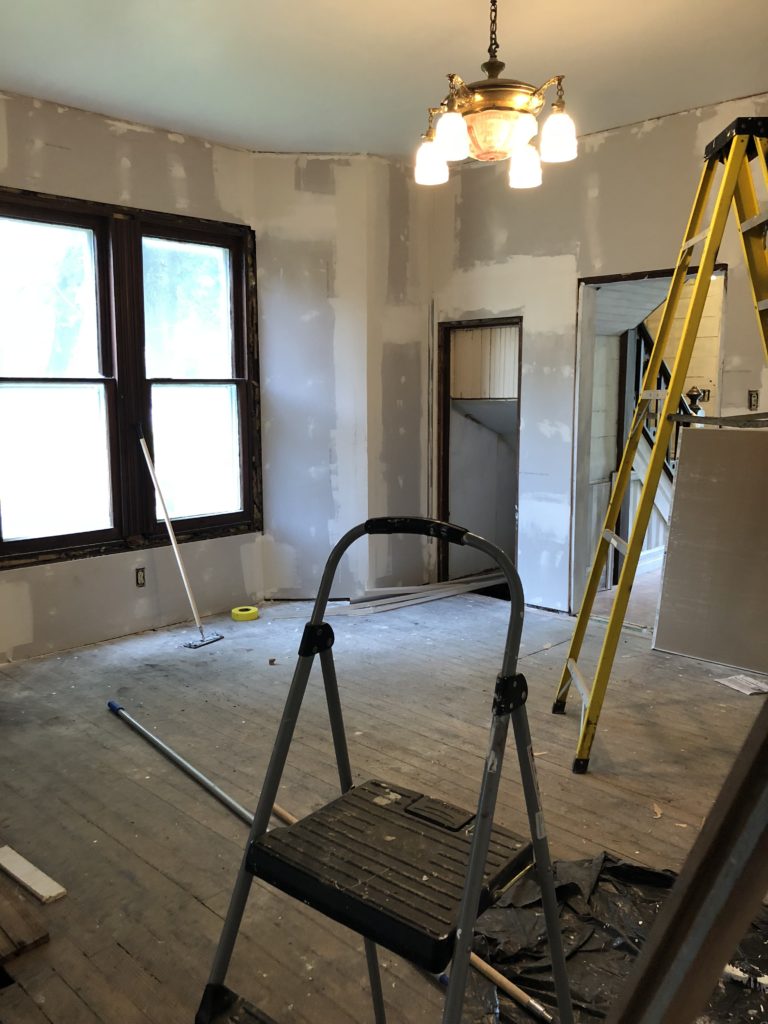
The Dining Room

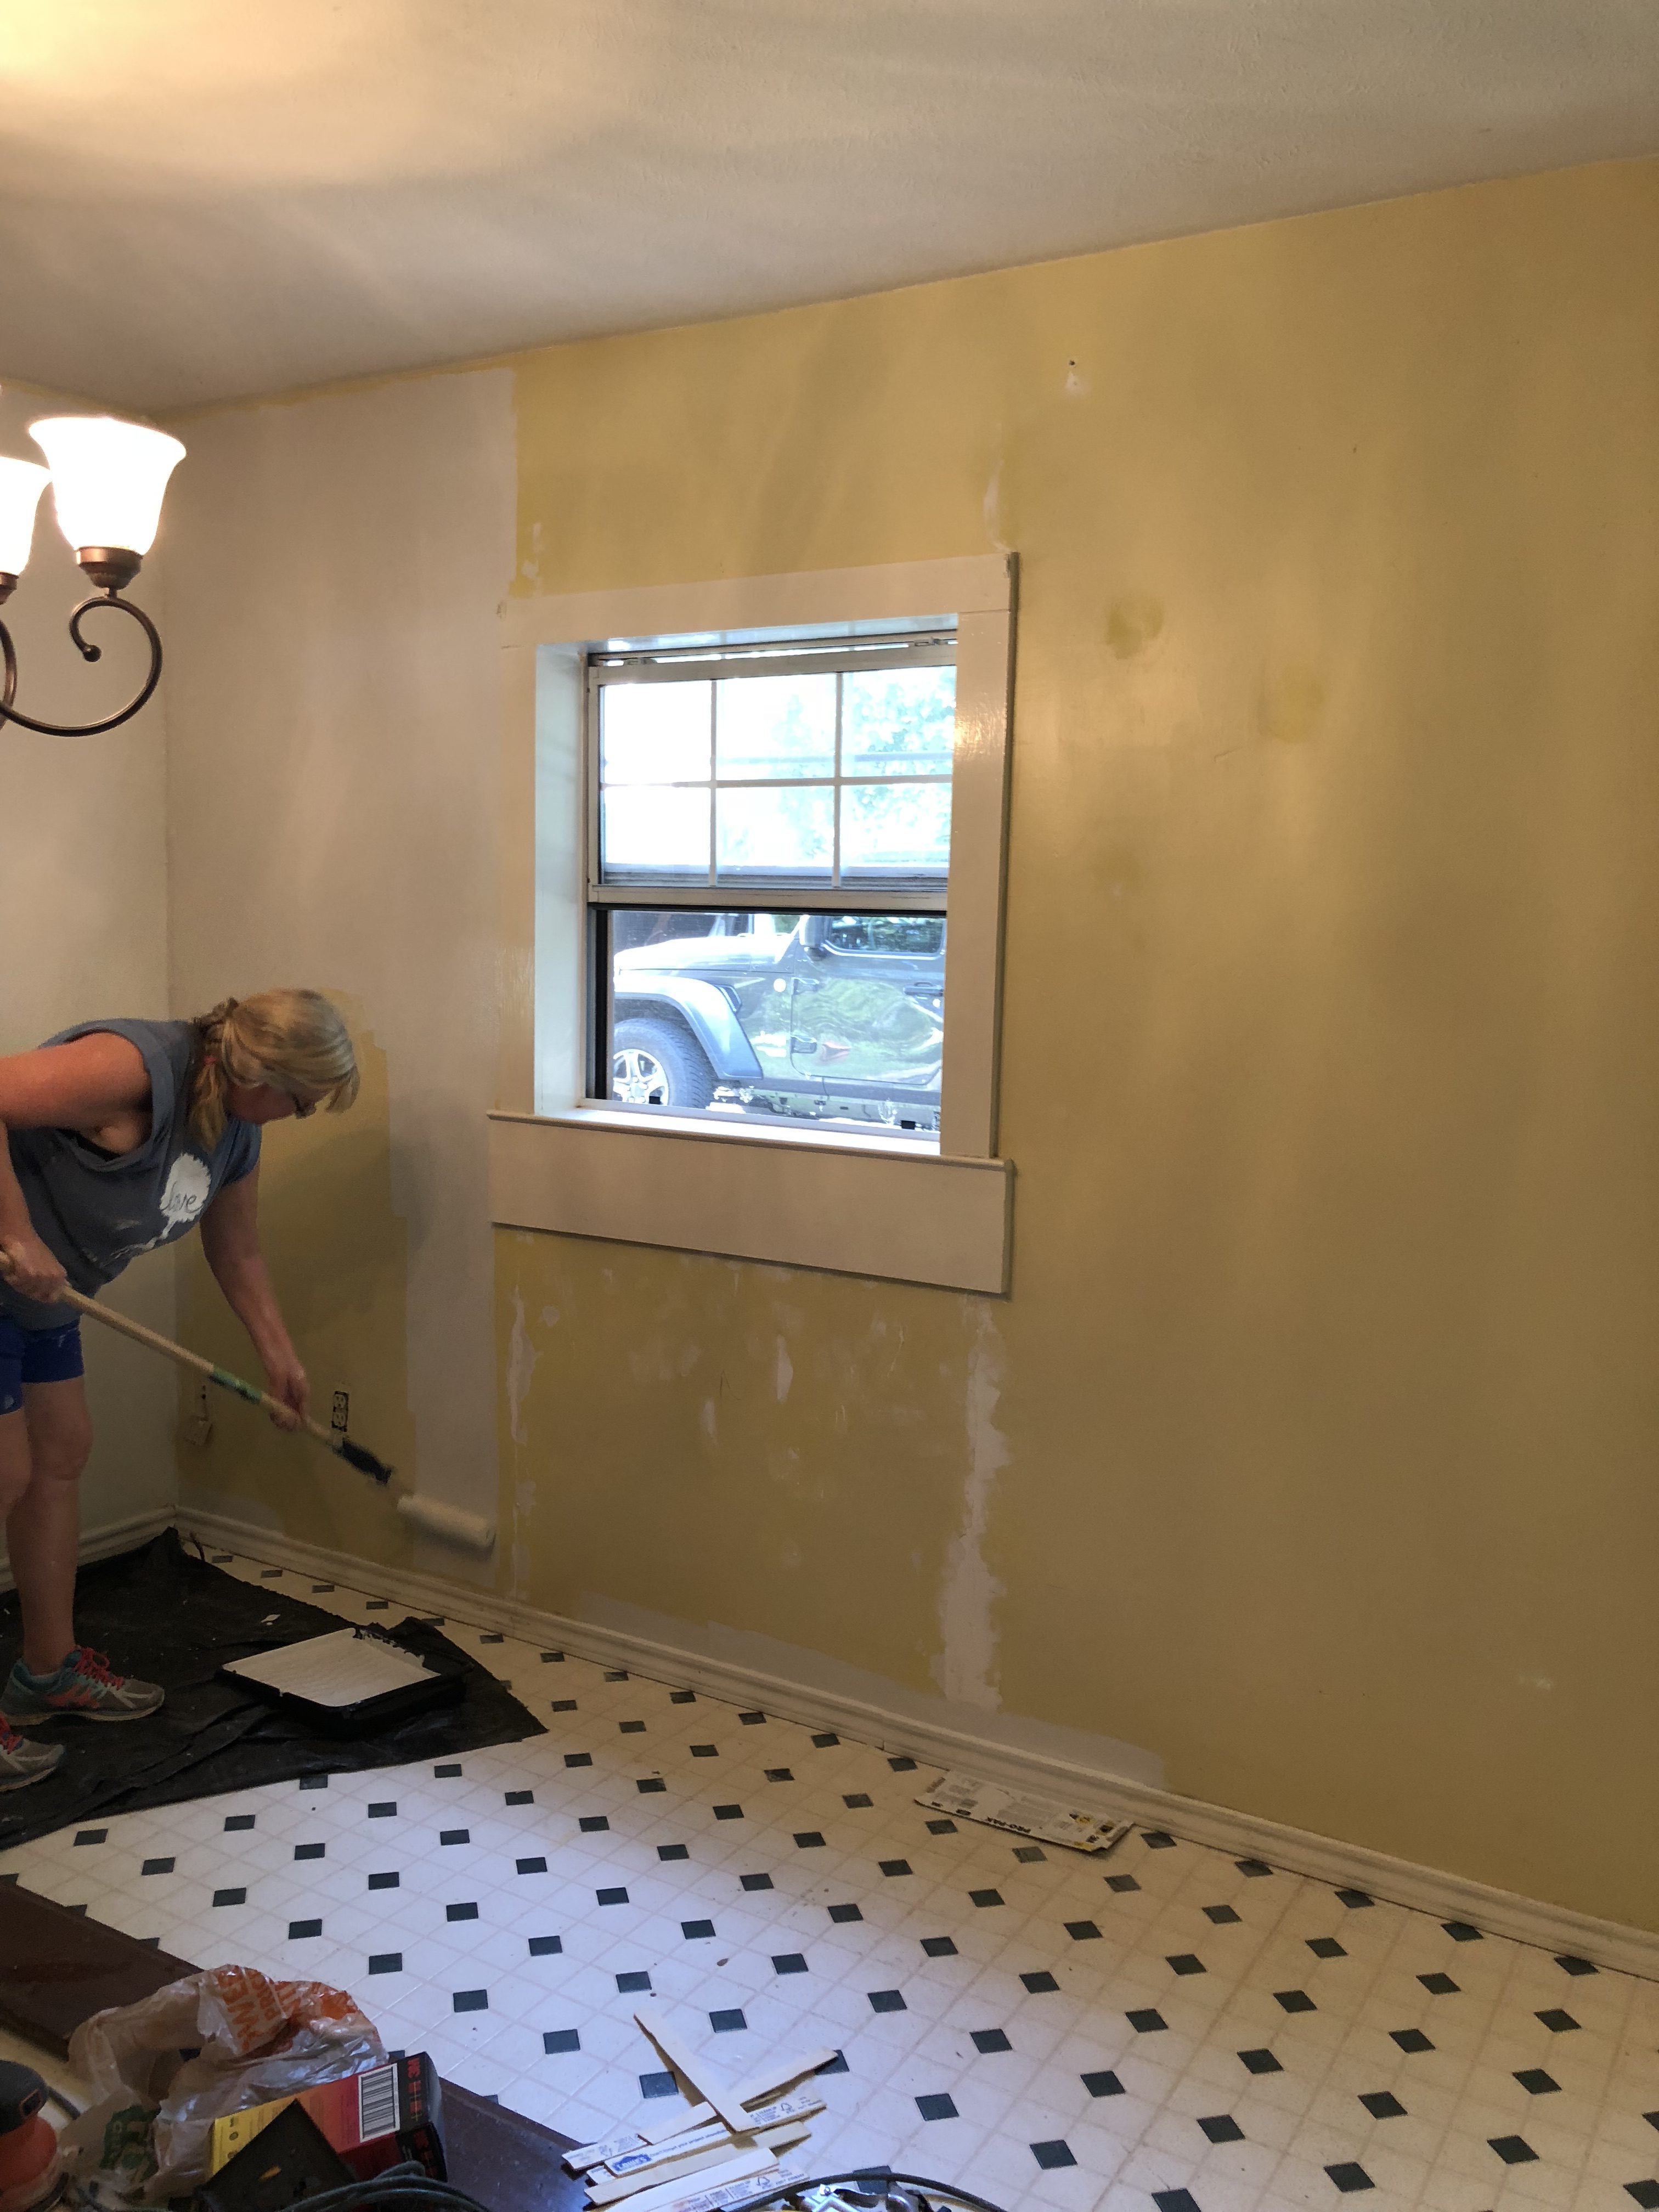
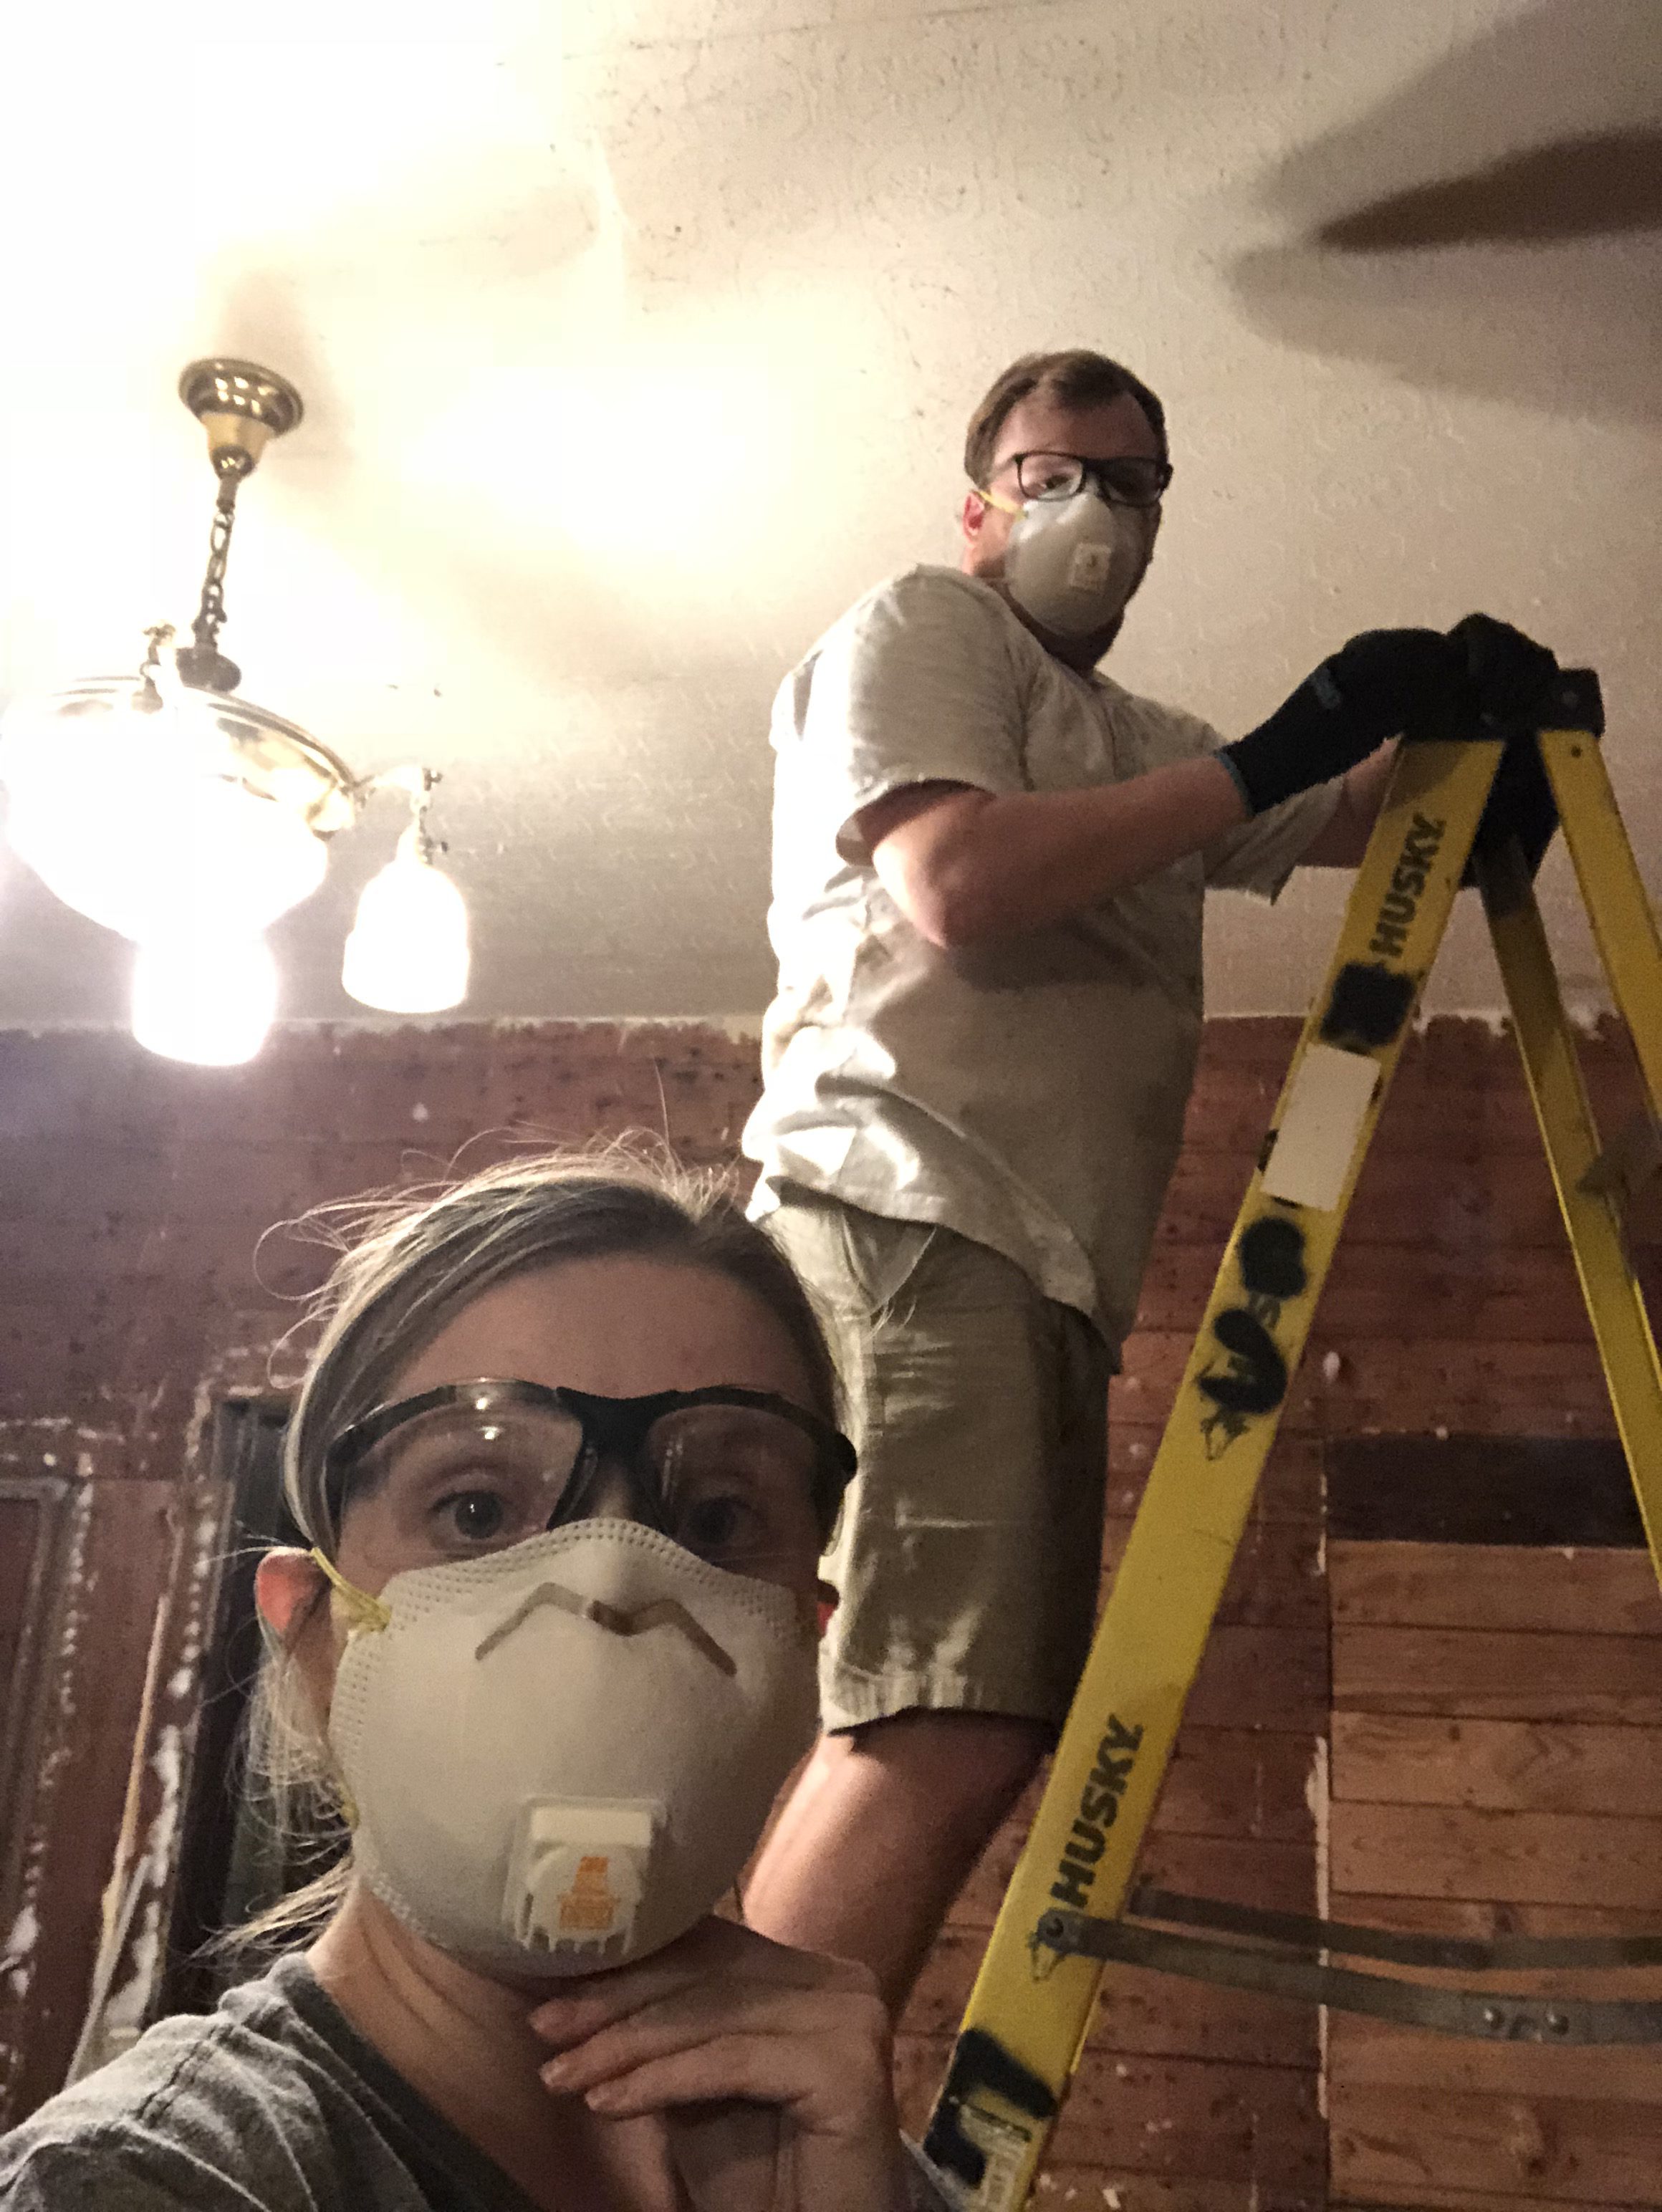
This room has been exhaustingly spackled, the drywall repaired (by my mother-in-law and myself, I might add), textured, and primed. The ceiling has also been smoothed after the insane amount of wallpaper residue that was left. It is ready for paint! 🙂
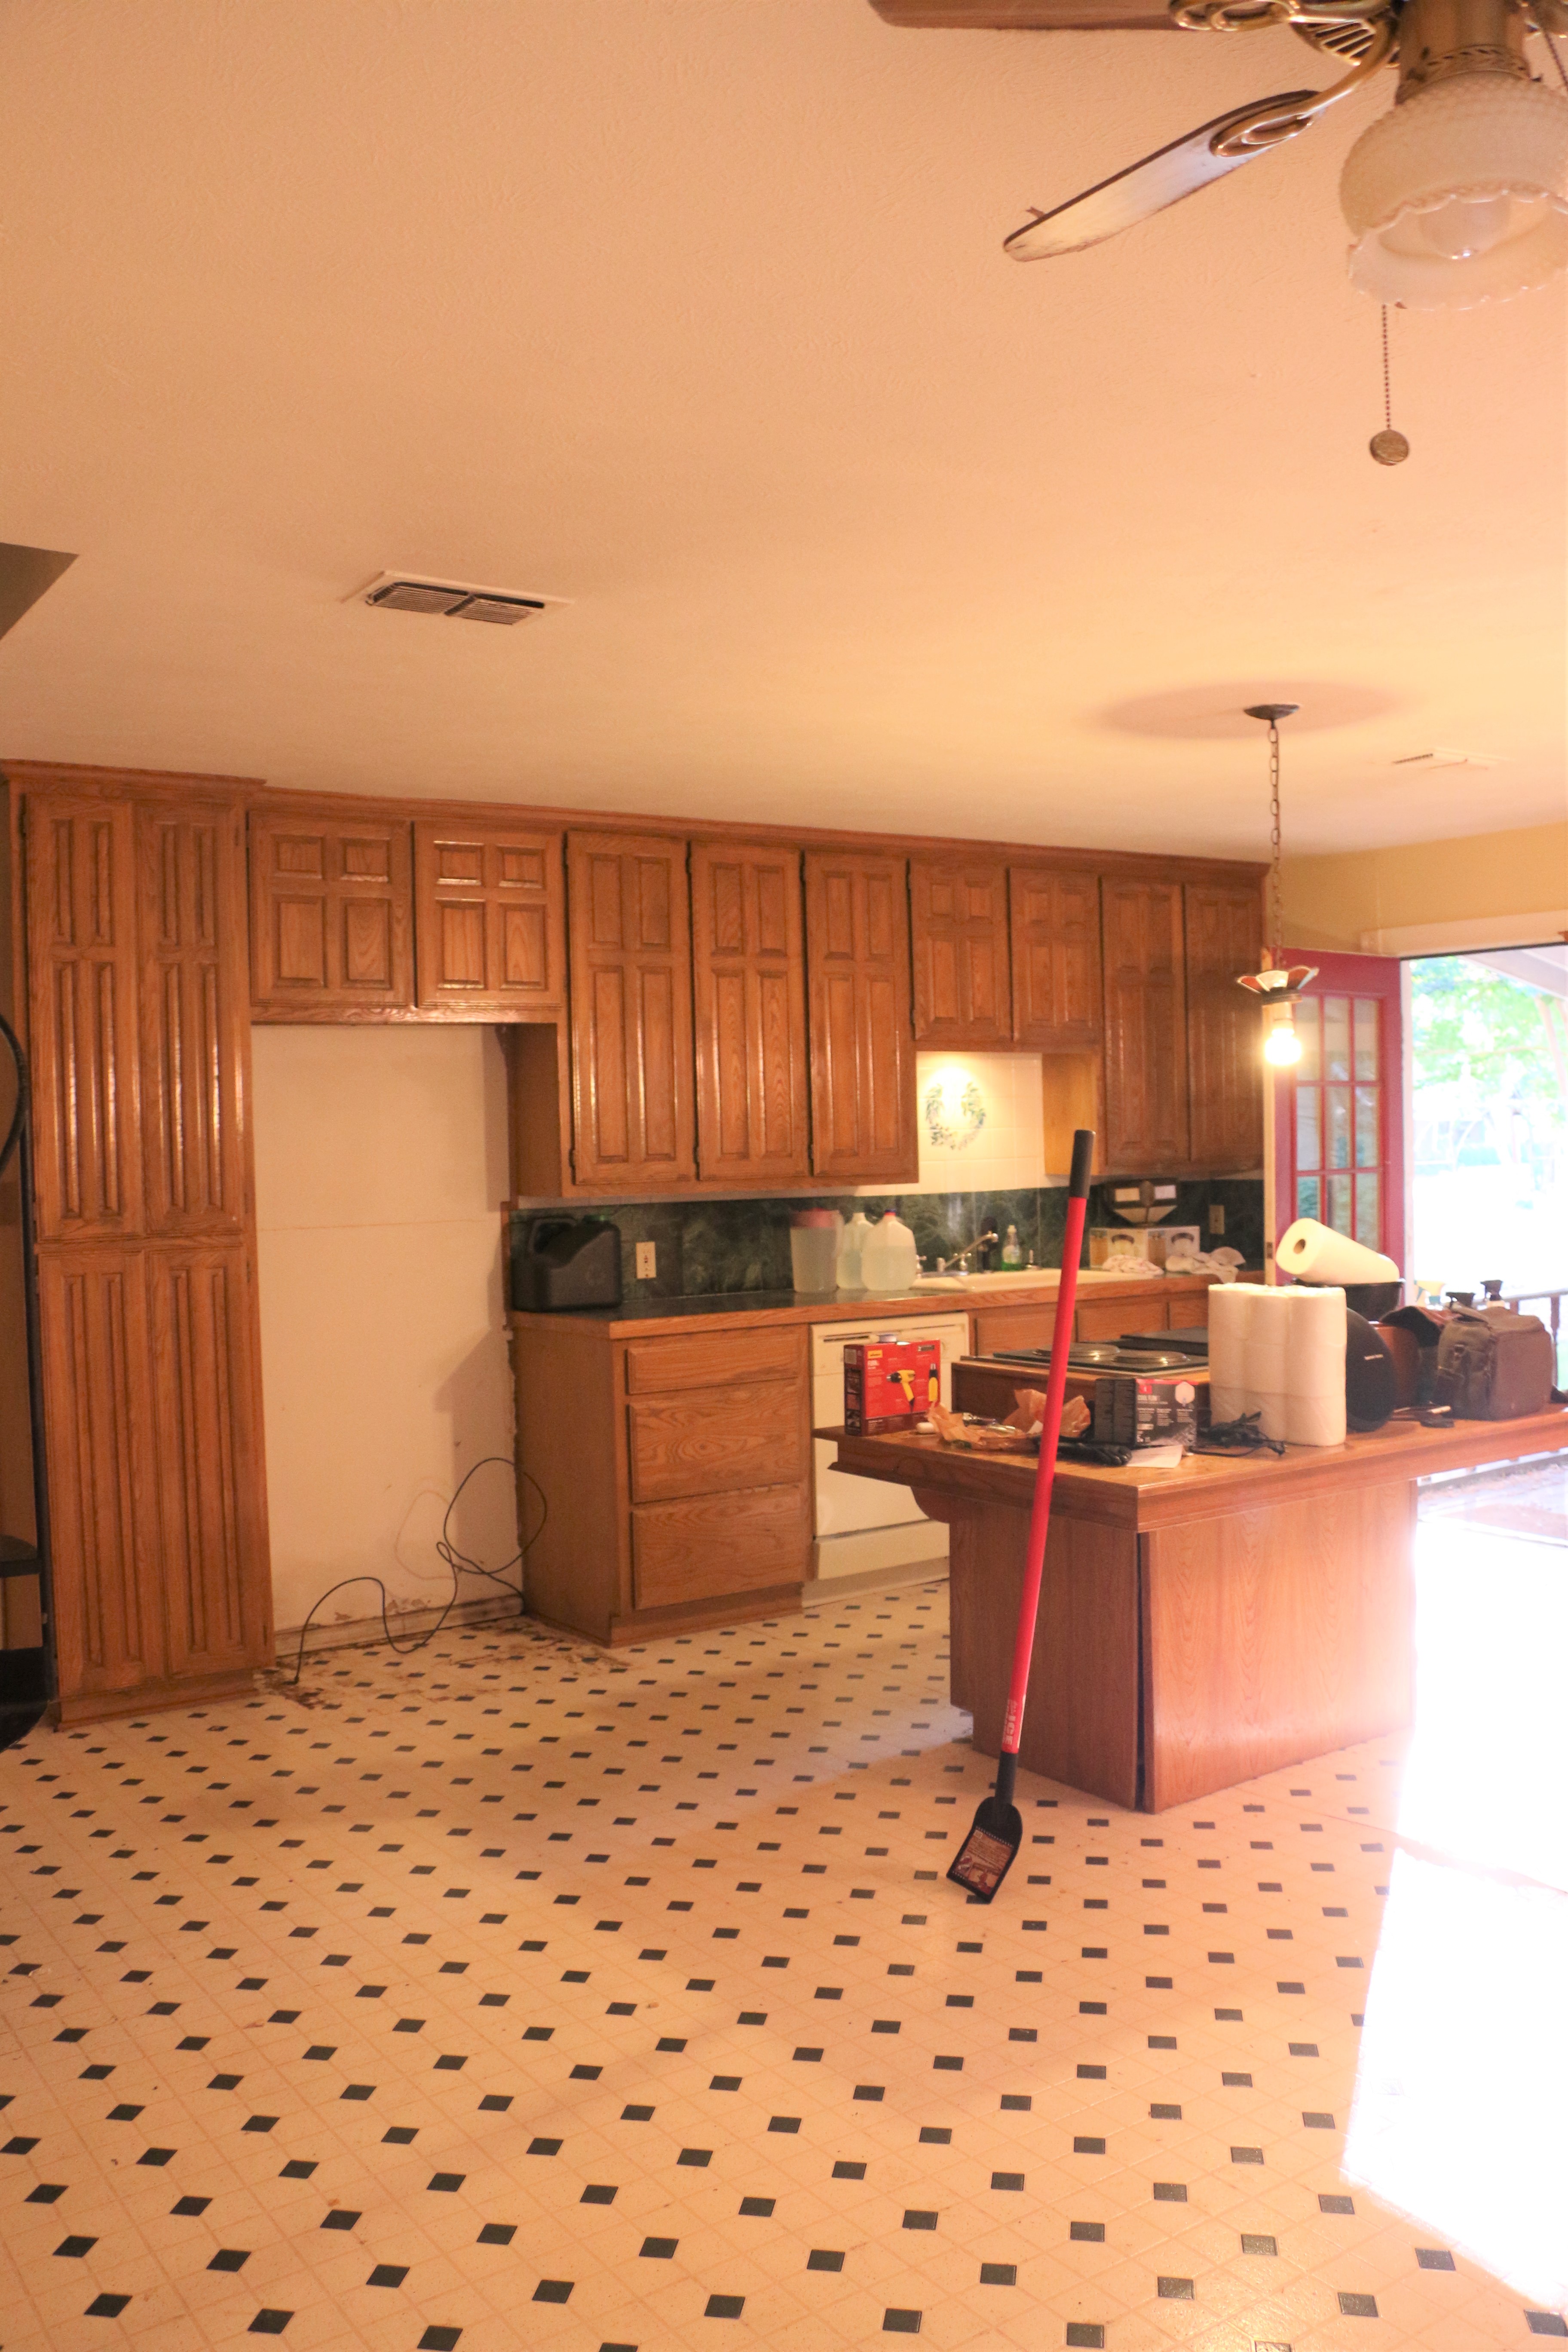
The Kitchen 

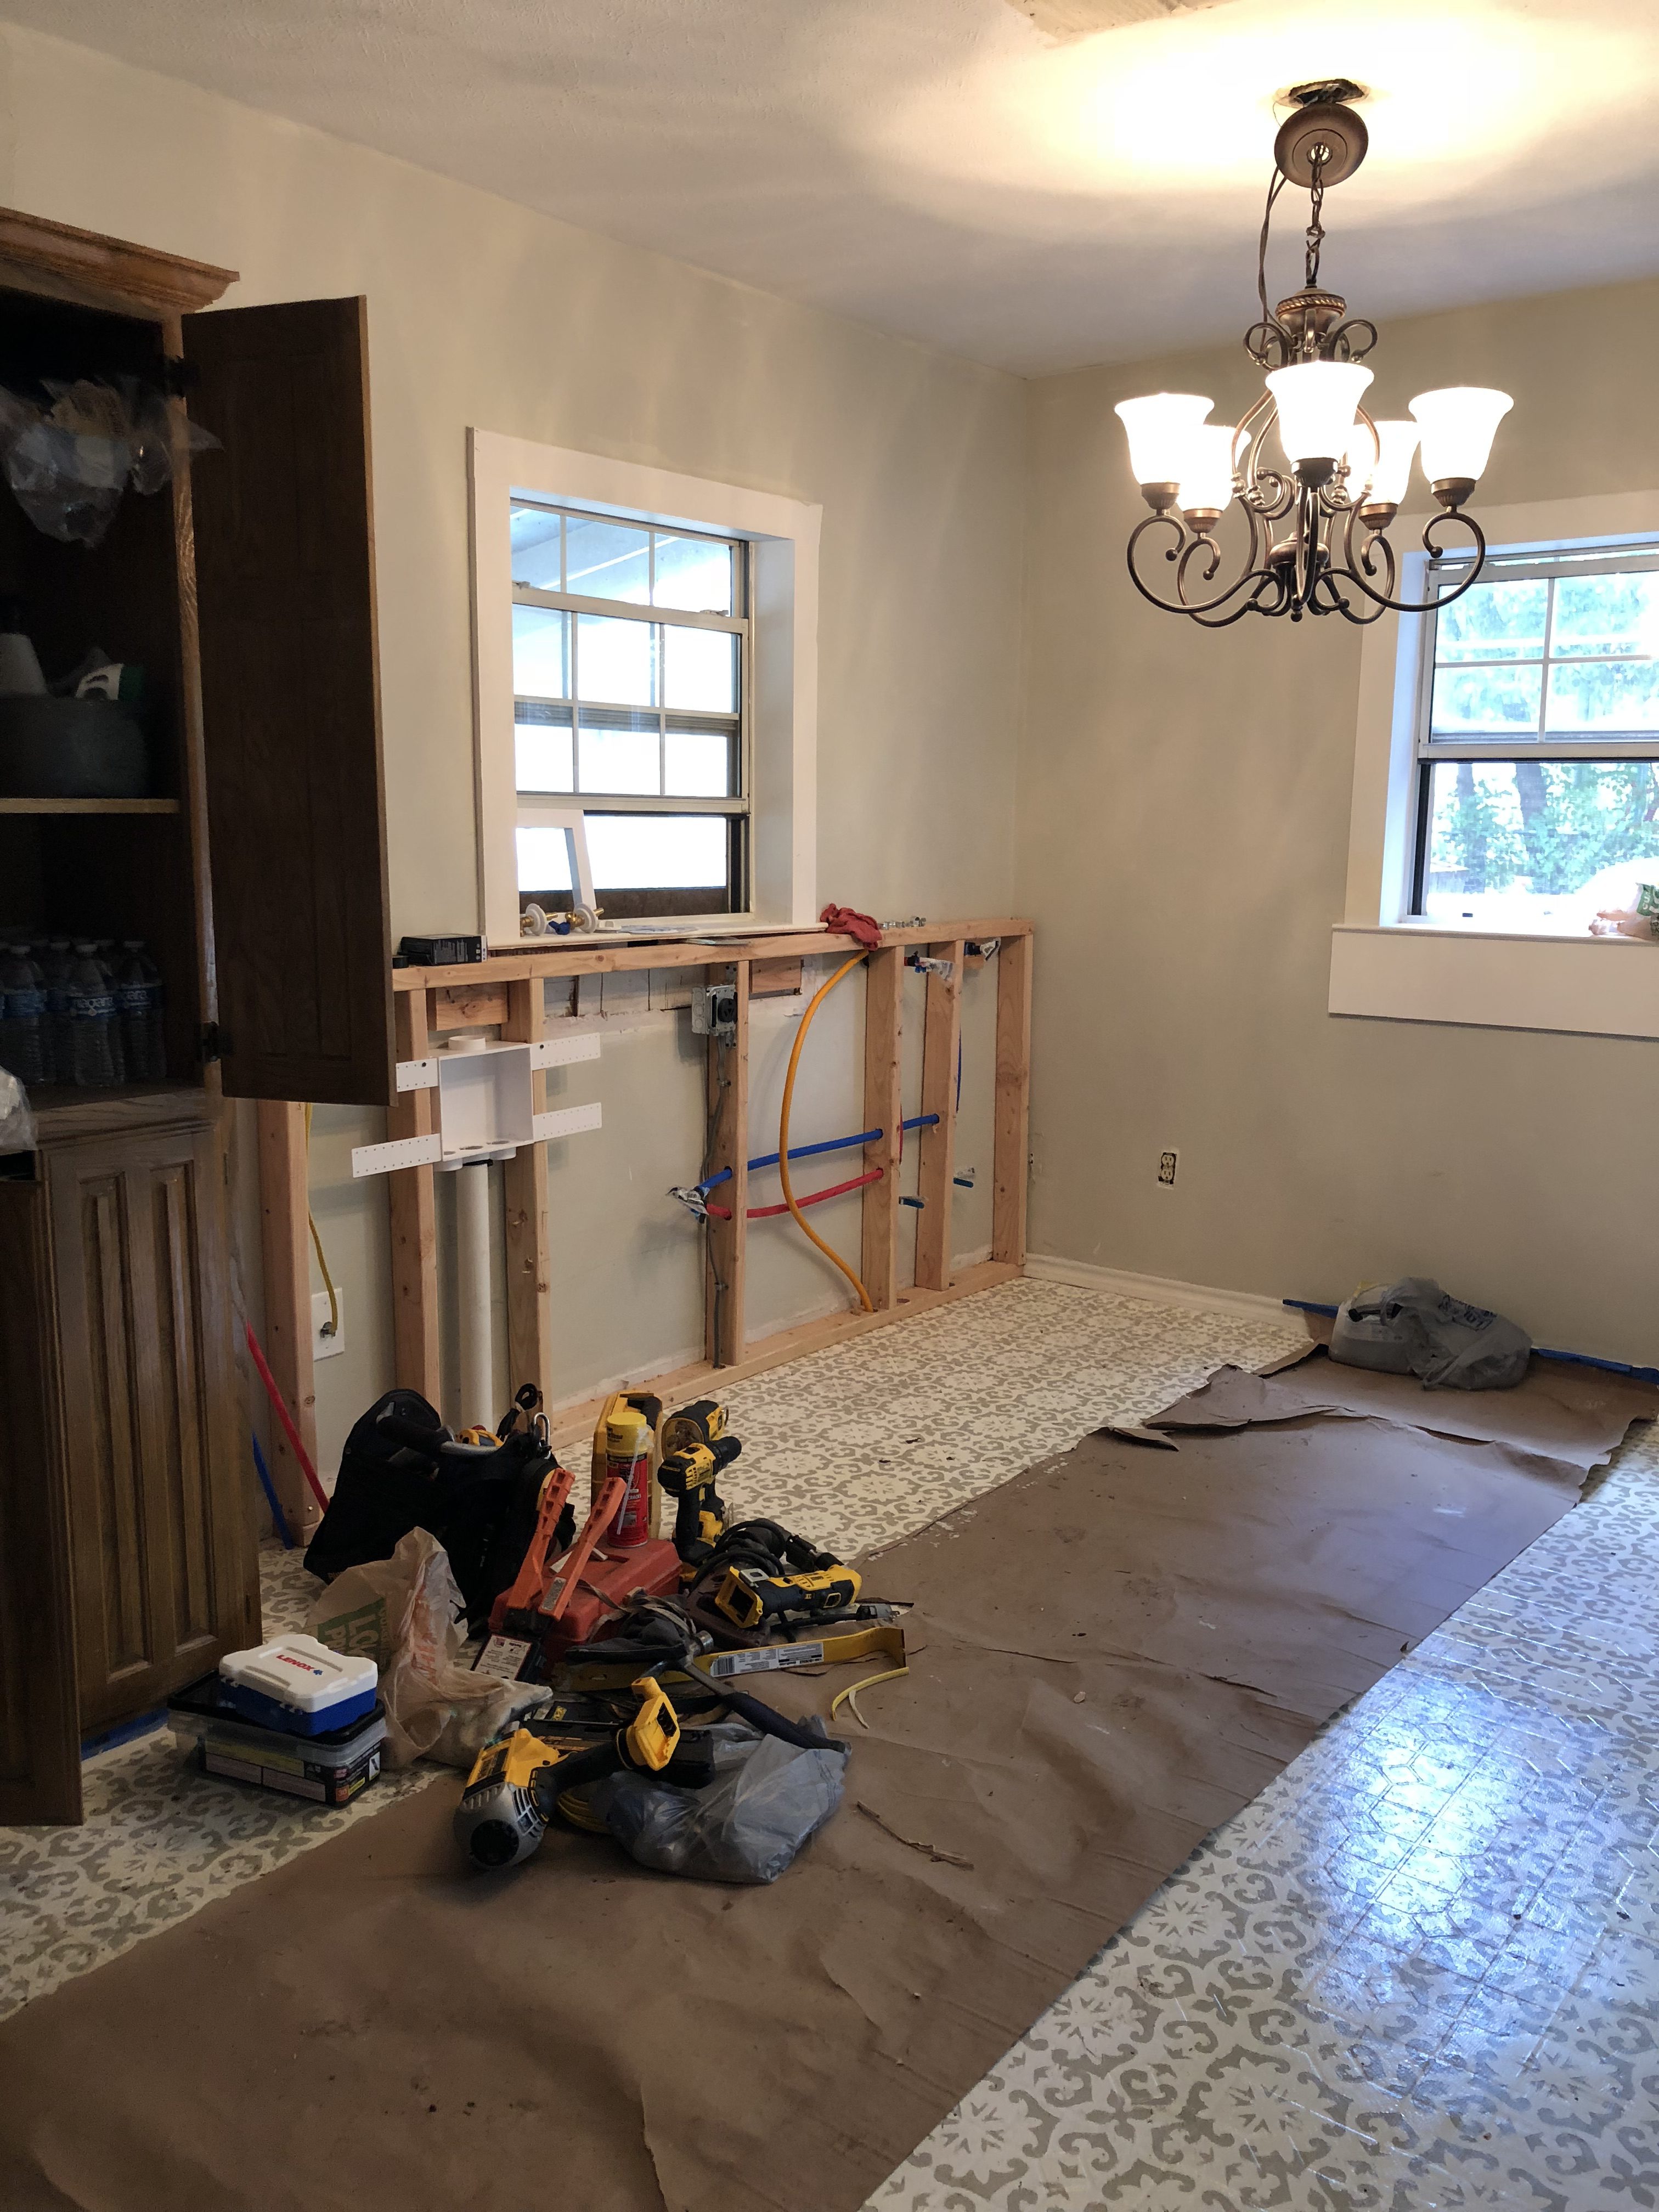
In this room, we’ve primed the walls, ceiling, and trim. There were also some cracks that had to be repaired beforehand.

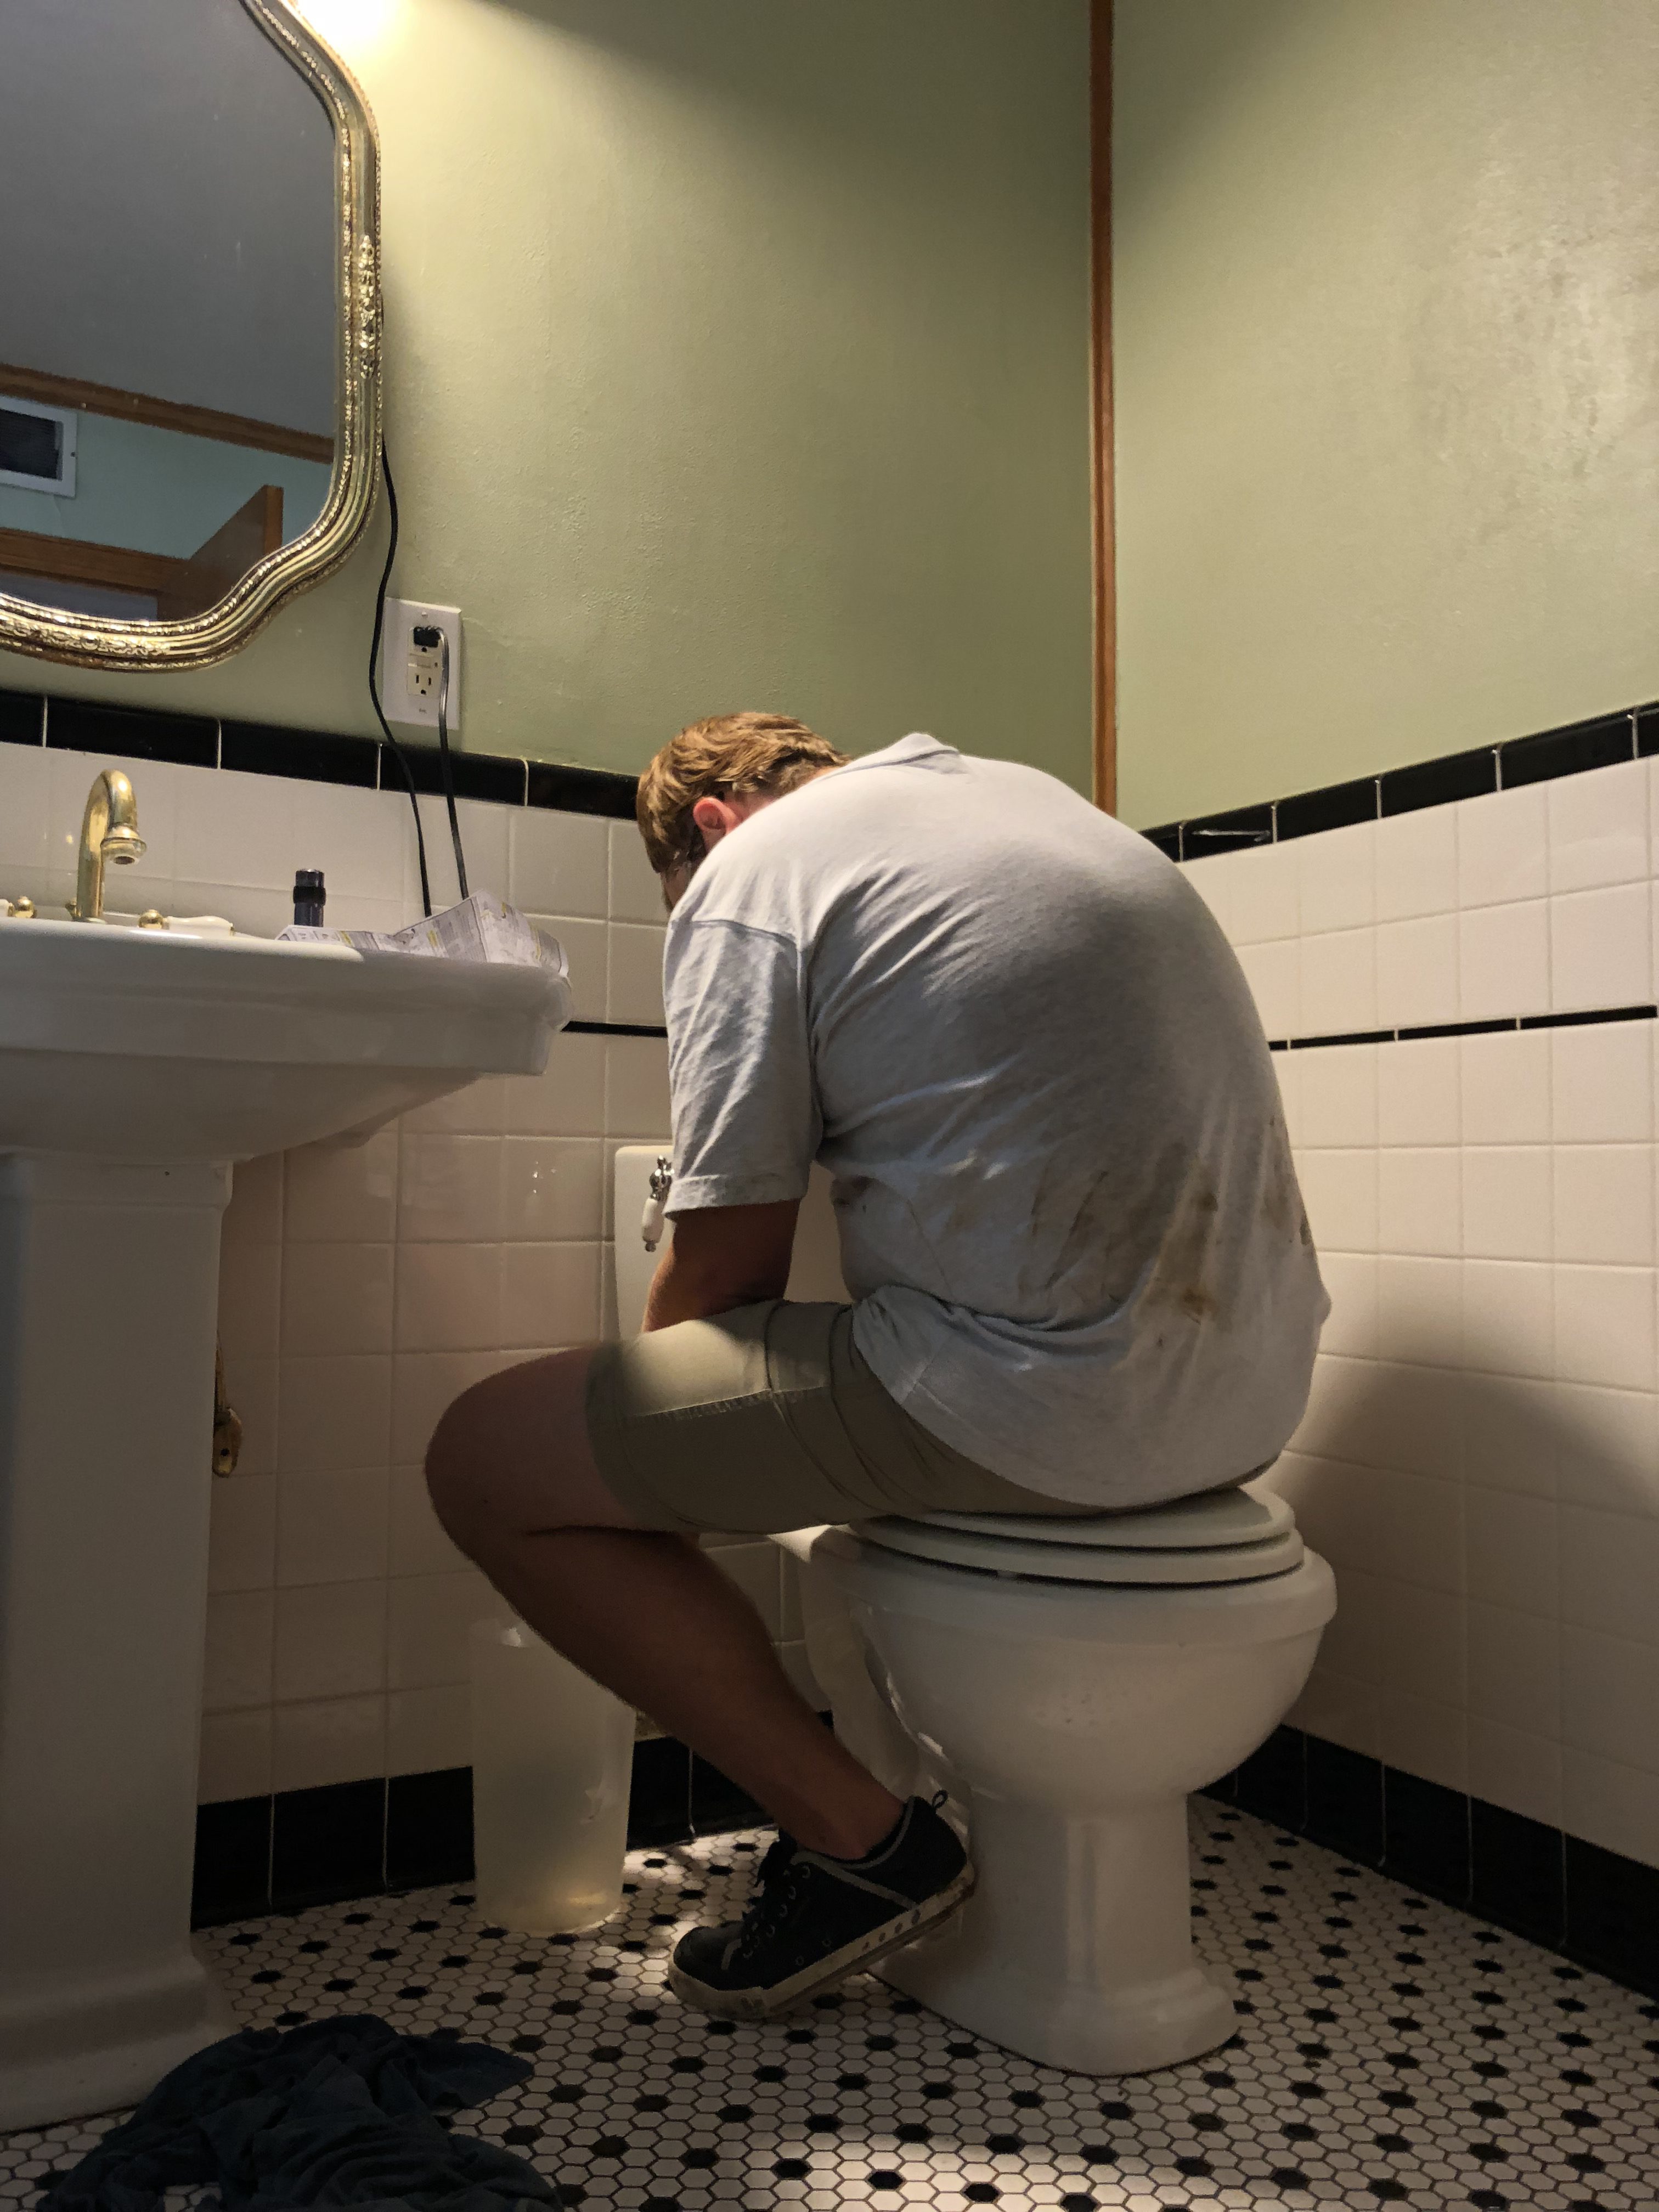
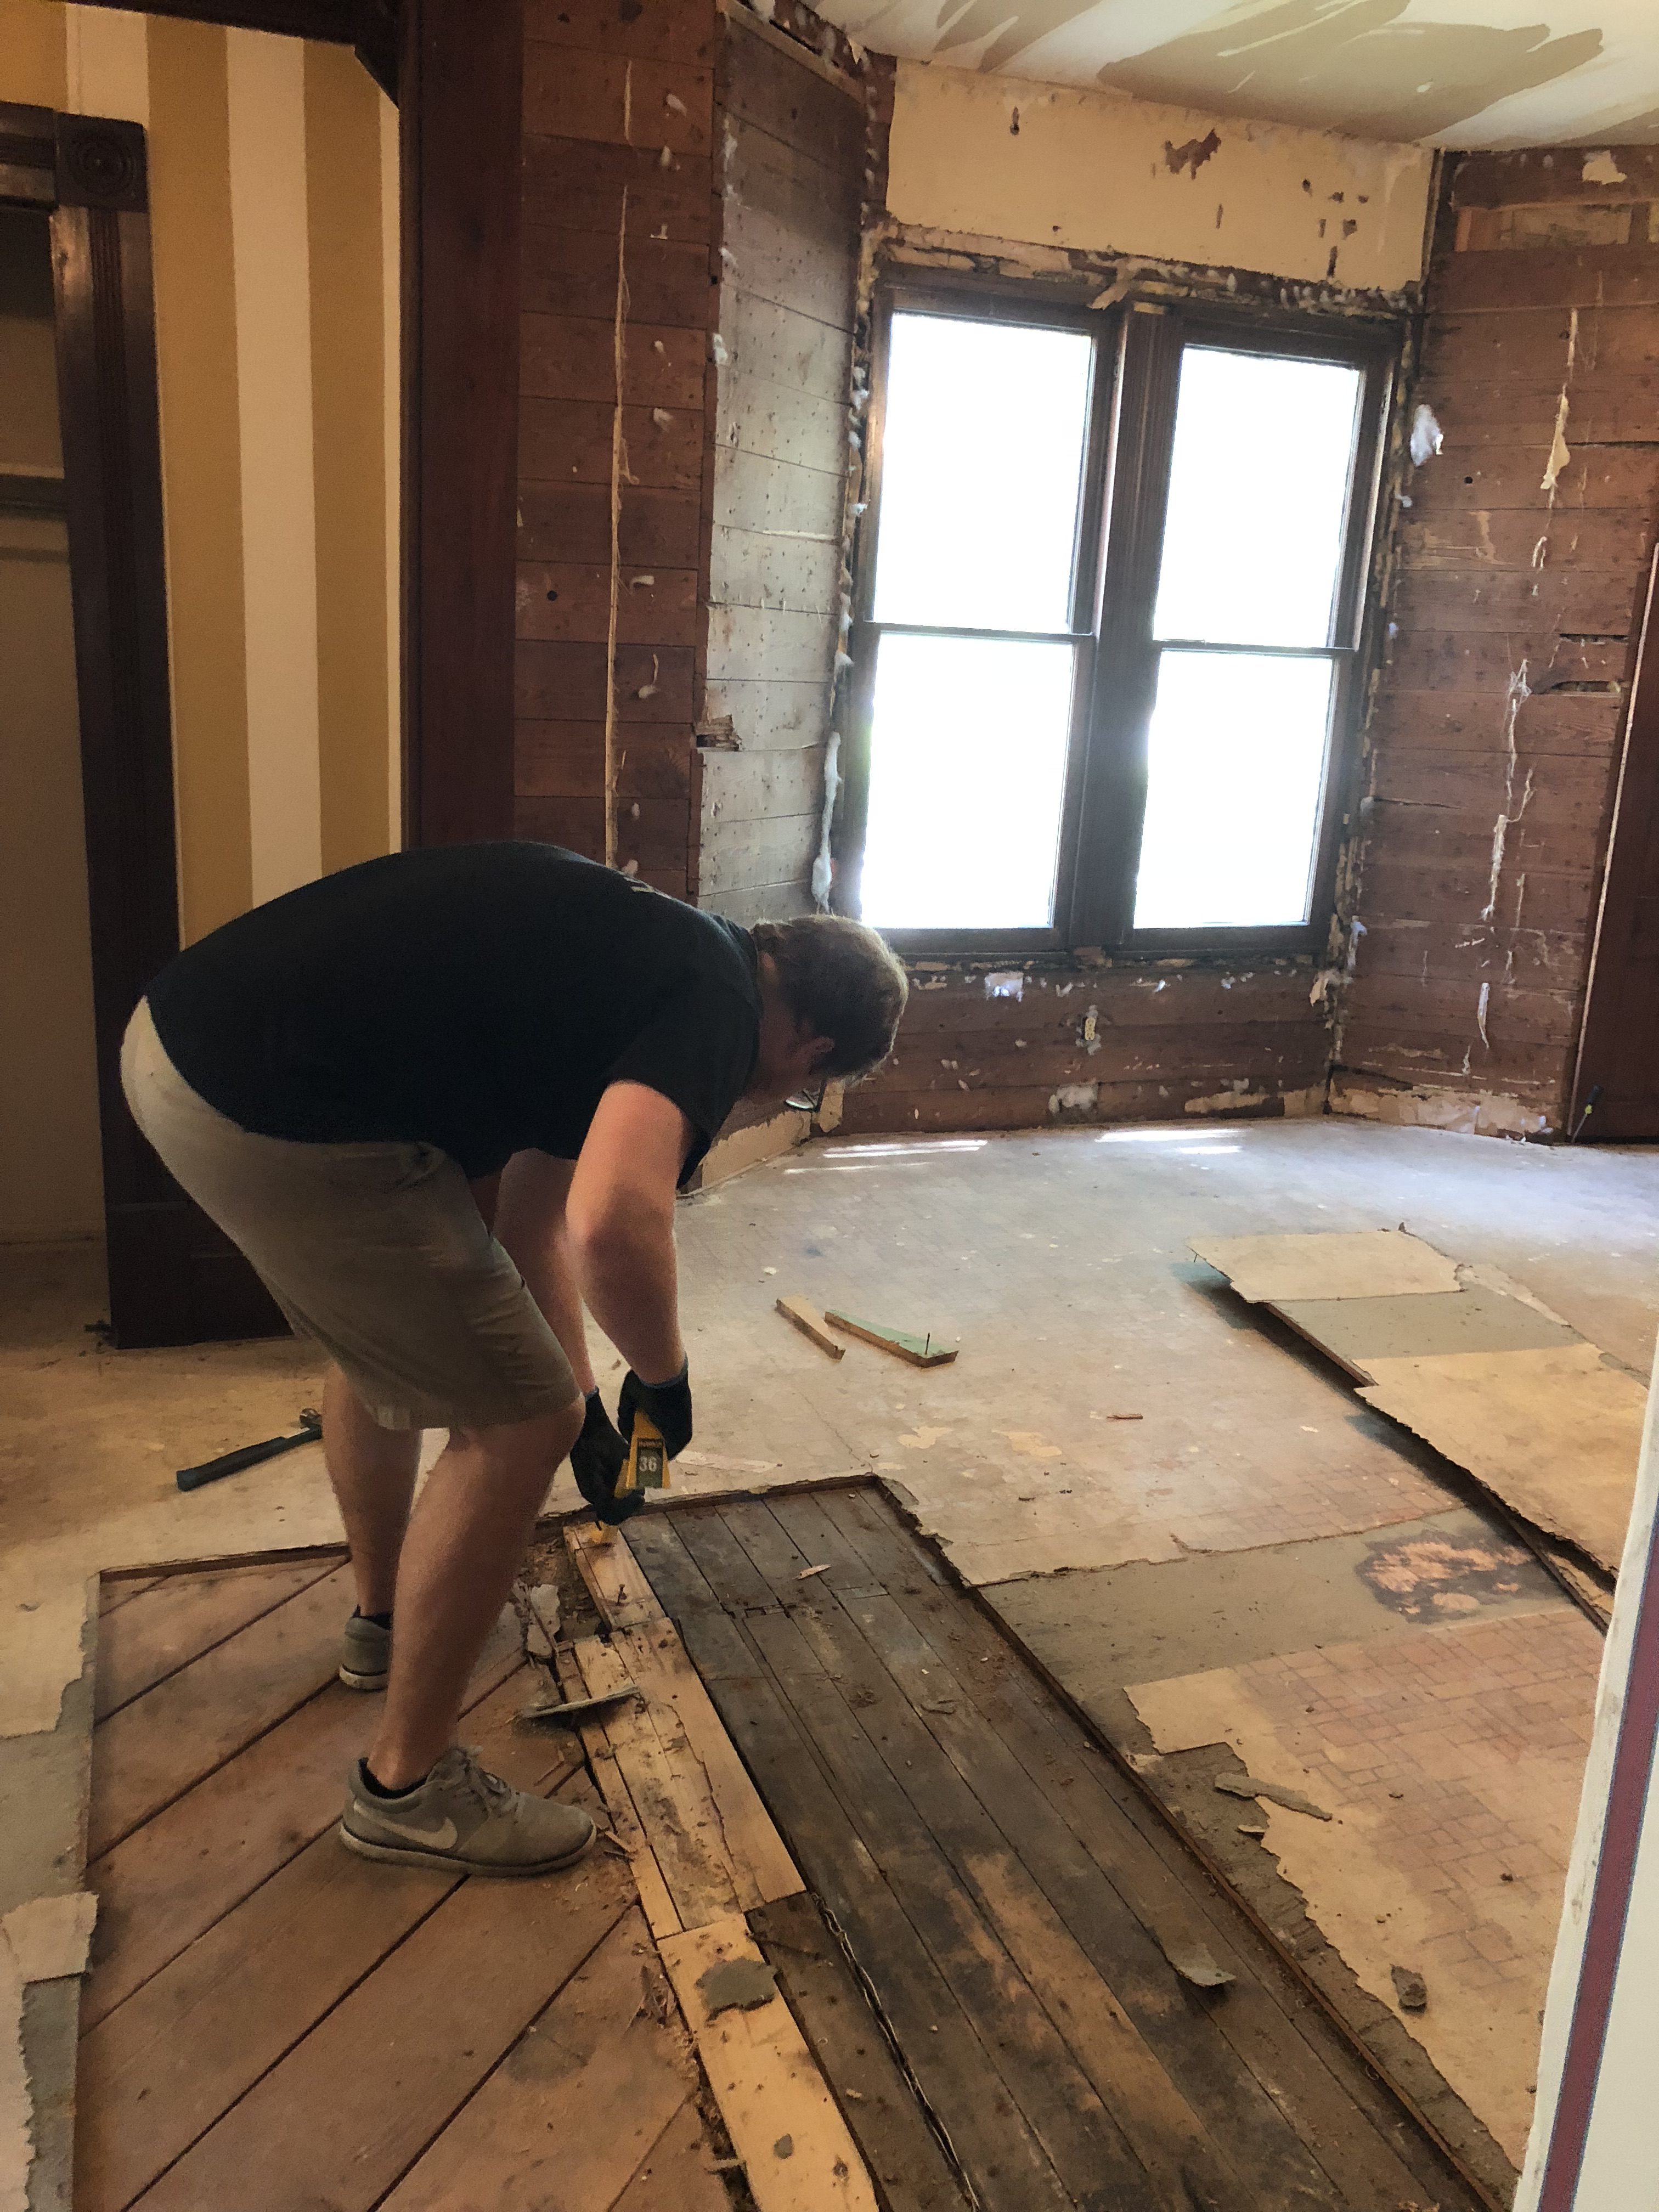
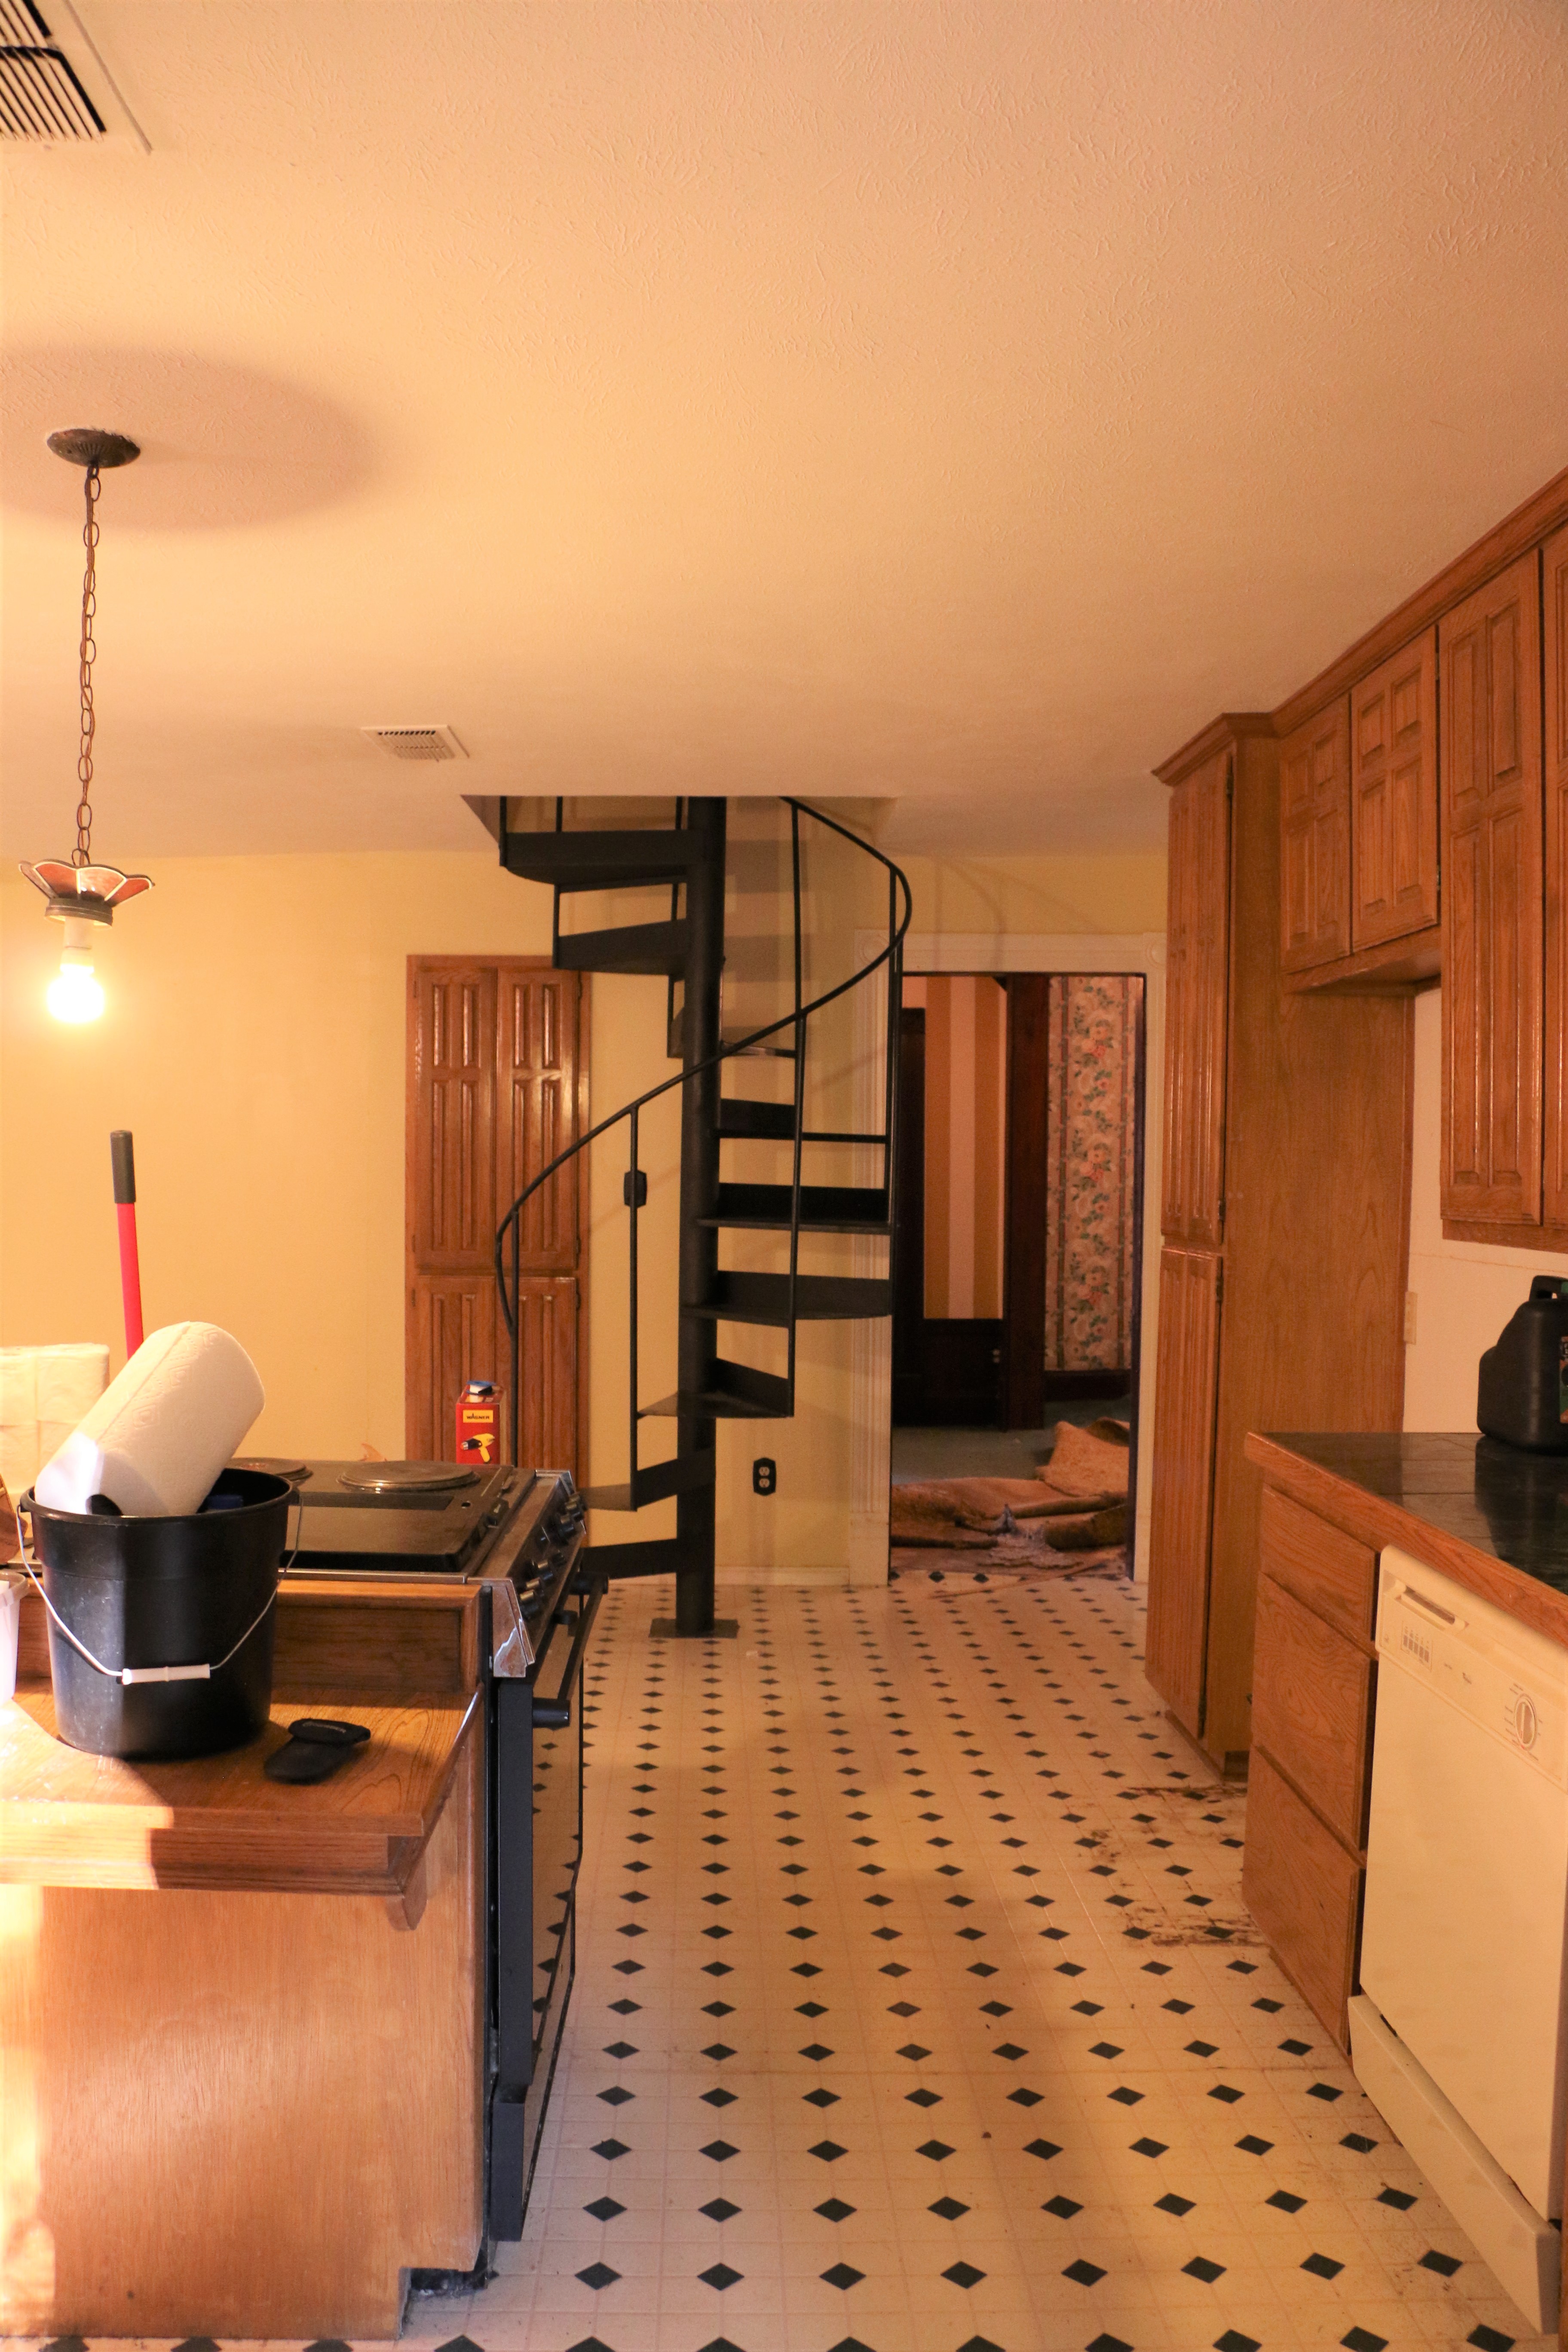
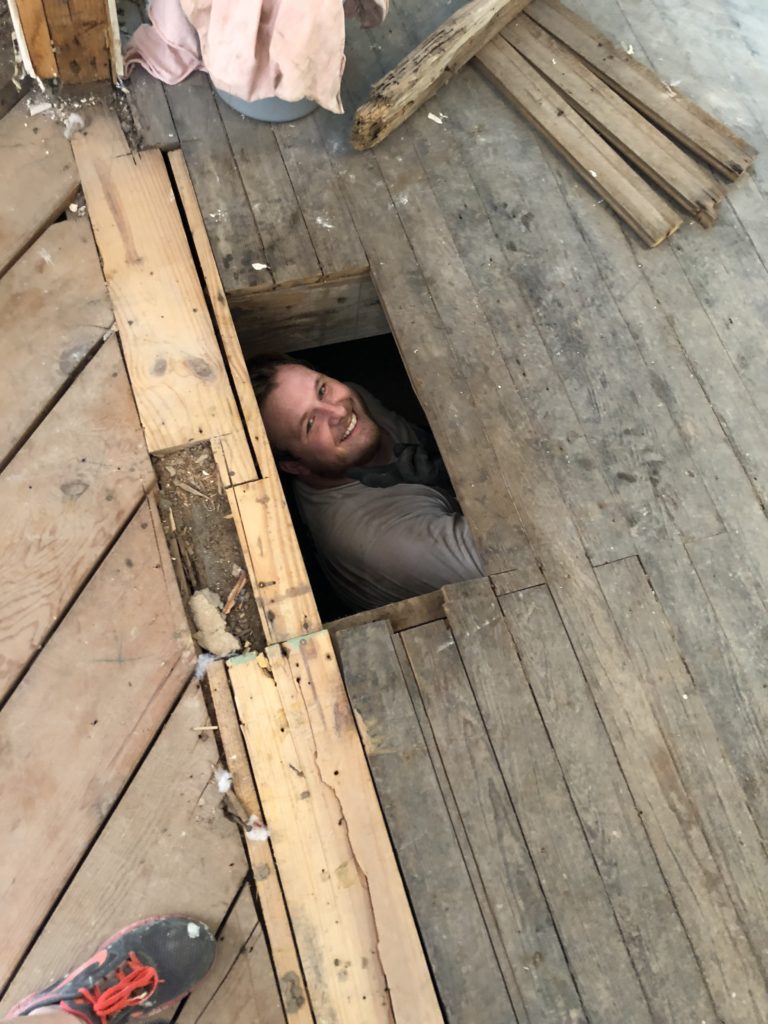
We are also eventually going to build out a portion of this room into a mudroom, so we are relocating all the plumbing (washer, dryer, and hot water heater) into the corner of the kitchen. This has been a huge ordeal for my father-in-law, Ethan, and his brothers. It involves a ton of crawling under the house to move plumbing hoses, and lots of things that I don’t fully understand. We are moving the washroom basically across the entire house, which has been a job. But, it has given me what is my favorite picture of Ethan ever taken.

There are still some finishing touches to be done before we can officially check this off the list, but this is where the eventual laundry room will go.

Also… a sneak peek at another project I’ve worked on! If you follow me on Instagram, you may have watched my stories documenting this project. I’m not ready to talk about it yet….because I’m still a little bitter and it may go down in history as a massive fail. I will keep you guys updated in a separate post on the outcome!

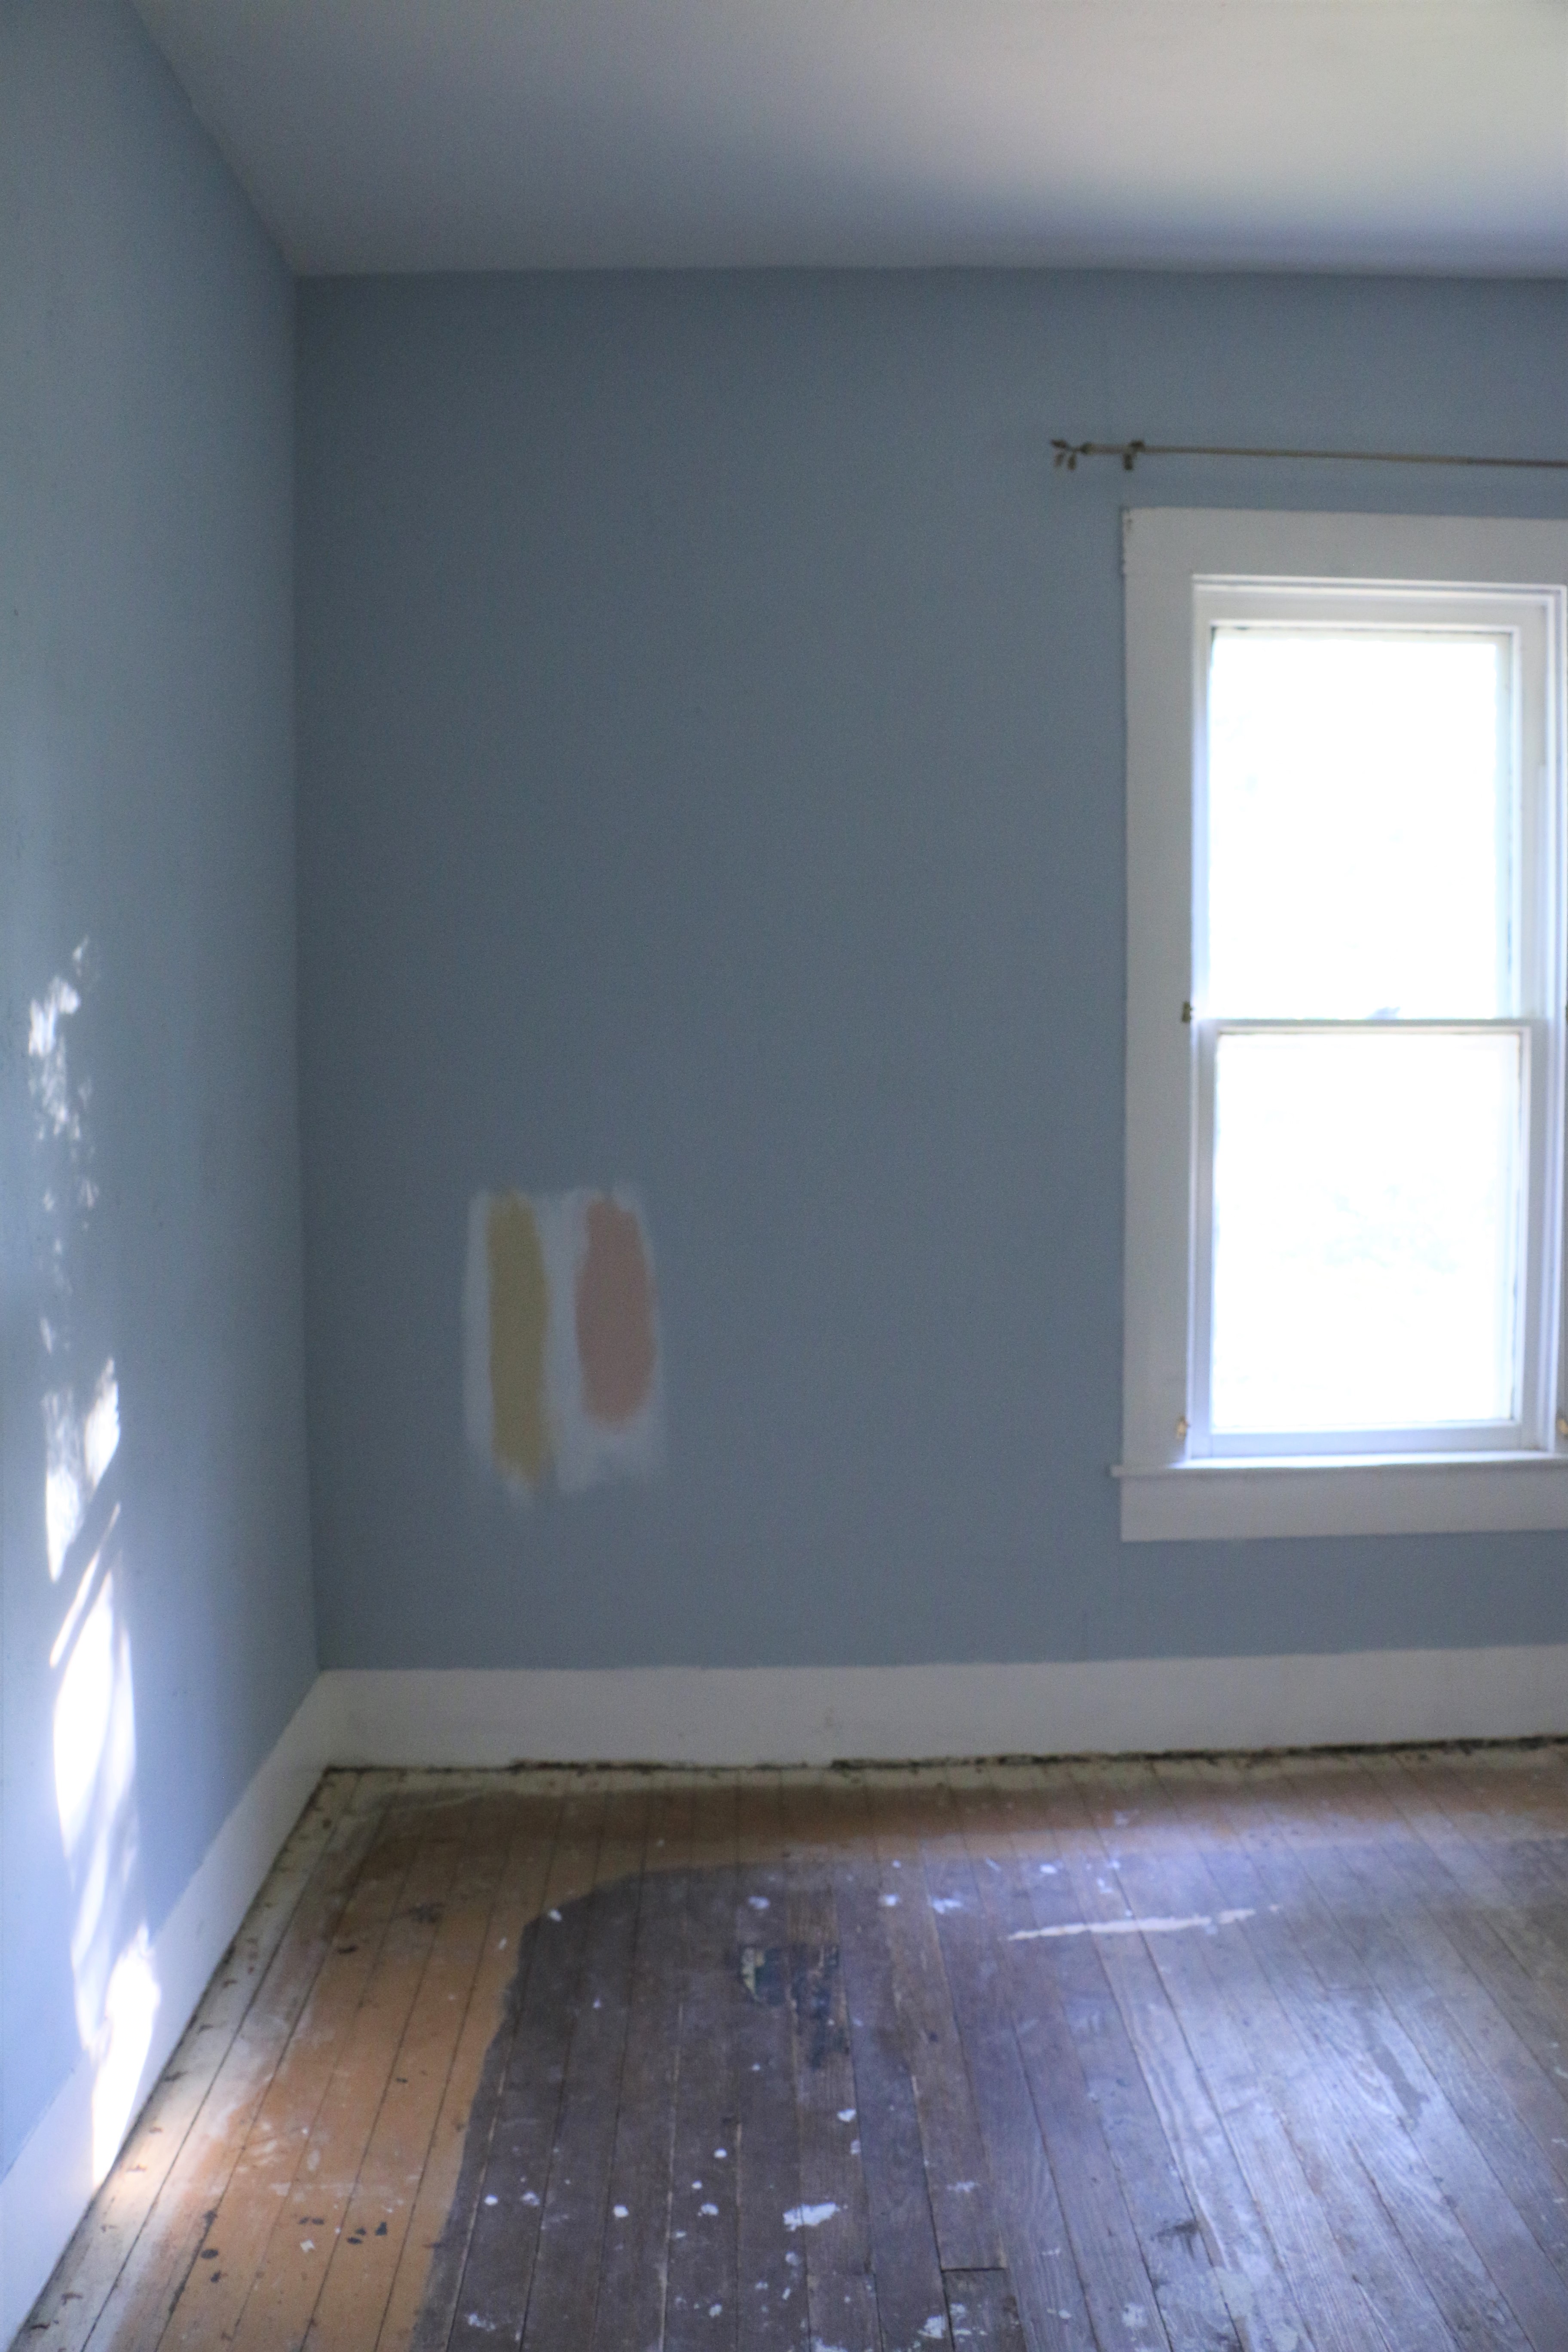
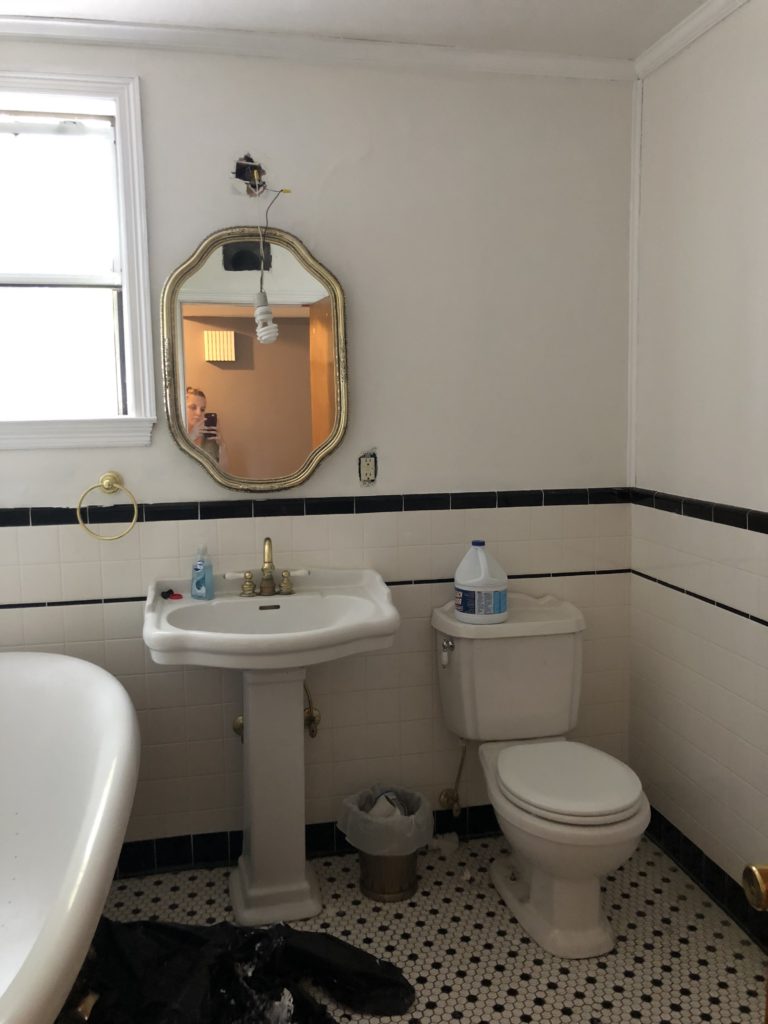
The First Floor Bathroom 

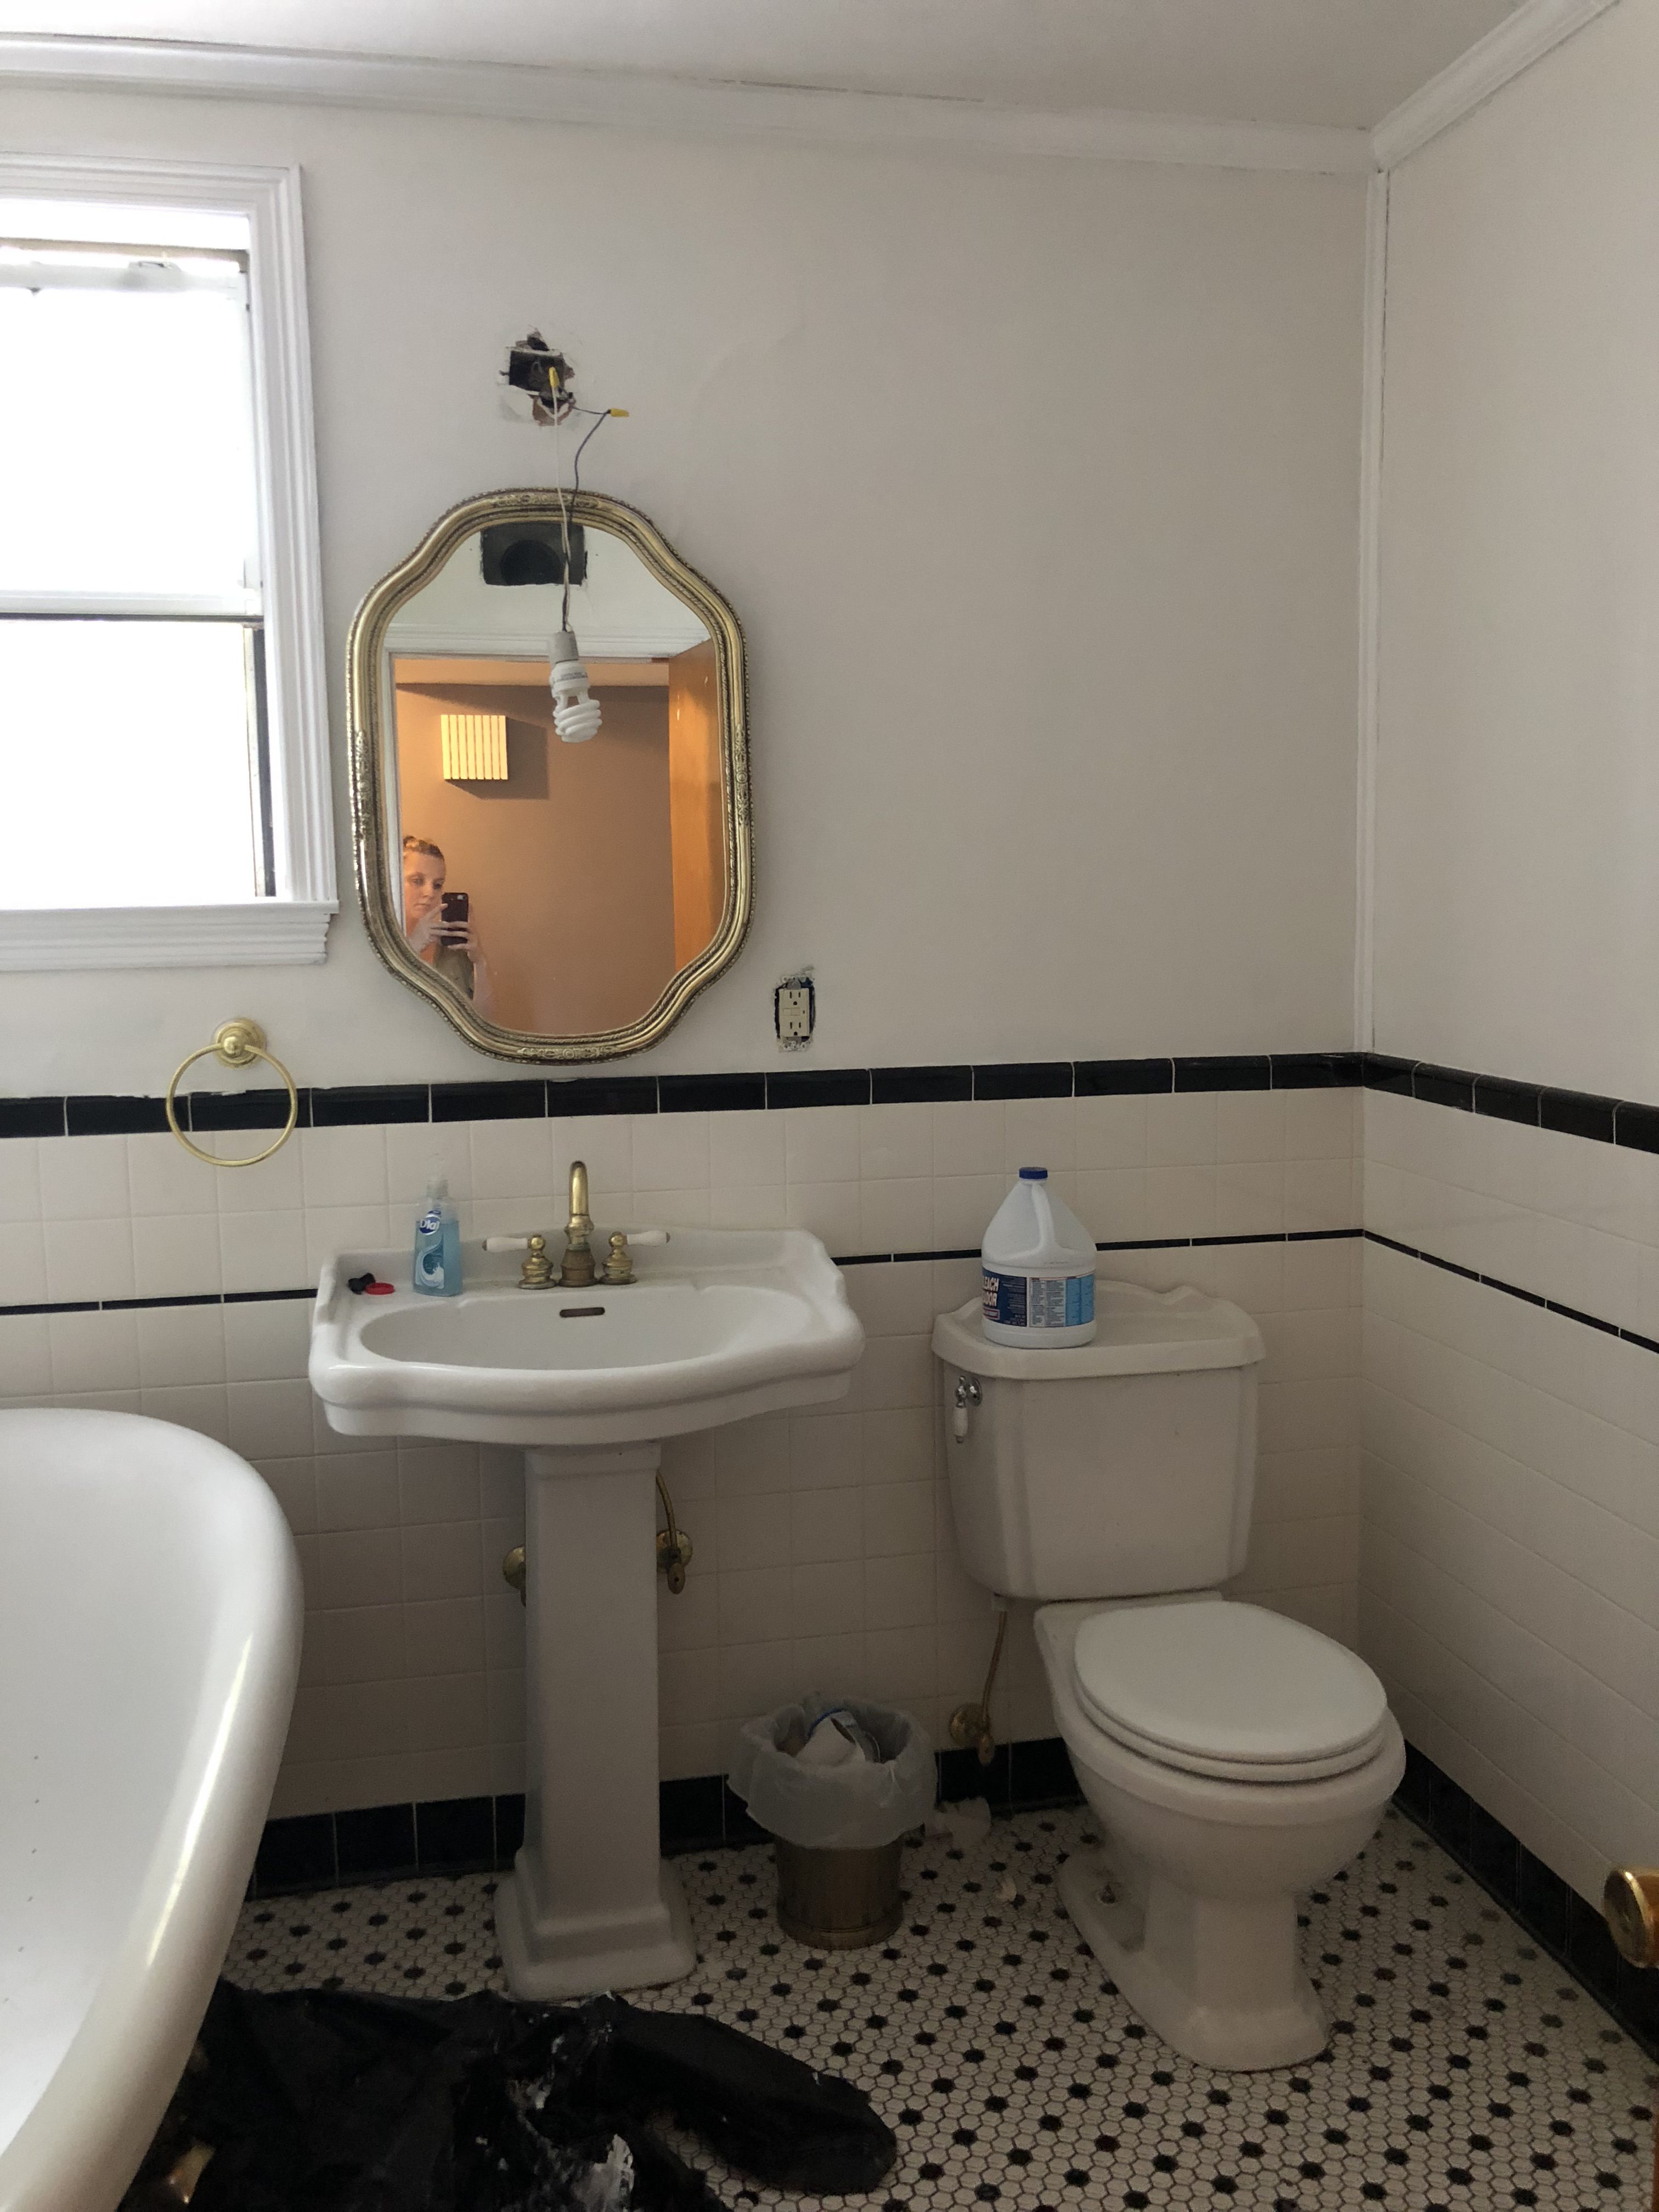
This room may just have a lighbulb dangling from the fixture hookup, but it has been primed and painted! Since it it the smallest room we will be painting, we did some experimenting with the paint color over the primer to test the coverage. So this is the only room that has actual paint! Exciting times, friends, exciting times! (It does need some touch ups, but let’s not talk about that.)


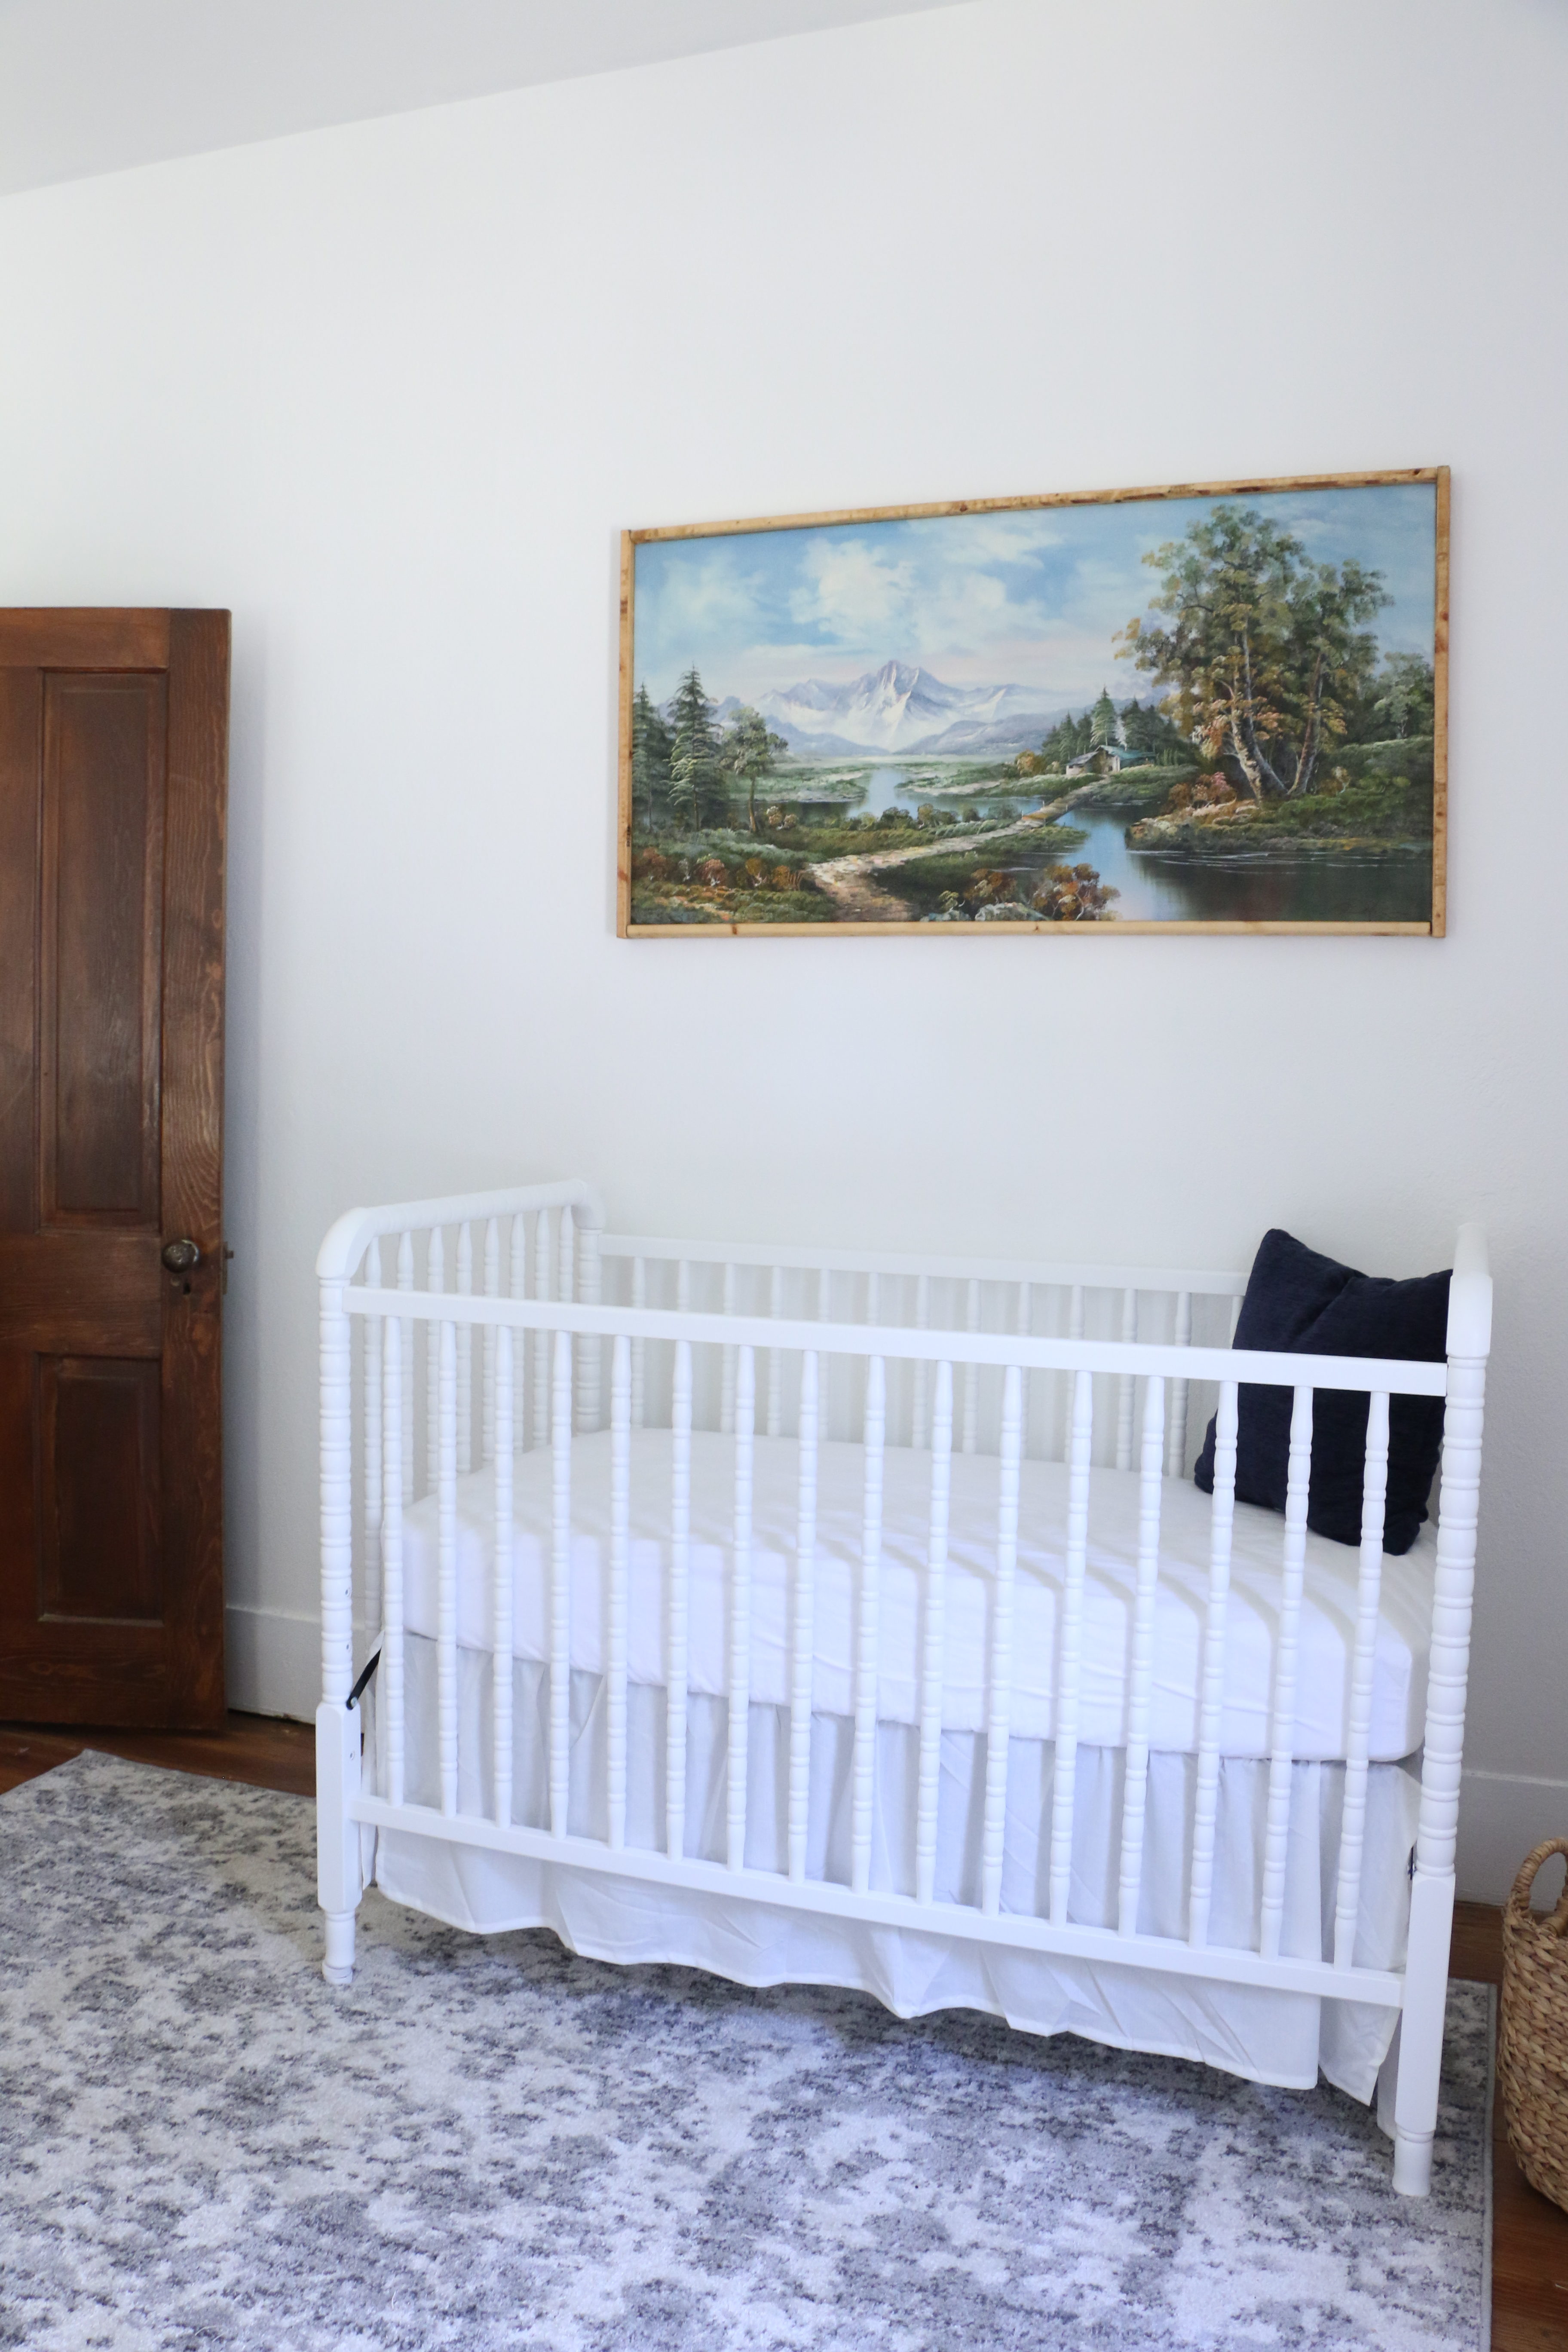
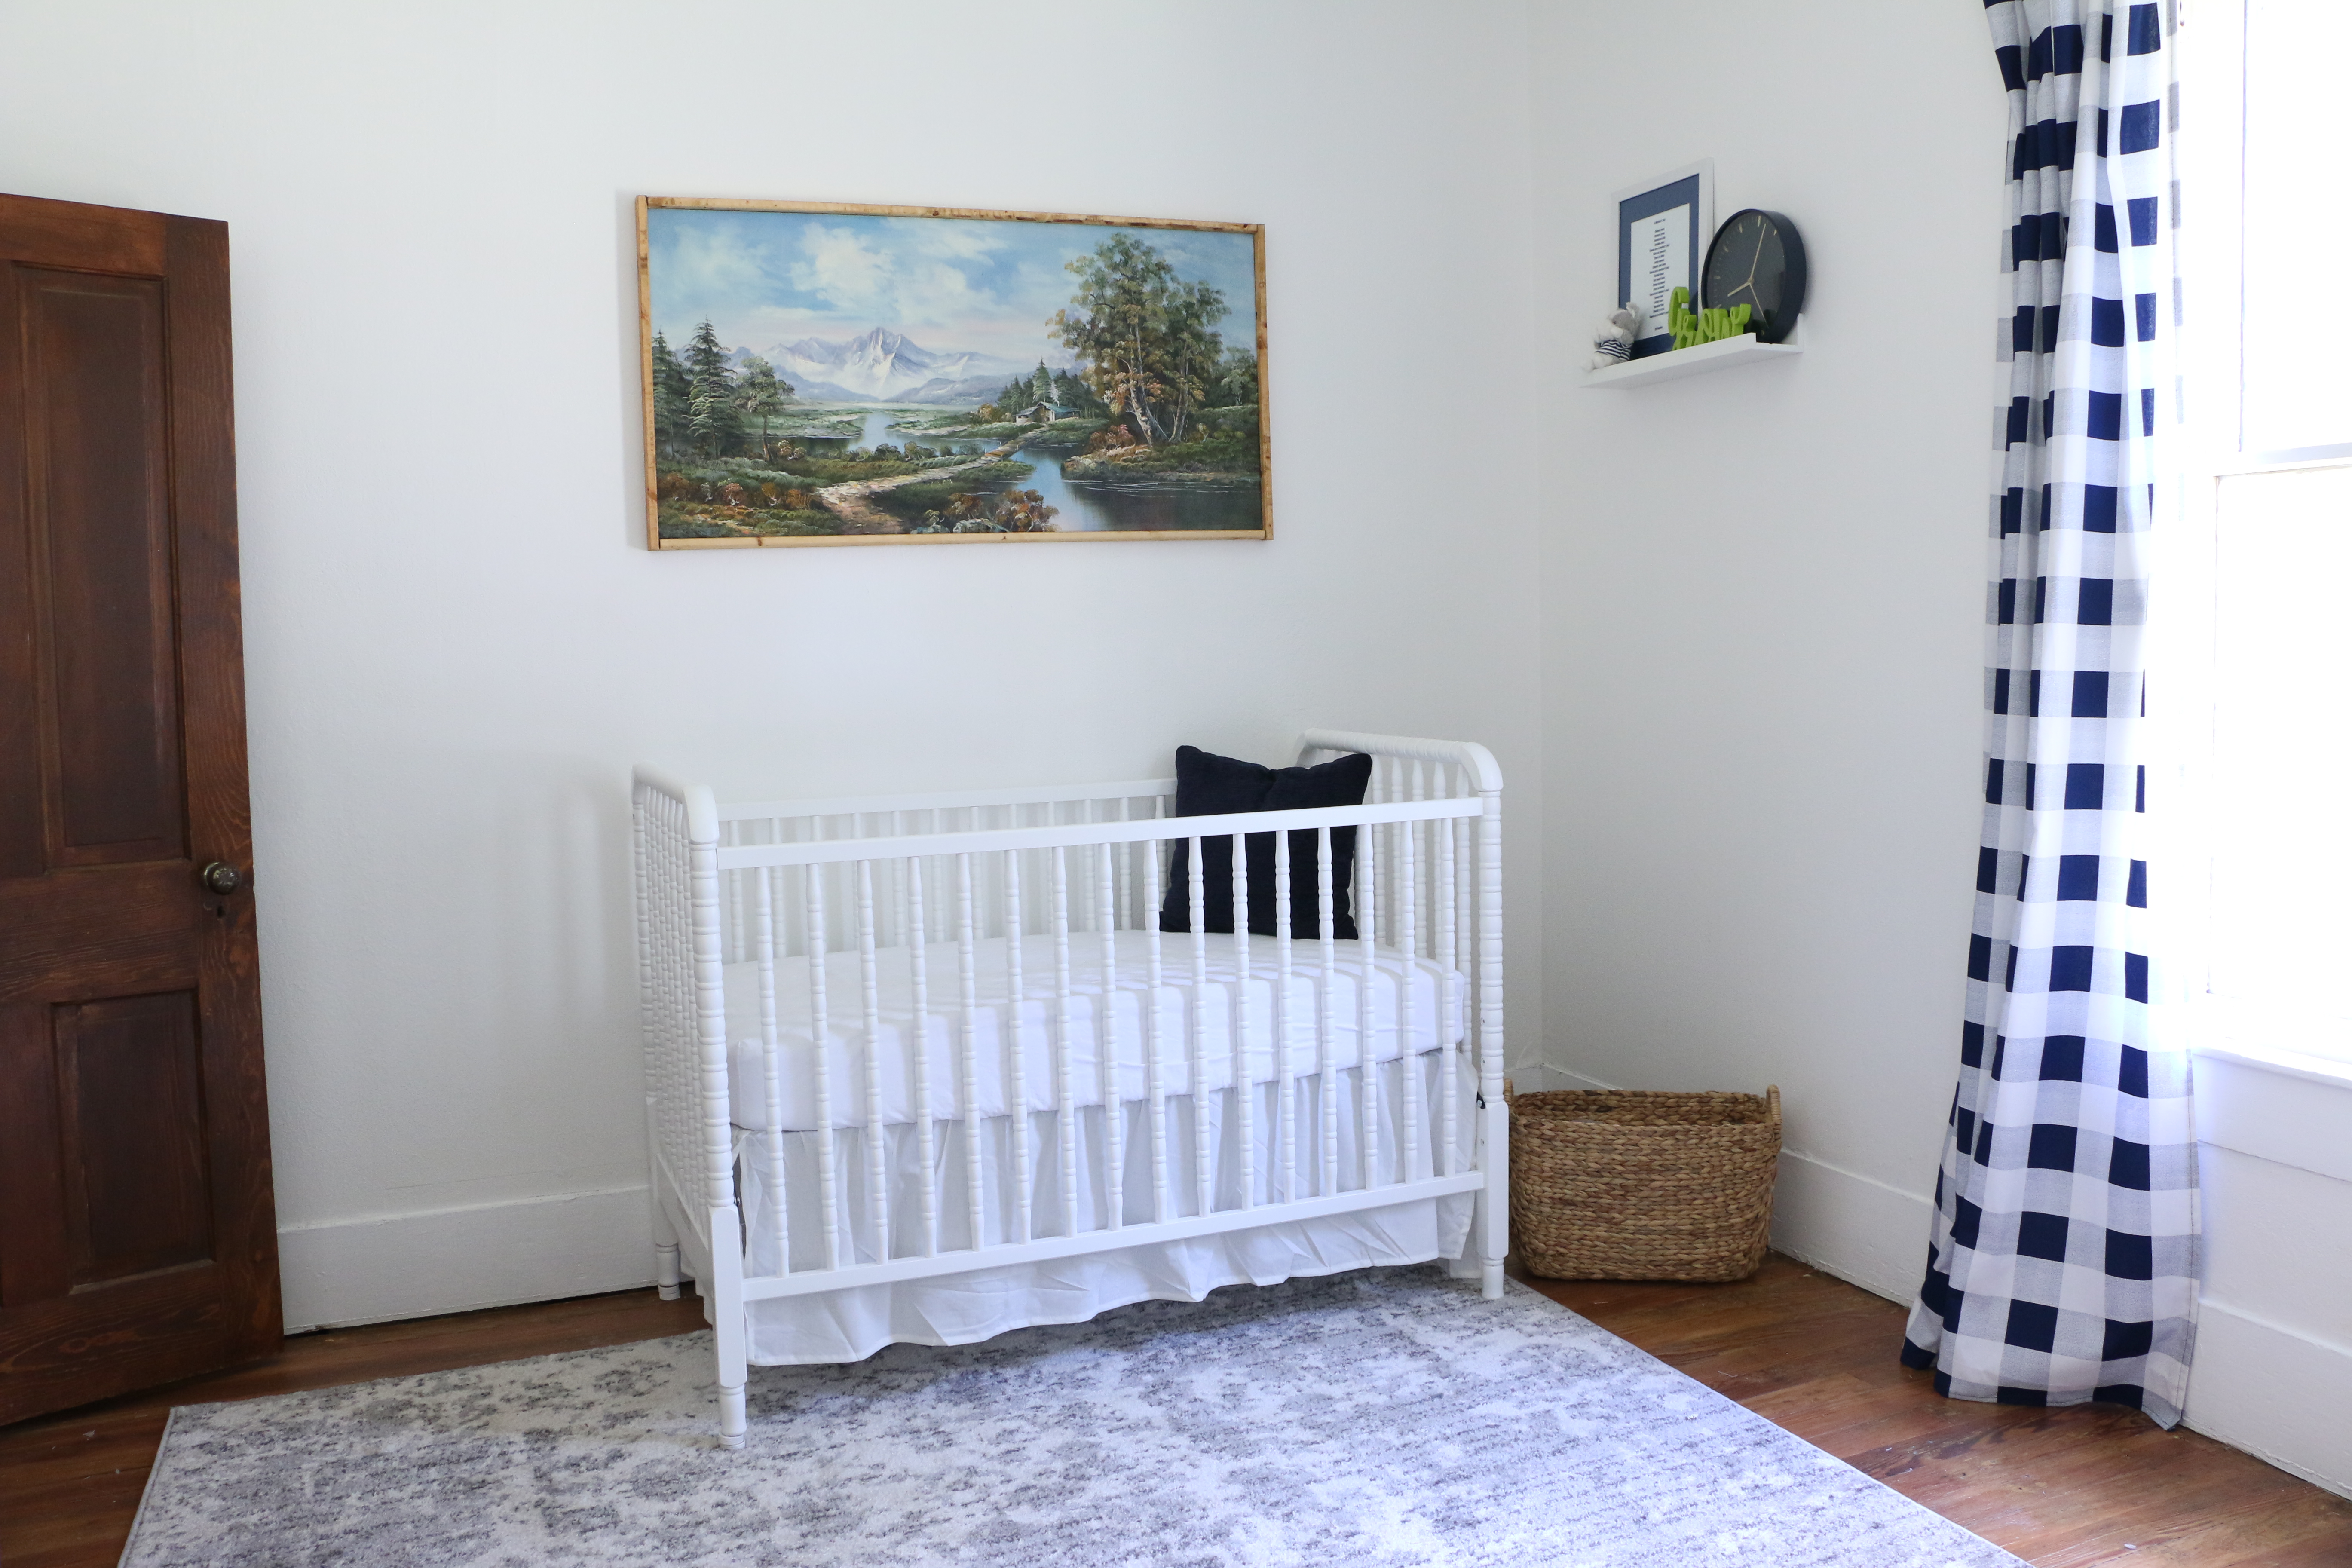
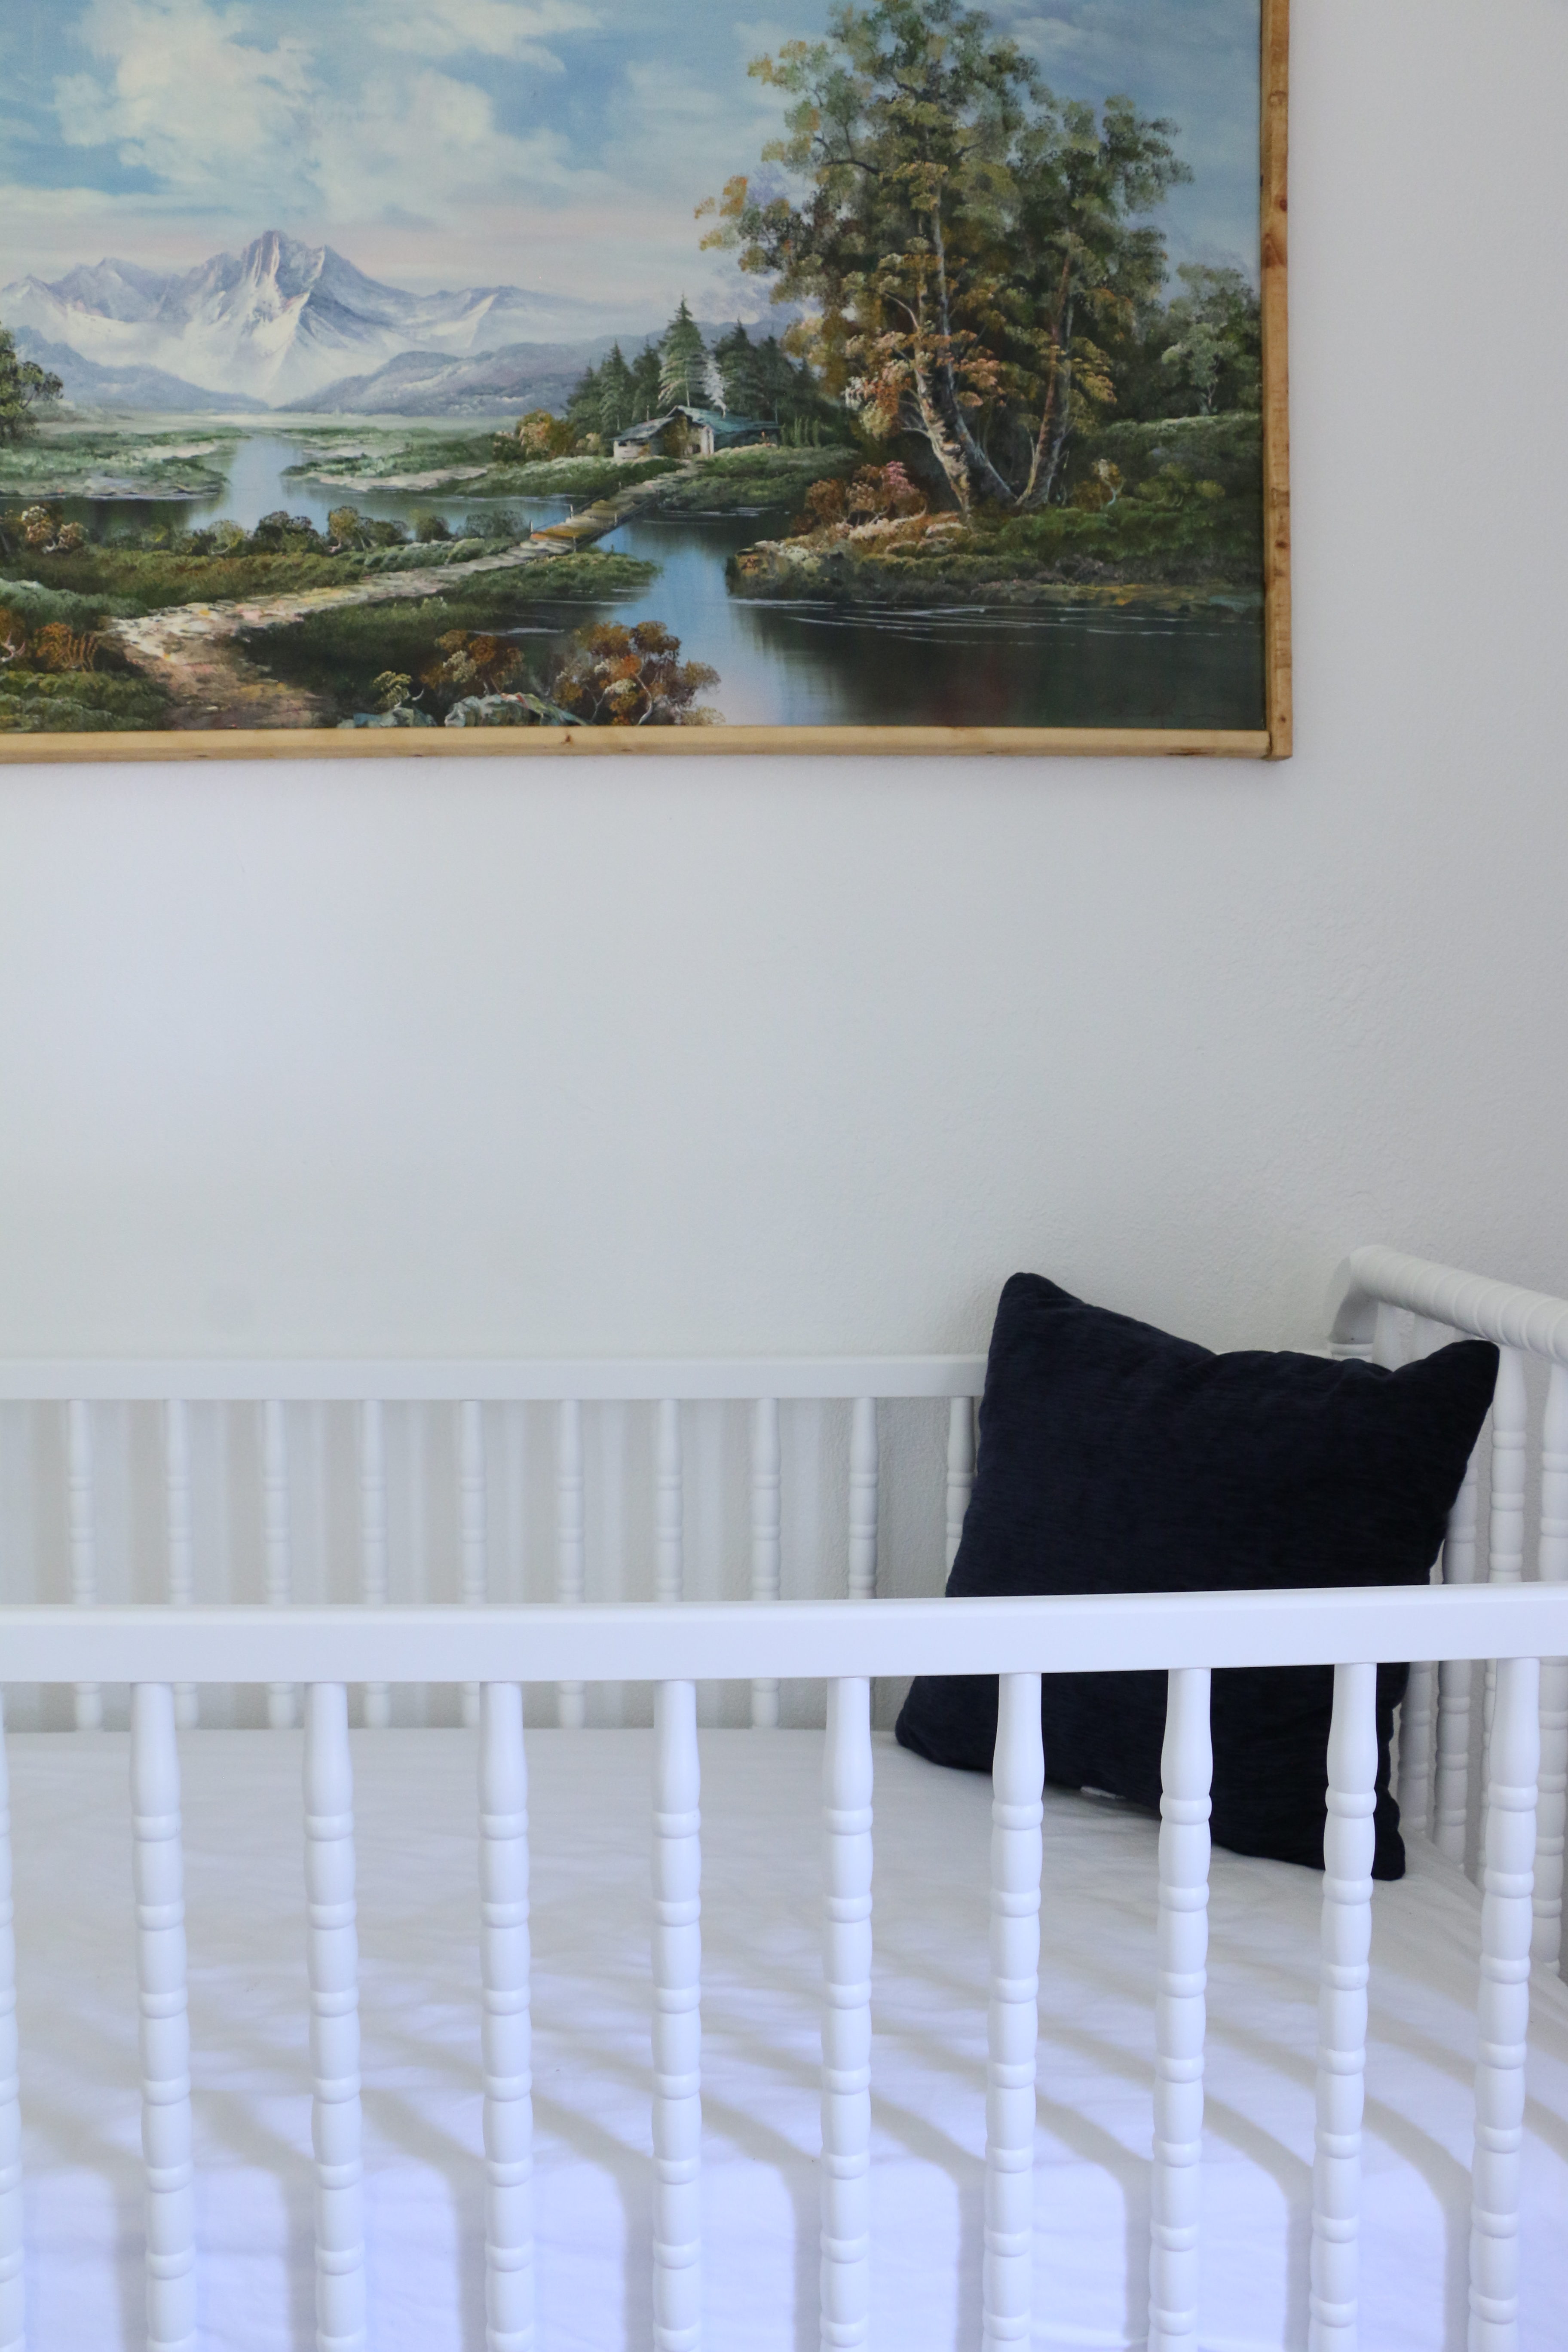
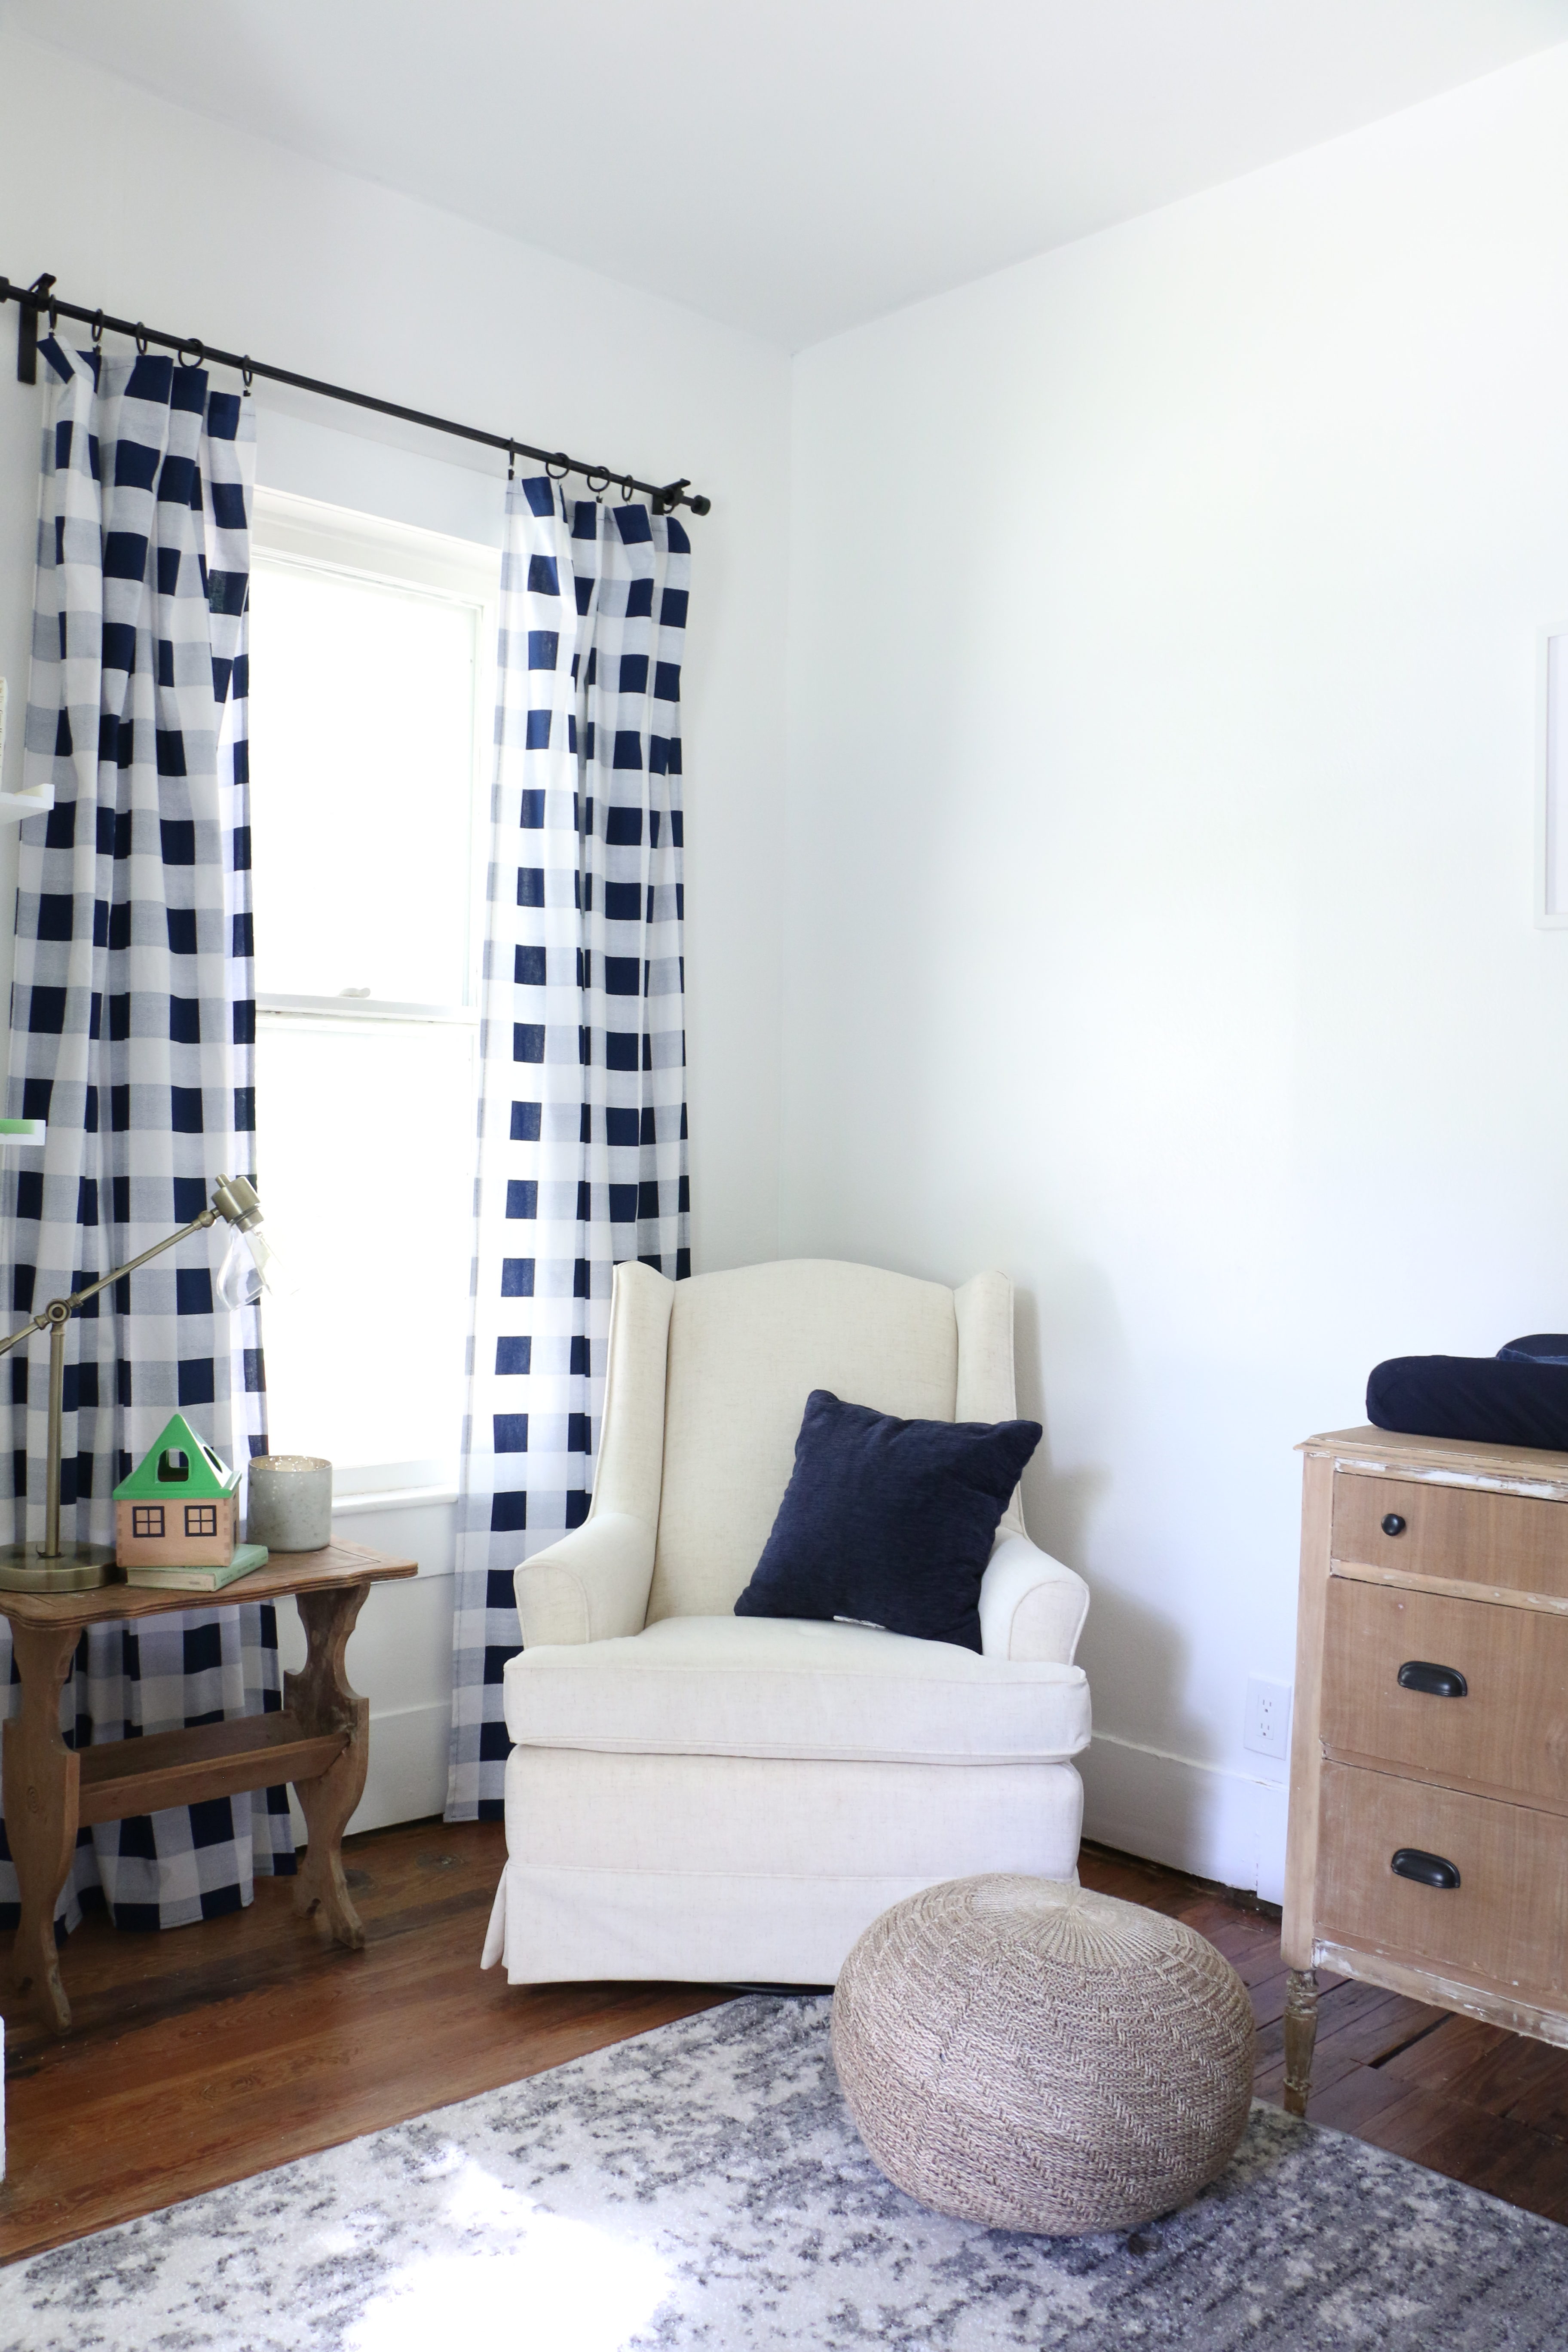
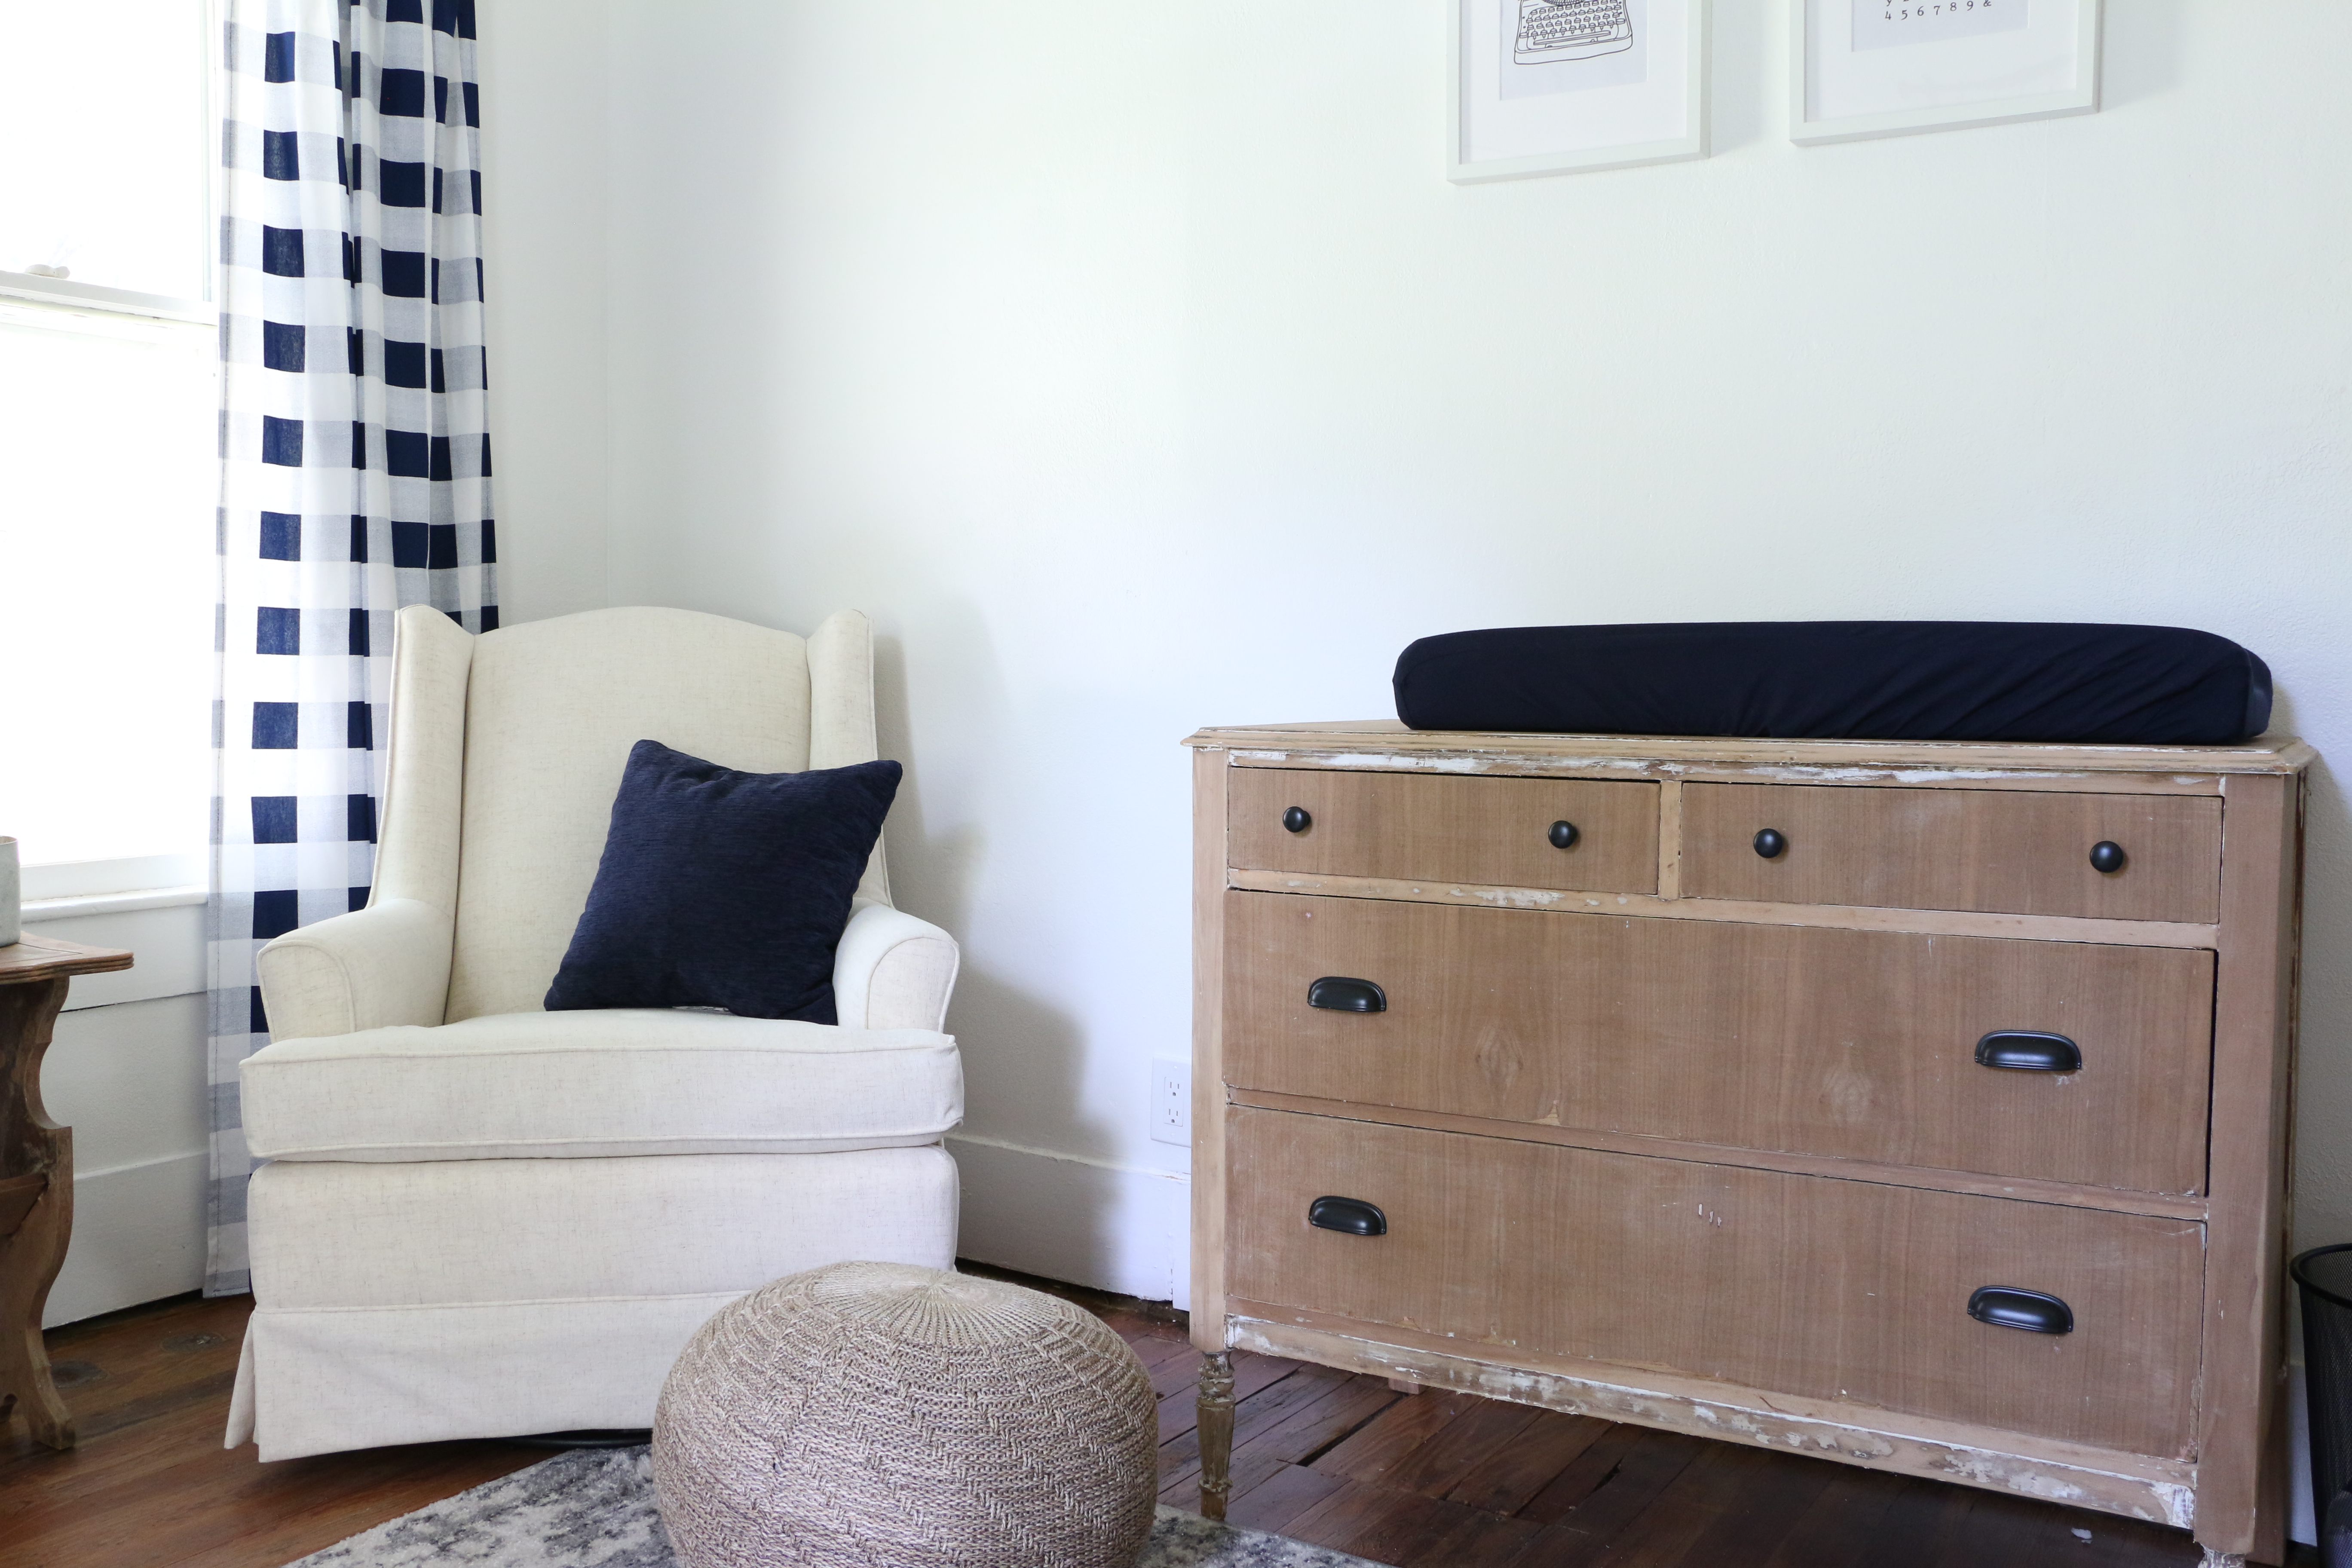
I don’t have a picture, but we’ve also prepped the upstairs nursery by sanding the spikey textured walls, filled in a ton of holes, and primed it for paint. Lots more to do, my friends, but so much has been done. It’s crazy to look at the progress we’ve made so far, but also I’m constantly freaking out about finishing in time. It’s a roller coaster of emotions! Everything takes so much longer than you think it will, and things are constantly coming up that we didn’t anticipate. Still though, this is one of the most exciting times for us. We can’t wait to move in!

I’ll keep you guys posted over the next few weeks about what we’re up to next. That’s all for today, friends. Have a fabulous day!

House Progress

Status Update: The First Weekend

Hey y’all! Thanks for stopping by! I’m starting a new series called “Status Update” today. The point of this series is going to be to recap the small things we’ve accomplished over a period of time. This isn’t going to be one tutorial or reveal, it’s not going to be for decorated rooms, it’s just going to be a gauge of progress on the house, and all the random things we’ve worked on.

If you haven’t seen the before pictures, you may want to start here because it has come a long way already. This was our first weekend in the house, so all of what we’ve done so far has been accomplished within a few days. We’re anxiously trying to get things done, as we’re under pretty tight time constraints (we plan to move in at the end of the month, so there are several projects that need to be done ASAP).

We closed on the house on Tuesday, and got to work on Wednesday. We started in the living room, which looked like this:

The carpets were infested with the smell of cat urine (#nevergettingacat). We rolled them up and got them out, which was a sweaty and incredibly stinky task.

We then started pulling down the upholstery on the walls, which also smelled of cat urine. It was stapled to the wall behind the trim and baseboards, so we ended up having to remove all the trim. By the end of Friday night, we had all the wall upholstery down, and pulled out the staples in the wall, which wasn’t easy.

Saturday we got up bright and early ready for a long work day. Ethan wanted to start with some plumbing issues, so while he replaced a pipe on the exterior of the house and a piece on the inside of the toilet, I started tearing down the textured wallpaper on the ceiling of the dining room.

The wallpaper on the ceiling in the living room and dining room both needed to come down, but it was so difficult. It actually still isn’t 100% done. We tried several different methods, including water and vinegar with a scraper, scoring the ceiling with a knife and pulling it off dry, and sanding it off with a sander. Eventually, we ended up getting a heavy duty wallpaper remover, applied it with a pesticide sprayer, and peeling it off. It was time consuming and took the majority of the day with one or both of us working on it.

(This was taken after about 12 hours of working on the house. Which explains the look of death on our faces. 🙂 )

Sunday morning we arrived to this, which is all the paper we had scraped from the ceiling. We cleaned it and turned our attention to the floor. So far we had removed the carpet and carpet pad, and planned to scrape the linoleum. The original parts of the house have the original hardwood beneath them, so we assumed they were beneath the linoleum. We (and by we, I mean Ethan. This was all him.) started scraping, but we couldn’t tell what the condition of the wood was because there was so much glue on it. I took a hand sander to it just to test it out, and we realized it was just a large sheet of plywood under the linoleum. Subfloor.

We were super bummed because we really wanted hardwood, and we didn’t have it. We made a plan to put in carpet until we could afford traditional hardwoods at a later date. I started researching wall to wall carpeting, and we planned on scrubbing the floor and painting a layer of Kilz over the linoleum to mask any remaining odor before having carpet installed. I did not like this plan, but I knew it was one of those things we were going to have to compromise on in the short term.

So we are prepping the floor to start painting, and Ethan sees along the edge where we removed the baseboards something that he thinks might be hardwood under the subfloor. So then this happens: 

So before we know it, we’re pulling up the plywood to find the original hardwood underneath. Praise the Lord. In modern homebuilding, a plywood subfloor goes below where you would lay hardwoods. But, this house has had 123 years of different owners and different repairs and additions made, so there’s no telling who did what and when they did it. Ethan kept asking me when I was going to stop asking questions…because when it comes to this house, nothing makes sense! Our current plan is to refinish the hardwood in this room, as well as the other rooms that have the same wood.

So this is where we ended the weekend. The plywood came up without too much difficulty, but Ethan is going out of town for work this week, so we had to call it quits early. Overall, we did a lot more destruction than construction, which makes you feel like you haven’t really done anything but make a mess. Overall though, we got a lot done. Now we just have to start putting it back together. No pressure.

Next weekend Ethan’s family will be in town to help with some projects, so we’re hoping to knock out a few things. We’re currently in a race to get things moving so we can get this place as livable as possible before we have to move in. There is so much to do, but I am optimistic that we will be able to get done the top priority things. Everything else can be done after we move in, and we will be working on this house for the next few years, but for now, we’ve got our work cut out for us. Stay tuned for the next status update. That’s all for today, friends. Have a fabulous day!

House Progress, Room Tours

The New House: The Before

Alrighty, friends, I shared the other day that we just bought a house, and we are so so excited about it! If you didn’t read that post, you can check out the entire story here.

Today I wanted to share some of the pictures of the house as it is, and talk about our plans for some things. Be forewarned though – these are rough! The rest of this post is going to be a whole lot of ugly, so scroll through at your own risk.

The Exterior 

Let’s start with the exterior. It needs a bit of work, I don’t love the color, and the yard is a mess. But, of course it is so charming with all the gingerbread trim, and so it’s not hard to envision what it could look like with some love. It’s a historic home on our city’s register of historic buildings, which means there are some regulations about what we are able to do to the house. The interior is basically fair game, but the exterior facade has to remain the same for the most part. Thankfully, this does not include paint color.


The Foyer 

When you walk in the front door, you walk into this small foyer with a stairway to the second floor. It’s teeny tiny, and definitely over a century old because the stairway doesn’t have much headroom, but it does have some gorgeous craftsmanship.

The Master Bedroom

The master is the only bedroom on the first floor, and it is what was once the original parlor of the house. It needs some serious work, as you can see there is an archway that leads out onto a porch here. The porch has a plexiglass cover, but it is definitely not a permanent solution (although I believe it’s been that way for about 30 years). We plan on putting in a functioning door, and walling in the arch. Then we’ll remove the plexiglass on the porch and have a porch off the master bedroom.

The Living Room 

The living room is eerily quiet when you walk in. That’s because it’s one of the few rooms that has carpet, and the walls are upholstered. From my understanding, upholstered walls are period appropriate for the era of the house, but this was a reproduction done in the 80’s or 90’s. Under the carpet is linoleum, and hopefully below that is the same gorgeous hardwood that’s in the master bedroom. Pulling up the linoleum is going to be a pretty serious job though, so we’ll see how that goes.

The Dining Room 

The dining room and kitchen were actually added to the house later on, they are at the far back of the house. I’m not sure when this portion of the house was added, but none of the features are original. The family that lived here from the 1980’s to the mid 2000’s did add the fireplace, and they definitely chose thoughtfully something that would work well with the original portion of the house.

The Kitchen 

The final room downstairs is the kitchen. Like I said, this is not original to the house, and is a true homage to the 1980’s.  This is where the back door leads, and it is actually a very large kitchen. We aren’t sure exactly how we want to use the space yet, but we plan on doing a “Phase One” cosmetic remodel to the kitchen, before doing a full gut job and reconfiguration of the space. Some thoughts we have may be to build out a laundry room/pantry/mudroom, and to eventually add a traditional stairway here to replace the spiral staircase. Since these things require some serious construction, it’ll probably be a few years before that happens.

The Upstairs Bedrooms 

Upstairs, there are three bedrooms and a creepy little carpeted bathroom. The bedrooms all have hardwood, which is original to the home, but in need of some TLC. The layout is a bit wonky, but what old house isn’t? The bedroom that is currently painted blue will be used as the nursery, although it may not be finished before baby gets here. Which is just what my planning personality can handle. 😉 The other two bedrooms will serve as guestroom and office, until we have need of more bedrooms. Thankfully, all the rooms have closets, pretty doors and hardware.

We’ve started doing some of the work already, so these photos are already outdated. We have been waiting for such a long time to start a project like this, it is so incredibly exciting for us. I’m sure it will be stressful and frustrating at times, and things will be dragged out far longer than we anticipate. As of right now, we plan to get as much of the “top priority” work done this month, and move in at the end of the month. We haven’t done much to prepare for baby’s arrival this fall, because we’re going to be moving! God sure has a sense of humor when it comes to timing!  The entire project will take several years, but we are going to do things at the rate of the cash we have to spend, and so we know it’ll take a while. It’s going to be a long lesson in patience, contentment, and hard work to say the least!

Thanks for checking out the before pictures. Make sure you check back as we continue the process! That’s all for today, friends. Have a fabulous day!


Home Decor

When “Your Style” Seems to be Changing

Have you heard from design magazines or HGTV shows about finding “your style” and sticking with it? For the last four years as I’ve been making our two different rental houses home, I’ve been drawn to a farmhouse-y, cottage-like style characterized by lots of chippy, white, antique-y looking things. I’ve sourced all kinds of materials from flea markets, and made things we owned to look older by distressing them.

I started a business refinishing furniture and sourcing antiques and I have done well for my home and others’ homes using all things “farmhouse style.” But guess what? Can I tell you these possibly forbidden words? I’m starting to get sick of it. Whaaaaaaaat? Am I even allowed to say that? Let’s backtrack a little bit.

In my personal style (the clothes I wear and how I present myself), I generally use words like classic, erring on the side of “preppy” using lots of neutrals and blues. I try to stick with only buying pieces that won’t be out of style in five years. But guess what? Would you believe that in high school, for a short time, I was really into duct tape. As in, I made myself all kinds of accessories out of colored duct tape. Belts, purses, wallets, bracelets, you name it. Now, does this fit in with the classic, natural, timeless way I try to present myself? Absolutely not! Because it was a phase and I moved on past that phase.

I think you may be able to see where this is going. I am going to step out on a limb here and say that in our homes, we’re allowed to have phases too. We don’t have to stick to something that we picked five or ten years ago just because that’s what we chose and now we’re stuck with it. So that brings me back to my own home. I have been a lover of the modern farmhouse vibe in all it’s white and gray and chippy paint glory for several years. But I sense myself moving beyond that.

Don’t get me wrong. I love antiques. I love shopping flea markets. I don’t see myself stopping that trend and solely shopping Target from now on. But I feel that I may be moving (or trying to) toward a more timeless, classic and traditional look in my home. Not so shabby chic, but polished. This is going to be a process. I’ve always been on a budget, so there’s not going to be room to re-furnish our entire house just because I don’t like our stuff anymore. No, I’m going to do things as I always have – slowly evolving over time.

Take this vignette for example. White on white, some galvanized metal, twine, distressing. These are staples in my design choices and have been for a long time. Yesterday, I made some small and simple changes to this vignette. Because one teeny tiny change can make you feel like you’re doing something, even if it’s not an entire house or room.

I took some matte black spray paint I had in the garage and gave these candlesticks a new look. I swapped out the distressed jar for a basket-weave candle holder. I added this antique medicine bottle. But that’s it. Everything else is the same. The flowers, the greenery in the jar in the back. I didn’t change the table (though that’s on my list), the tray, the furniture along the wall.

I took a tiny step in the direction I want to move toward. I don’t know what words you might use to describe the look I have in mind. I have words like “neutral,” “traditional,” and “casual” in my mind. I am loving elements of matte black, natural textures like jute and basket weave, and dark brass. I was looking around my house and realized I don’t have a thing in it that’s black! Good thing I know my way around a can of paint. 🙂

I plan on slowly replacing things like furniture and large decor items on a budget, and you can bet I’ll bring you all along for the ride. I will sell some things like my dining room set to make room for new things (are you local? My dining room set that I refinished (click here for the original posting details) will be for sale soon!). Slowly, over time, I’m going to move on. Because if I can get past the high school duct tape phase, I can get past this modern farmhouse phase too.

That’s it for today, friends! Have a fabulous day!

Personal

Life Update: Where in the World Have I Been?

You guys. Every time I have updated on here in the last year, it has started off with, “So it has been forever since I’ve posted…” and I suppose today is no different! In the last year, I have only posted about five times, and the last time was all the way back in January! I have been slacking to say the least. Things around here have been a little crazy and unpredictable, so I thought I might give a little quick recap of the last year or so.

First, if you follow me on Instagram, you know that we are expecting our first baby this fall. So that alone is enough to have me freaking out. I was feeling pretty sick for a while, and just generally not like myself. I’m feeling much better, and I’ve been able to get back into running and not having to slowly eat pretzels in bed before standing up. 🙂 Now all I can think about is the fact that I am totally and completely unprepared for all of this!

Secondly, because of the baby coming this fall, I won’t be able to do any fall shows. For the last two or so years, I have done several shows per season, while working my full time job. I’ll be taking the fall season off, and after that, I’m not too sure what the future holds. Having a baby will definitely make doing shows a much bigger endeavor, so we will have to see how things go. Meanwhile, I have been selling most of my inventory that I’ve had from my booth, so if you’re local to the North Texas area, shoot me an email or IG message and you can come shop my workshop!

Third, since I’m taking a temporary step back from doing shows, I’ve got my etsy shop back up and running. These hymnal pages have always been my top selling item at my shows and events. I’ve listed them on etsy, because I’ll easily be able to work on them from home, even when I’m home with a newborn. These are my absolute favorite things to decorate with, and they are also my go-to baby and wedding shower gift garnish. If you’d like to check out the shop, click here. 

And, lastly, the thing that has me in the biggest slump is our current living situation. Let me give you the most up to date info. So, we’ve lived in our current rental for just under two years. In fact, our lease ends in just a couple weeks. Since early this year, we have been looking to purchase a home. Our first home! So exciting! Well, it was. And then we found out we were pregnant, and it was even more exciting. We started looking and looking, and well, maybe you need a little backstory. The area we live in is rapidly growing. Which means one thing: the housing market is. out. of. control.

There are so many historic homes in our area, and we would absolutely love to purchase an older home that needs work and slowly bring it back to life. But here’s the thing. Houses sell within a few days. The area is growing faster than homes can be built, and so most homes have multiple offers within a few days, driving up the prices. We’ve lost out on a few houses that we’ve had our hopes set on, because the sellers have chosen other offers.

So, what started as an exciting time has quickly become stressful and disappointing as we loom closer and closer to the end of our lease, and the baby’s due date. I can only plan in theory what the nursery is going to look like because I have literally no idea what the room is going to look like. And I’m a planner. So, it has been incredibly hard not to start working on nursery projects.

Knowing that we’re going to be moving “soonish” but not knowing any type of time frame has put me in a creative slump in our current house. All I’ve been doing is purging, organizing, and throwing things out. I haven’t been doing projects or working on decorating certain areas in new ways because I’ve just been viewing it all as temporary. When we do finally move into our new house, I plan on bringing you all along for the ride! Of course, I’ll still be sharing small decorating DIY projects, but for a while, I’ll be focused on large, full scale projects. I’ll finally be able to do things like paint! I have been waiting SO. LONG.

So, all that to say, who knows what may change before the next time we chat. I’ll try to keep you posted. That’s all for today, friends! Have a fabulous day!

DIY Projects, Home Decor

DIY Scroll Wall Art

Hello, hello! I’m so glad you’re here! Today I’m sharing my favorite kind of project…a free one! (Cue all the praise hands emojis!) Lately, I’ve kind of been giving a certain area in my living room the side eye. As in, it was just driving me crazy and I knew it needed something, but I couldn’t figure out what.

I had these windows hung when we first moved in, and last year after Christmas I hung a paper chain over it that was left from the tree. But it was just so plain it was driving me crazy! I’ve been seeing these cute hand written scrolls around etsy and Pinterest, and I thought I might try and make my own. All you need is some Kraft paper, a Sharpie, twine, and possibly some hot glue. Since I had all these items on hand, it seemed easy enough.

I cut the paper, and let it naturally roll at the top and bottom. I put a dab of hot glue on the corners to help it stay in place. Then I wrote one of my favorite quotes from one of my favorite childhood authors, Laura Ingalls Wilder. I’ve always loved the quote, Home is the nicest word there is, and so I figured it would be perfect for our living room.

I wrote with a Sharpie, and strung some twine through the top roll. It took me about twenty minutes total. I free hand wrote this, but if you’re unsure about your writing abilities, you could totally use a stencil!

I had some greenery on hand, so I added that to the top. I still think the sides need a little something, but that’ll come later. For now, this is what I have, and it was free, so I can’t complain.

Now, I will say, if I were to do this again, I would probably use different paper. I had Kraft shipping paper on hand, and that’s what I used, but it is very think, and so it was hard for it to lay flat where I wanted it. If I were to do it again, I think I would try the roll that comes from the painting section to protect edges of floors. It’s much thinner, and so I imagine it would lay flatter.

Even so, this worked out just fine, and I’m happy with this little project. It was easy, and it makes a statement, so it’s a win-win for me! I won’t bore you with more unnecessary details, so that’s it for today! Have a fabulous day, friends!

DIY Projects, Home Decor

Our DIY (Renter-Friendly) Dining Room Chandelier

Hi friends! It’s been a while, I know! I have been busy busy busy, but I missed being here, so I had to hop on! I wanted to share something we did this week to our dining room that was incredibly easy and I am in love with!

As you know, we rent our home, and we recently signed our lease for another year. We’ve been here for almost one full year now and it has been tricky to make this super builder basic home more my style while staying in the confines of our rental agreement. Most of our lighting is the typical low-grade fixtures and haven’t been changed since the house was built fifteen years ago.

Signing that lease for another year made me really think about what I could do to make this house a little bit more me. I came up with this basket chandelier, which is in no way an original idea, but I love it nonetheless.

It was so incredibly easy! We unscrewed the existing hardware which released the old glass dome. Ethan then cut a 2.5in circle in the center of the bottom of the basked using a jigsaw. We then replaced the basket where the glass dome was and re-applied the hardware on the underside of the basket. It took about ten minutes I think!

Seriously, I cannot believe we didn’t do this earlier! It isn’t something I would choose if we owned this home, but it definitely adds a bit of my style within the confines of what we’re allowed to do here. Plus, it was incredibly budget friendly! The only cost was the basket which only cost me a few dollars! It’s a total win-win!

Just because you live in a rental doesn’t mean you can’t make things your own! Sure, there’s a ton you can’t do as a renter, but if you get creative, you can add a bit of your style into your rental home!

So that’s it y’all. I’m in love with this little update and I couldn’t wait to share it with you guys! That’s all for today! Have a fabulous day!