
Hey y’all! Thanks for stopping by! Can you believe Thanksgiving is just around the corner? I’m SO READY for the turkey and mashed potatoes! Seriously, that’s all I eat on Thanksgiving. I’m a really picky eater, I know. Don’t shun me, but I don’t even like pumpkin pie (even my mom’s). But I am all about turkey and mashed potatoes. This year I’ll be flying up to New York to spend the holiday with my family. It’ll be a super short trip, but I’m excited nonetheless.
Now, my family doesn’t have a tradition of setting up the tree the day after Thanksgiving, but I know that many people do. Growing up, we didn’t set it up until about a week before Christmas. Ethan and I have had our tree up for about two weeks now, so I guess you can say I’ve strayed as far from that tradition as possible. All that to say, I know a lot of y’all put out Christmas decorations Thanksgiving weekend, so I wanted to share another homemade ornament idea I’ve come up with for my home.
If you haven’t checked out my first post on pinecone ornaments, you can read all about that here. I wanted to keep with the primitive, rustic theme I had going on, so I added these wood slices and I am in love with how they turned out. Seriously y’all, this is the easiest DIY yet.
I bought some pre-sliced wood at a flea market for a steal. You could just as easily get a thin log and slice it yourself though. My slices were probably about a half an inch thick. First thing I did was drill a small hole near the top of the slice. The trick is to not drill too close to the top so as not to split it. I accidentally broke a few of them, but I had about twenty to start with, so I was okay with losing a few.
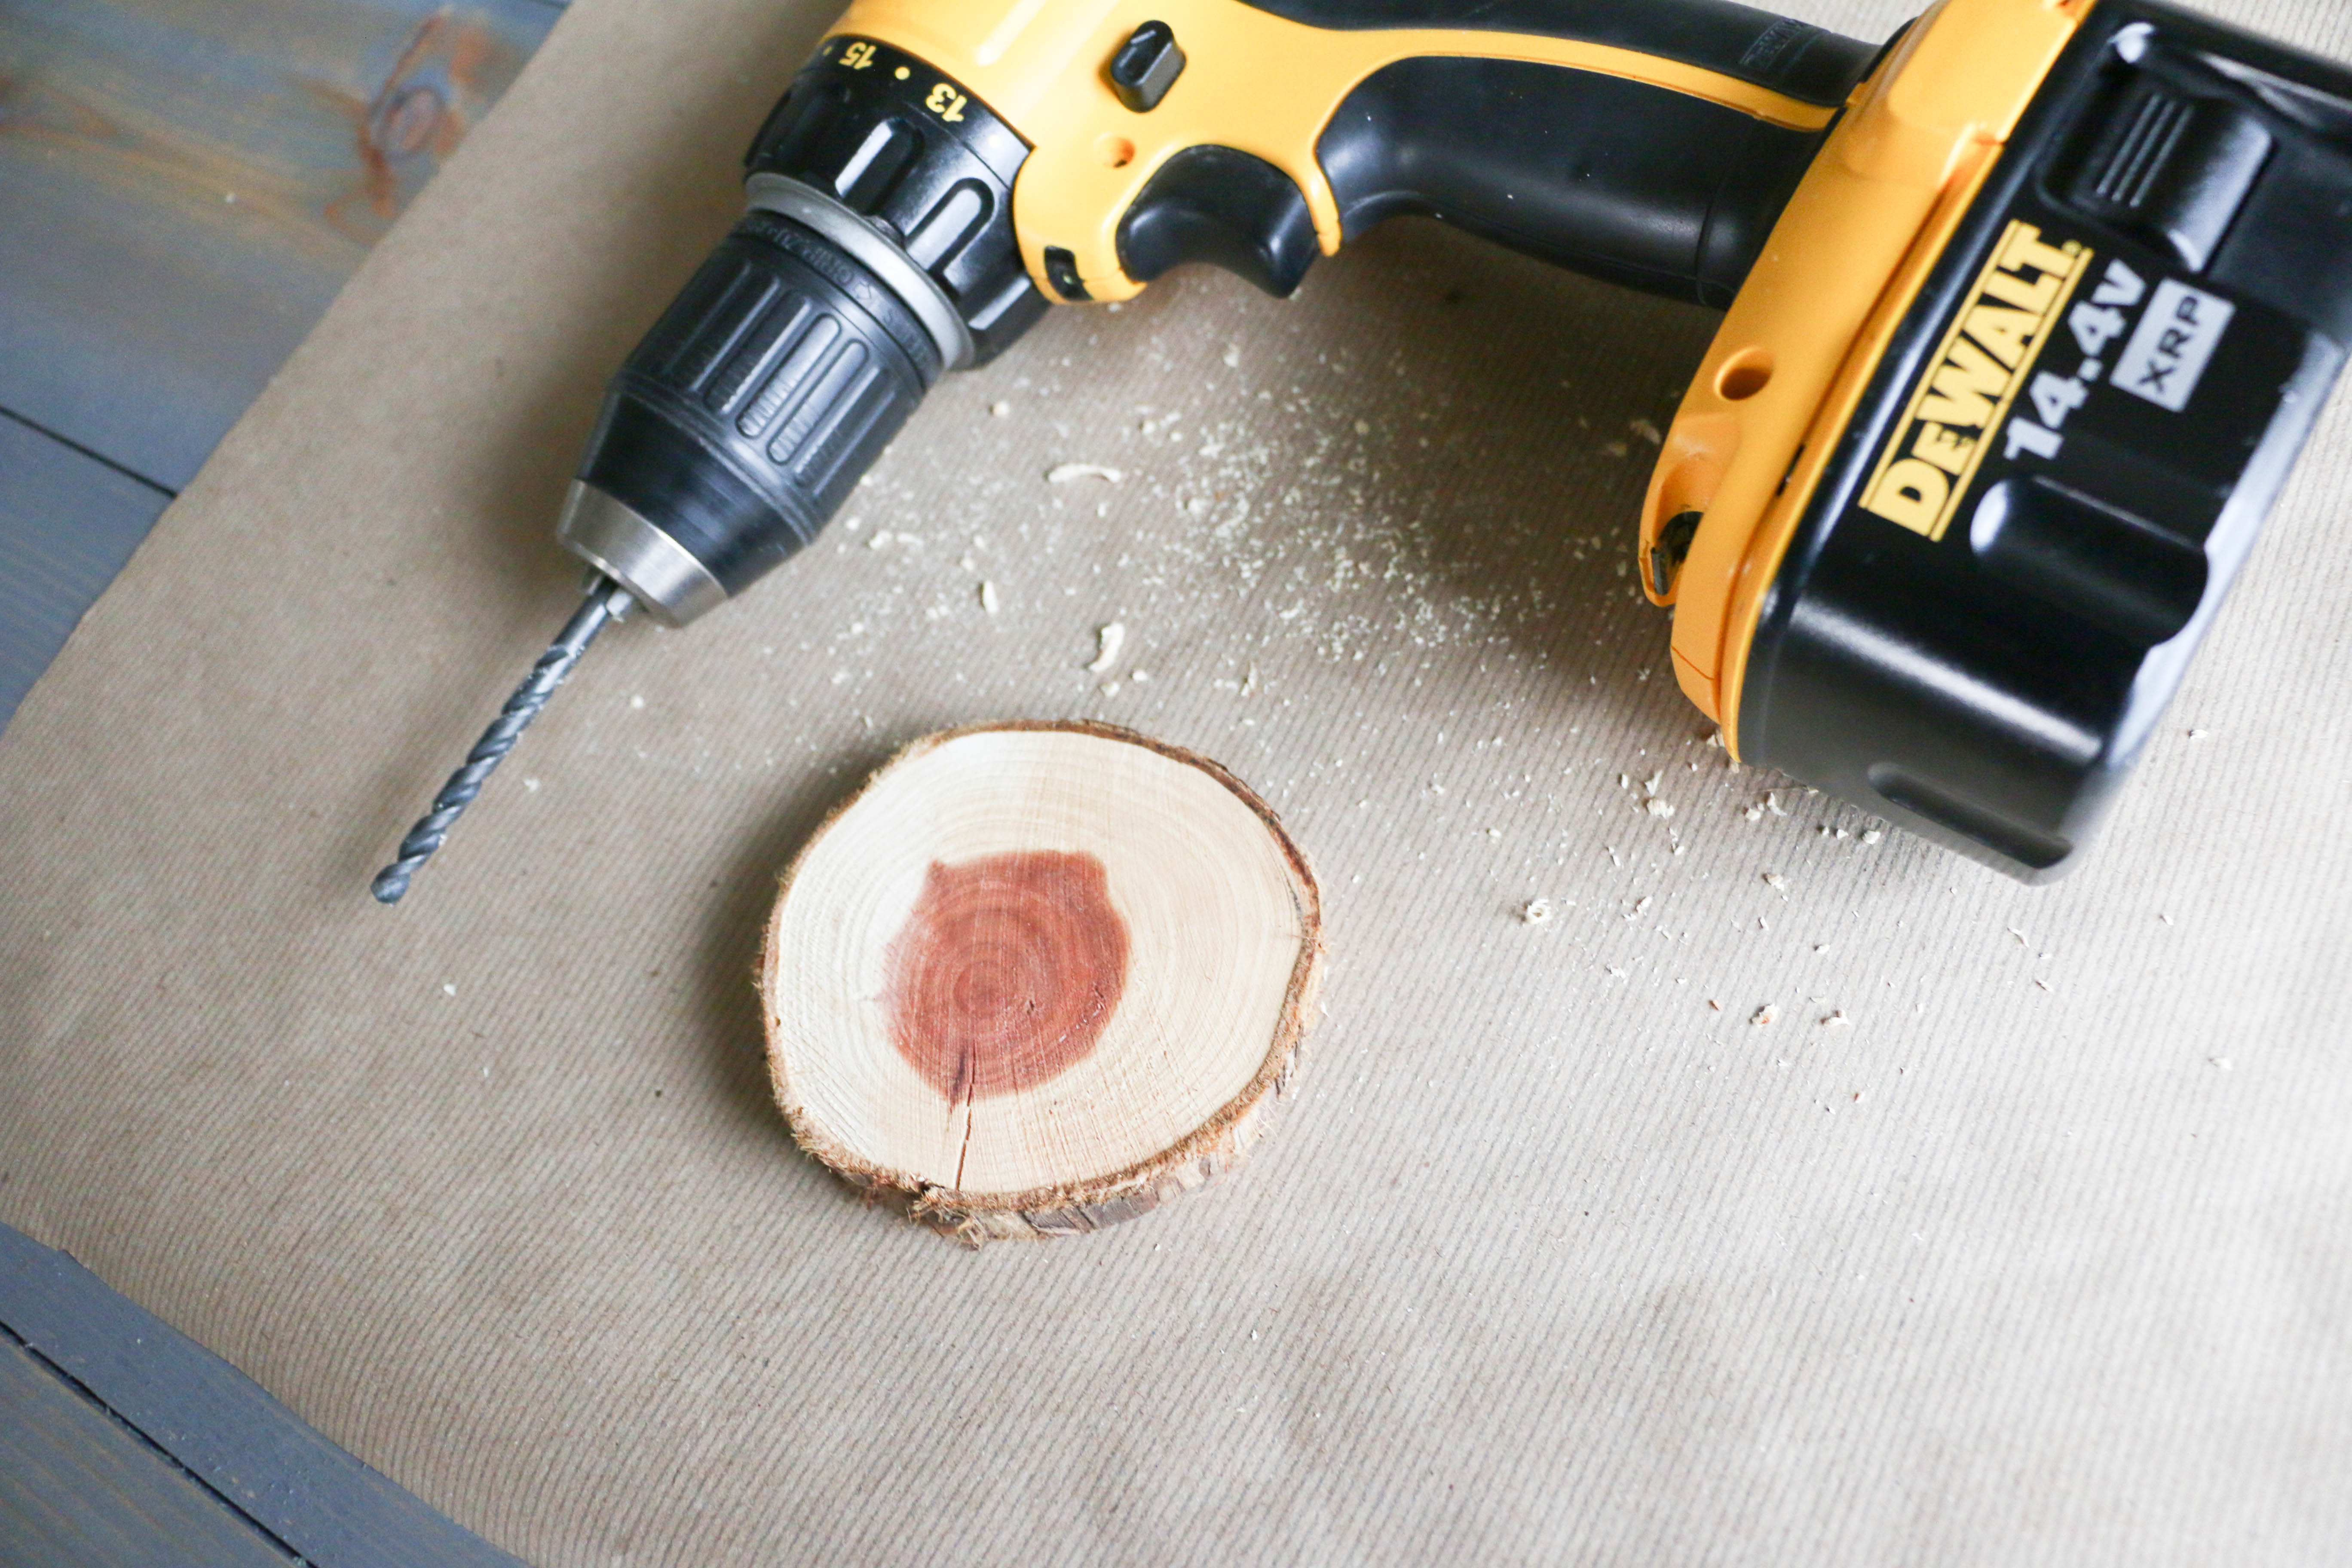
After I drilled the holes, I strung some ribbon I had through the hole. I found this ribbon at Michael’s on sale. I was originally looking for a cream-based red gingham ribbon, but I found this one and it stuck out to me. I really like the way the plaid has an old-fashioned vibe. So this is the one that ended up in my cart.

I thought about hand lettering something on each of the slices to complete the look, but ultimately decided against it. The reason why is simply because I thought I might reuse them in the future for something else, and I wanted them to be bare just in case. Also, I figured (since I’m so darn fickle) I might not like them as much next year if they were written on, so didn’t want to do anything I would regret.
So here they are in all their bare wood slice glory:
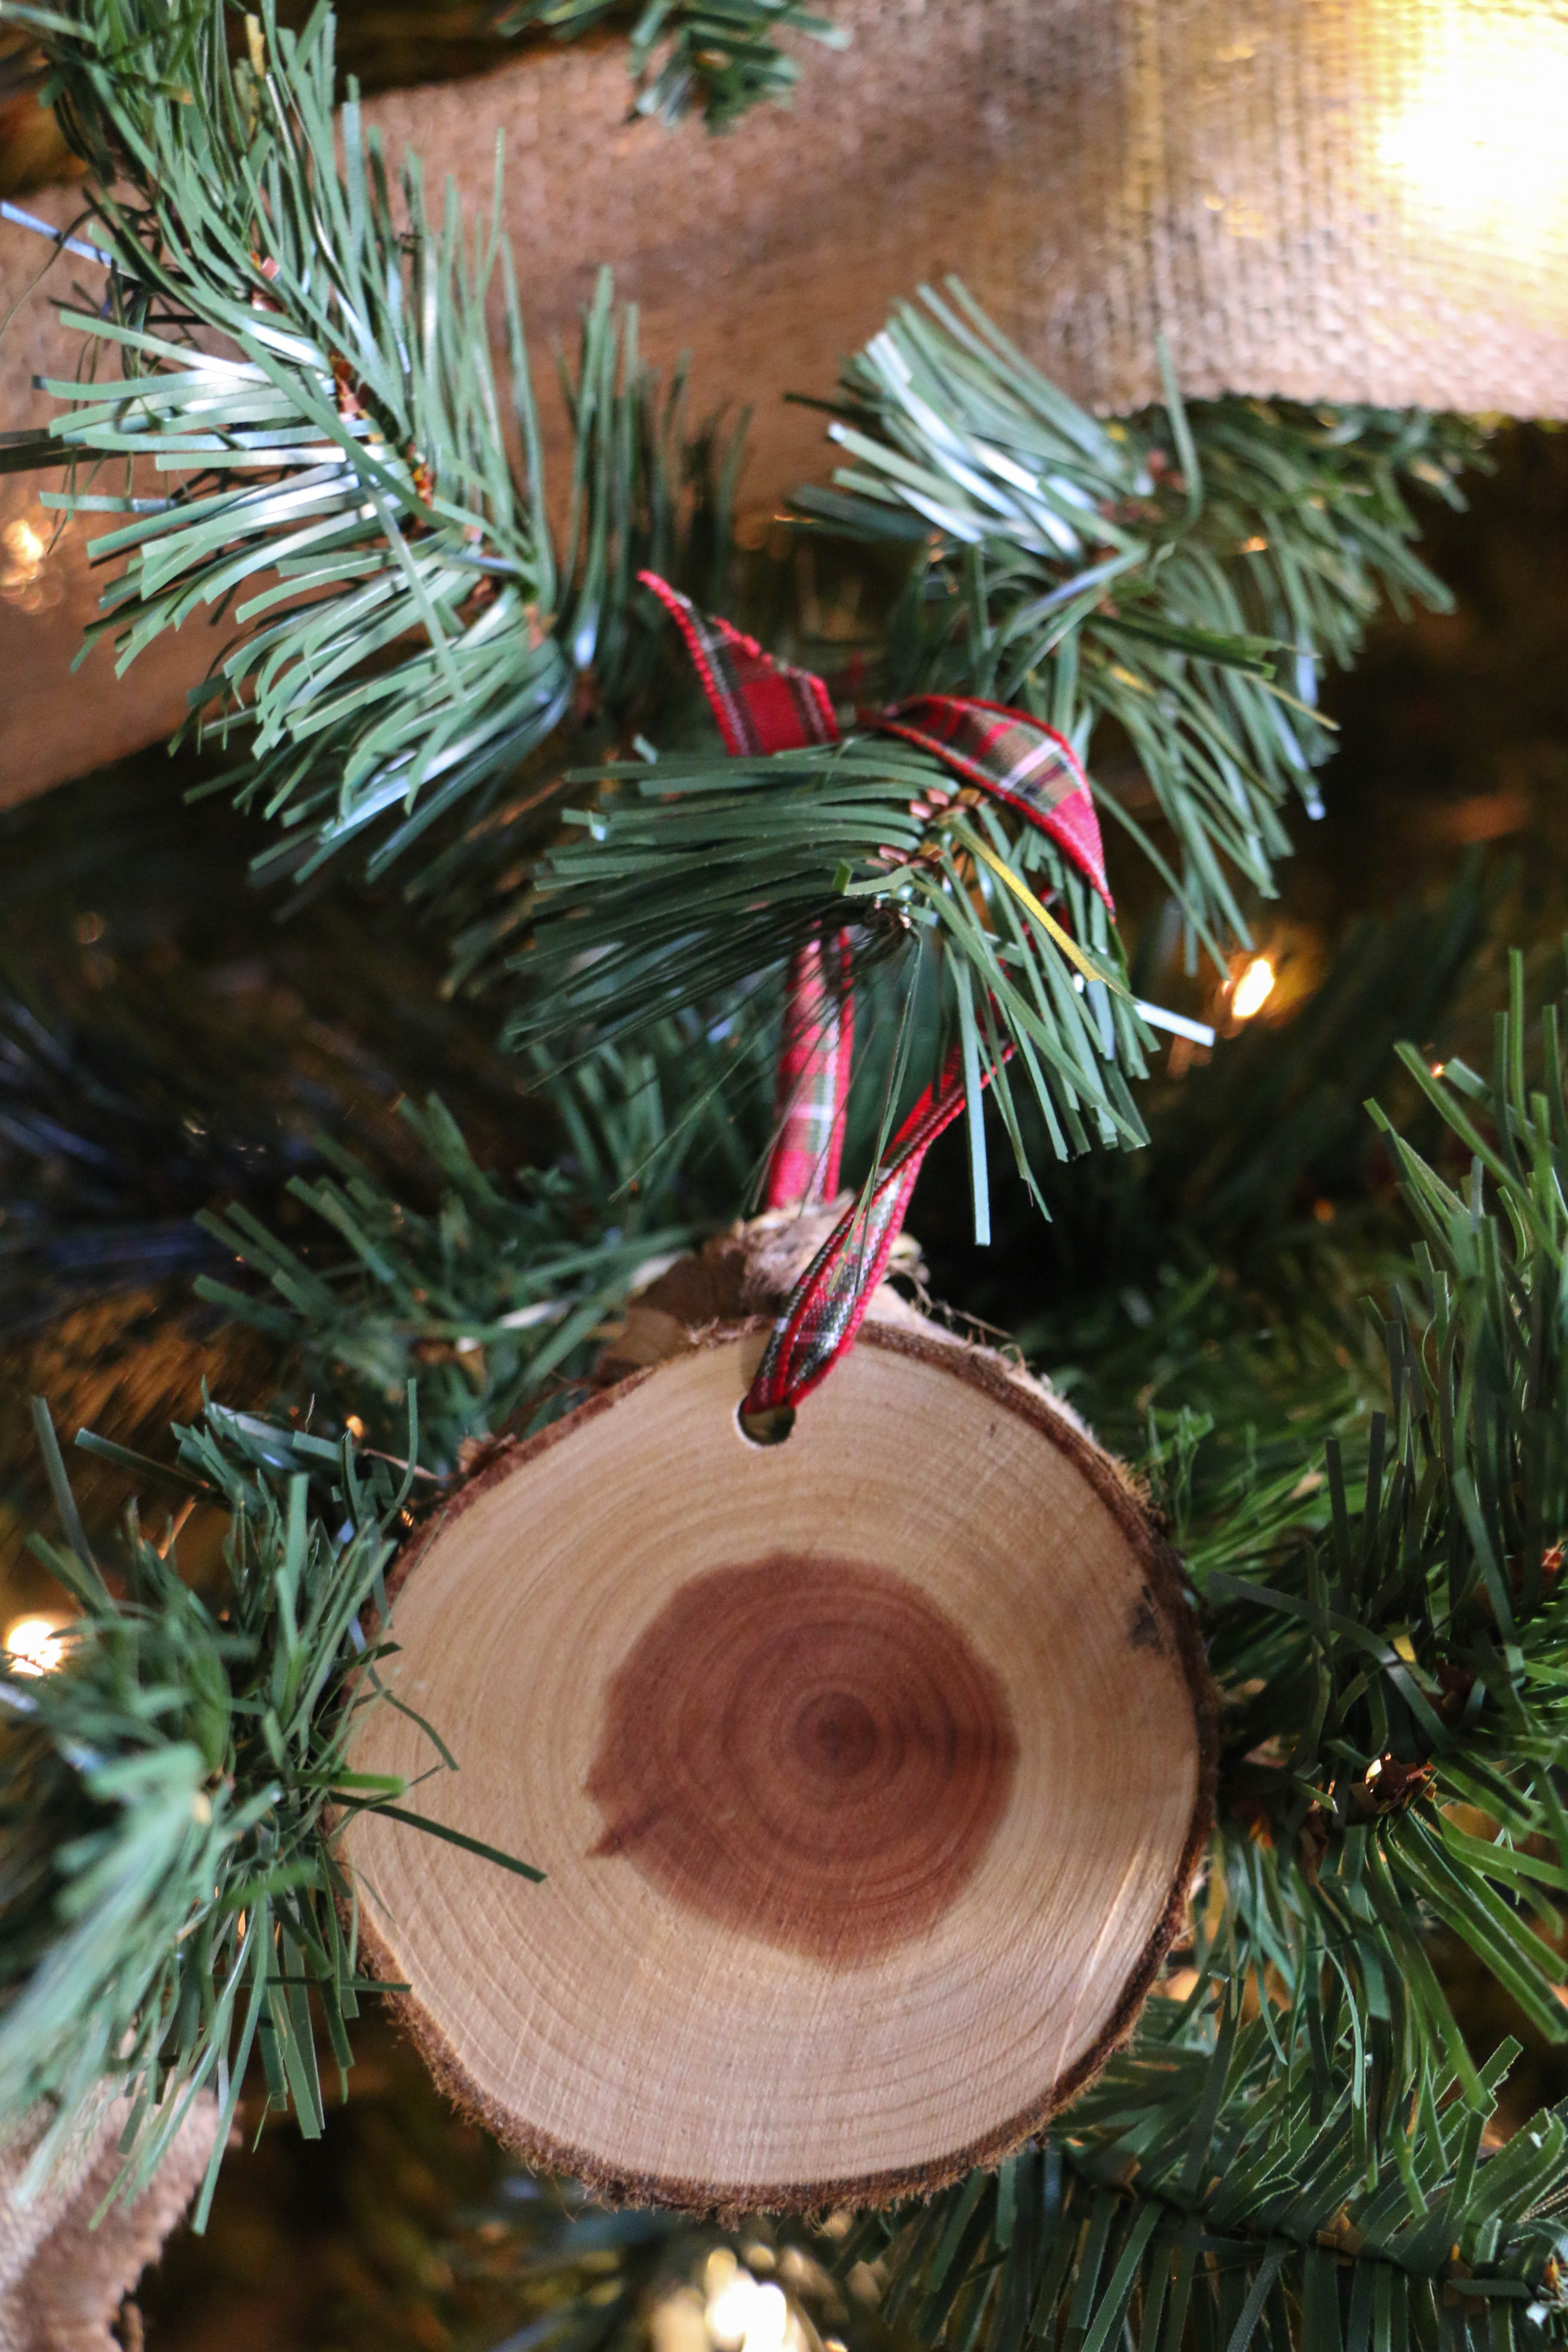
The easiest project you ever did see.
Will you be setting up your tree next weekend? If so, why don’t you give this easy project a try? I’d love to see how you use this simple idea in your home.
Have a Happy Thanksgiving friends! And a Happy Decorating! That’s all for today. Have a fabulous day, friends!
<a href=”http://www.bloglovin.com/blog/13855015/?claim=9a8yvxbhj62″>Follow my blog with Bloglovin</a>

1 Comment
[…] whole look together. If you haven’t seen the other two ornament DIYs, you can check them out here and here. I remember seeing photos of dried fruit as Christmas decor years ago, but I never really […]