I know it’s still early….but I have begun decorating for Christmas at our house! Last year, we got a real Christmas tree, which I loved having. They smell so good, and they’re so nostalgic I think. The only downside to them is that they don’t come out until early December because they don’t last very long. Which I suppose I can’t be upset about, but I was so impatient this year that we went out and got an artificial tree. I had too many decorating ideas that I couldn’t wait to get started.
So, now that our tree is up, I wanted to share with you a few of the quick projects I did for our tree. If you know me at all, I’m all about finding the cheapest way to do things, and so I created a few different types of ornaments on a shoestring budget. For our tree this year (and all of the decor, really) I wanted to go with a very natural, rustic-y, theme. I had a hard time putting into words exactly what I was going for, even to Ethan. I just kept saying to him, “I want it to look like how the pioneers would decorate a tree if they had one.”
As if that even makes sense.
Anyway, today I’m sharing how I turned regular pinecones into ornaments for our tree. This is so simple, it’s even kid friendly!
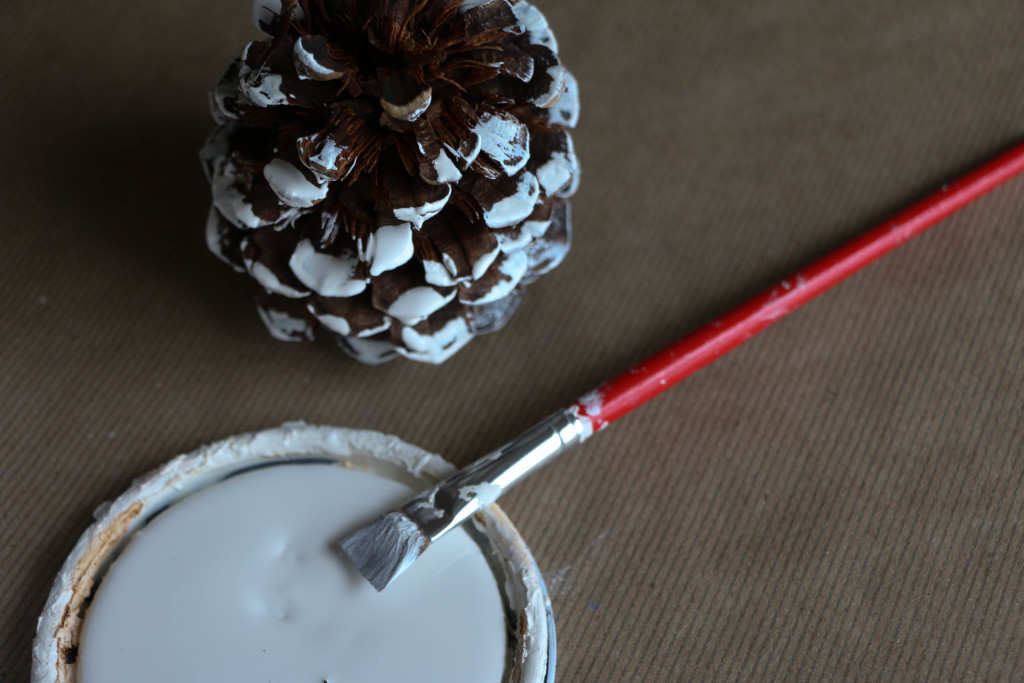
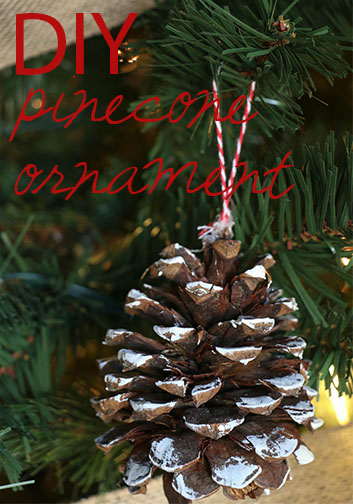
I painted the edges of several pinecones using some paint I had on hand. The color is Mourning Dove by BEHR. I’ve used it for a lot of projects, and it’s one of my favorite off-white colors. I didn’t worry about painting too neatly, I just kind of quickly brushed on the edges of the pinecones. I wanted to make it look like snow, because, you know, that makes total sense in Texas.
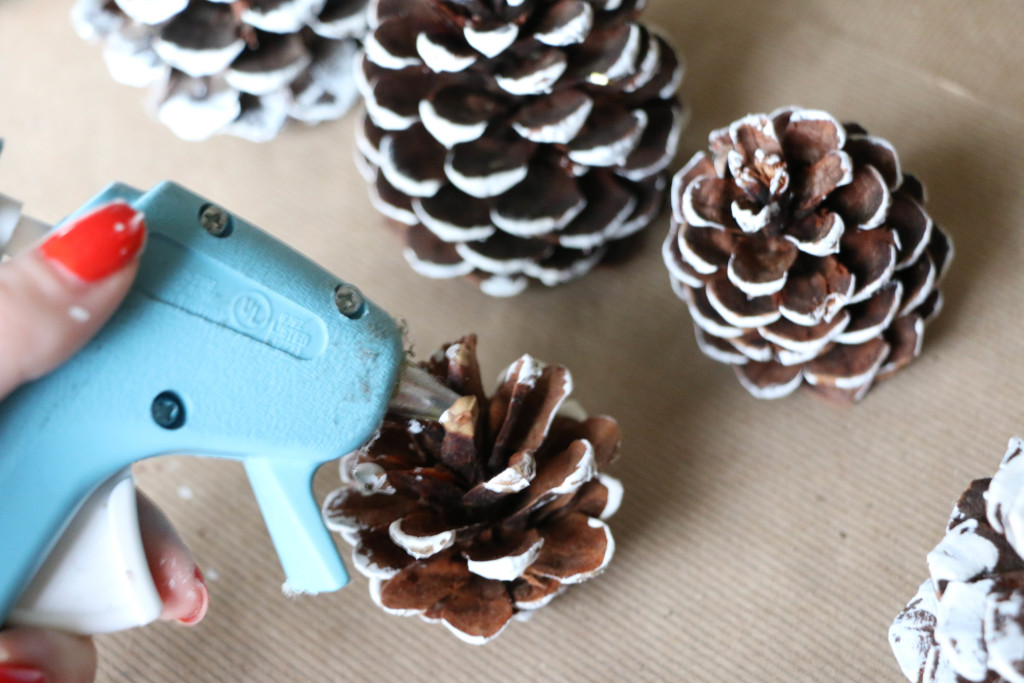
When that was done, I put a dot of hot glue into the top of the pinecone. I tried to tuck it down inside so that hot glue wasn’t too visible once they were hung on the tree. 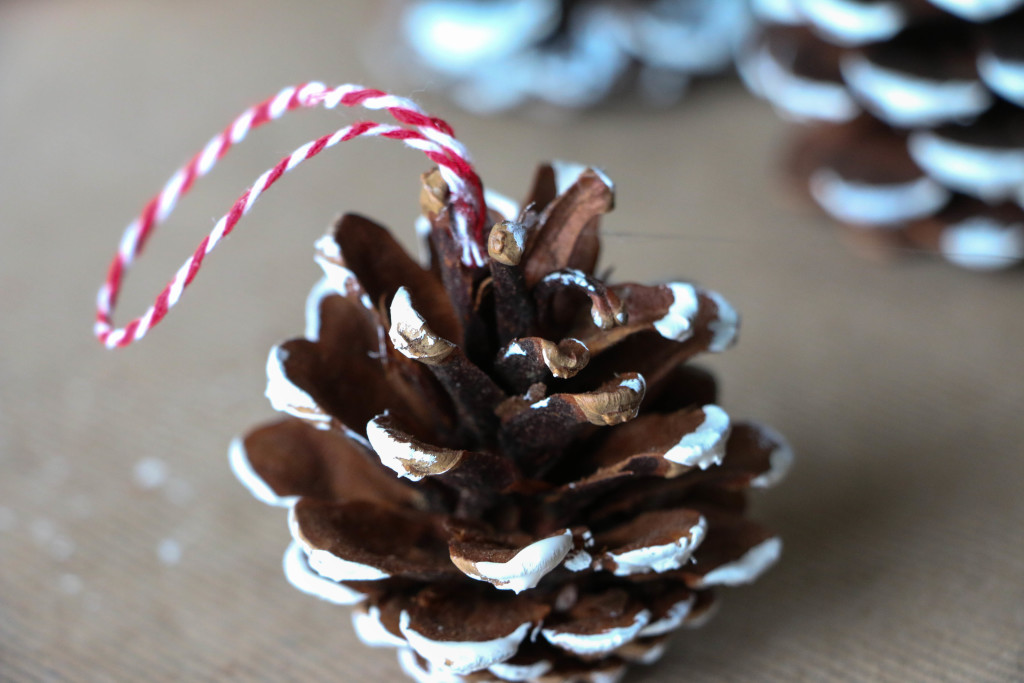
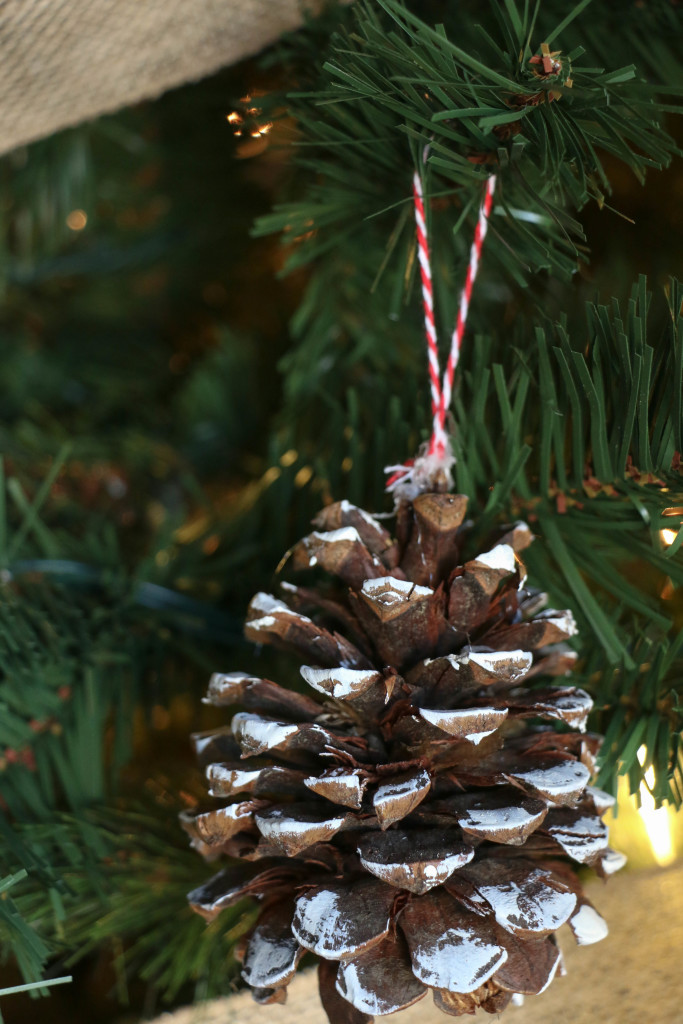
I added about a four inch piece of red baker’s twine in a loop to the hot glue. I bought the twine from the Target dollar spot. Can we just give a quick shout out for the Target dollar spot?! I swear, that place is like magic. Anyway, I chose red so it would have a little Christmas-y pop. And when it was done, it looked something like this:
This is by no means an original idea, I’m sure it’s been around for ages, but it’s something I whipped up super fast, and I wanted to share with y’all. I don’t have kids, but this could easily be done with little ones…it’s THAT easy. Plus (in my personal opinion), super cute. I’ll be sharing a two other ornament ideas soon, so stay tuned!
I hope you give this one a try! I know I’ll be enjoying them this season. Well, that’s all for today friends, have a fabulous day!

1 Comment
[…] you haven’t checked out my first post on pinecone ornaments, you can read all about that here. I wanted to keep with the primitive, rustic theme I had going on, so I added these wood slices and […]